Hi, I’m Sara and welcome back to Sewing Therapy! If it’s your first time here, welcome. At Sewing Therapy, I invite you to sew along with me as I share my sewing process for various patterns I choose, as well as any tips or tricks in hopes that you can follow the pattern steps with greater ease.
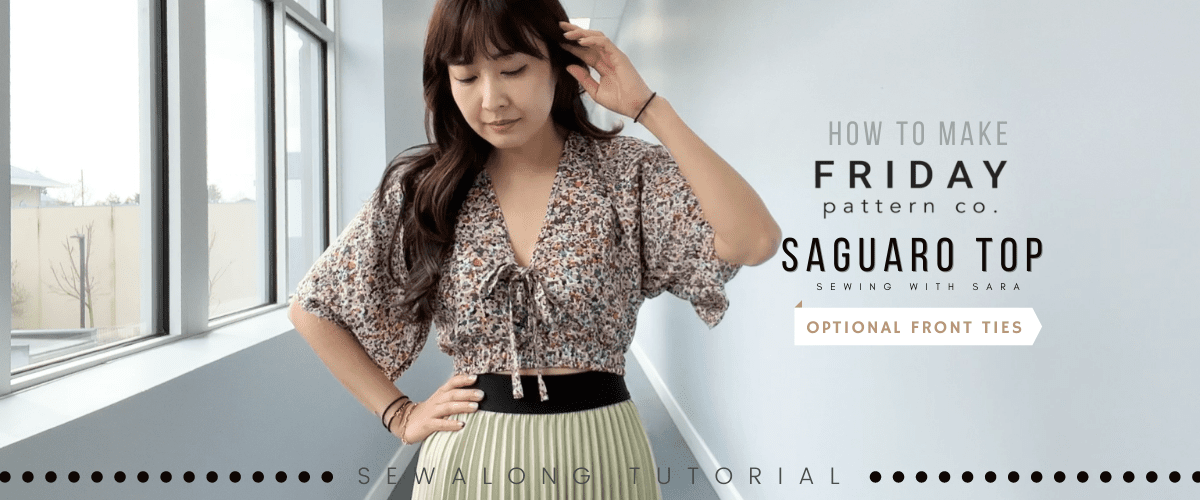
This video’s pattern is the new saguaro Top by Friday Pattern Co.! It’s a quick and easy sewing project, accessible for all sewing levels. So for any beginners out there, this is the perfect trendy pattern for you. Friday Pattern Co. makes fantastic sew-along videos and while I’m not sure if they have one in the works for the saguaro Set, I couldn’t resist making my own for you. The saguaro Set is one of those patterns I knew immediately that I wanted for myself, wanted to invite you to sew along with me. The more sew-along videos, the better, right?
For this video, I only made the top to style with my other bottoms, and it’s already a gem in my wardrobe. It’s a crop top but it only shows a sliver of the midriff, so if you’re anything like me and the most comfortable when hiding your body, I encourage you to join me in trying a new style.
Make sure to subscribe and let’s get started!
Material
The Saguaro Set Pattern from Friday Pattern Company
https://fridaypatterncompany.com/products/saguaro-set-pdf-pattern
I used fabrics from my shop
https://twooninefabric.ca/
FAQ Material List
The sewing machine I have:
Bernette B37 Swiss Design Computerized Sewing Machine
https://amzn.to/3etYaFE (USA)
LDH Scissors and thread snip
http://bit.ly/3vbHj04
Tailor’s Chalk Pencil
http://bit.ly/chalkpencil
Poly Sewing Thread
https://bit.ly/209thread
Lightweight Fusible Interfacing
https://bit.ly/3GETKGw
Wash-away Wonder Tape
Canada https://amzn.to/35DUwUj
USA https://amzn.to/39ylJc2
Craft Clips
Canada https://amzn.to/32vmK2u
USA https://amzn.to/3sjKKiU
Flat Head Pins
Canada https://amzn.to/2IaKoKm
USA https://amzn.to/32slD31
Point Turner
Canada https://amzn.to/39rgfQA
USA https://amzn.to/3qjfKyA
Here’s my Patreon page link. Your support is greatly appreciated!
https://www.patreon.com/user?u=32815284
Fabric Recommendations
Light to mid-weight woven fabrics. Linen, rayon, Tencel, silk, or cotton
*2″ wide elastic for the waist
Cut
2 Top Front (Mirrored), 1 Top Back (On Fold), 1 Top Front Waistband, 1 Top Back Waistband, 2 Front Tie (Optional), 2 Bias Tape
Seam Allowance
Use 3/8″ seam allowance unless otherwise stated
1. Tie
Fold one short end then press in half lengthwise to make a crease WST (Wrong Side Together)
Open then fold both edges to the middle and press
Fold in half and press
Edgestitch


2. Front + Back
Pin and sew Top Back and Top Front at shoulders RST (Right Side Together)
Sew and serge
Press the seams backwards


3. NeckLine
Staystitch the neckline
Baste Front Ties at the notches or your preferred positions RST
Sew Bias Tape together along the diagonal seam at 1/4″ seam allowance
Press the seam open and trim
Fold in half and press to make a crease WST
Fold one edge to the middle and press
Pin and sew the raw edge of Bias Tape to the neckline with 1/4″ seam allowance
Send Bias Tape toward the seam and press
Optional) Understitch
Fold Bias Tape to wrap the seam and hide the stitch line slightly and pin
Edgestitch/topstitch

4. Side Seams
Pin and sew Top Front and Top Back at underarm and side seams RST
And serge
Try on your top and decide whether to overlap the top or not and baste

5. Waistband
Pin and sew Waistband at short edges RST
Press the seams open
Fold in half lengthwise and press WST
Mark the centers of Front and Back
Mark the centers on the Top Front and Top Back
Slip Top into the Waistband and match the centers and side seams RST
Sew leaving an opening
Insert the Elastic into the Waistnamd through the opening
Make sure the Elastic is not twisted
Join the ends together
Close the opening
And serge the seam all around
Distribute the gathers evenly
Topstitch a few parallel lines on the Waistband
Use a longer stitch length and stretch the elastic as you sew
*Stitch Length 3.5-4


6. Sleeve Hem
Finish the sleeve hem with your preferred method


And that’s a wrap for the saguaro Top! I love the versatility of this top, that you can make modifications for more coverage, or just wear it backwards. Normally I stay far away from crop tops, but this one shows just the right amount of skin and I can’t wait to wear it this summer. The top styles seamlessly with my other bottoms and it’s a great addition to my wardrobe. What did you think about the saguaro Top? I welcome your thoughts and questions in the comments section below.
Thanks for watching and reading! I’ll see you next time!
Let’s get connected!
Sewing Therapy
Instagram – https://www.instagram.com/yoursara_k/
Blog – https://sewingtherapy.net/
Dailylike Canada
Instagram – https://www.instagram.com/dailylikecanada
Facebook – http://www.facebook.com/dailylikecanada
Pinterest – https://www.pinterest.ca/dailylikecanada
Two O Nine Fabric Studio
Instagram –https://www.instagram.com/twooninefabric.ca