Hello, Sara here. it’s been a while! It’s time for Hannah Dress Sew Along Tutorial! I’m back from my trip to Korea and I’m grateful for your patience while you waited for my next video. If you follow me on Instagram, you might already know that I had surgery in Korea and it took time, physical and emotional, to recover from it. Fortunately, I am finally feeling better enough to finish editing this video that I shot before I left for the trip. Thank you so much for all the cheerful words of support you sent me through social media – they mean the world to me. I really believe your messages helped me to bounce back so quickly.

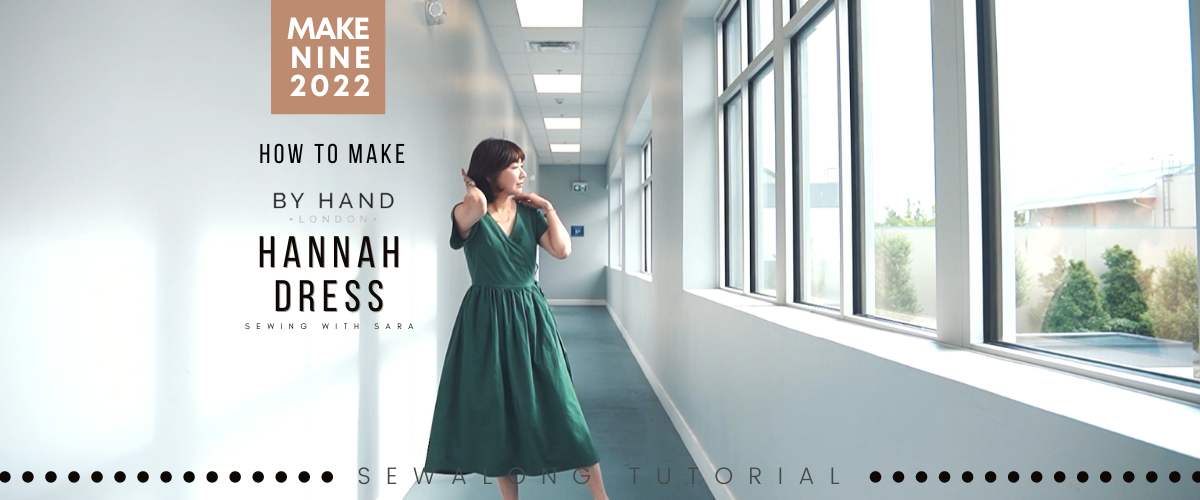
Today’s video is a sew-along for the Hannah Dress by By Hand London! This classic wrap dress has been on my sewing list for a long time and I am glad I decided to make one this year. I’m happy to report that I’m very satisfied with the result! In this video, I will make one with tulip sleeves, but you can use the steps to help you make any of the other views. I think the Hannah Dress is one of the most straightforward wrap dress patterns out there, which means it’s relatively easy to make. I love that the overlapped area is quite large, so I feel comfortable and safe moving around in the gently gathered wrapped skirt. The bodice wrap neckline felt too open for me, so I installed an extra closure which was a simple fix to make sure I felt secure in my dress, but I am certain some of you will love the deep vee. And I’m really happy with this look! I’ll definitely be making another one with puffed sleeves!
Thank you and let’s get started.
Material
Hannah Dress Pattern from BY HAND LONDON
https://byhandlondon.com/products/hannah-dress-pdf-sewing-pattern
I used fabrics from my shop
https://twooninefabric.ca/products/1-2-yard-bio-washed-cotton-25-pine-green
FAQ Material List
The sewing machine I have:
Bernette B37 Swiss Design Computerized Sewing Machine
https://amzn.to/3etYaFE (USA)
LDH Scissors and thread snip
http://bit.ly/3vbHj04
Tailor’s Chalk Pencil
http://bit.ly/chalkpencil
Poly Sewing Thread
https://bit.ly/209thread
Lightweight Fusible Interfacing
https://bit.ly/3GETKGw
Wash-away Wonder Tape
Canada https://amzn.to/35DUwUj
USA https://amzn.to/39ylJc2
Craft Clips
Canada https://amzn.to/32vmK2u
USA https://amzn.to/3sjKKiU
Flat Head Pins
Canada https://amzn.to/2IaKoKm
USA https://amzn.to/32slD31
Point Turner
Canada https://amzn.to/39rgfQA
USA https://amzn.to/3qjfKyA
Here’s my Patreon page link. Your support is greatly appreciated!
https://www.patreon.com/user?u=32815284
Fabric Recommendations
light to medium weight cotton, linens, silks, and viscose
Cut
2 Front Bodice (Mirrored), 1 Back Bodice (On Fold), 4 Tie, 2 Tulip Sleeve (Mirrored), 4 Pocket (Mirrored), 1 Skirt Front – Underlap (Piece G), 1 Front Skirt – Overlap (Piece F), 1 Back Skirt (On Fold), Bias Binding
Seam Allowance
Use 5/8″ seam allowance unless otherwise stated
0. How to Make Continuous Bias Tape
Lay the ends of two strips at a right angle and pin RST (Right Side Together)
Sew a diagonal line from the top left corner to the bottom right
Trim the seam
Open the seam and press
Repeat for a longer bias strip

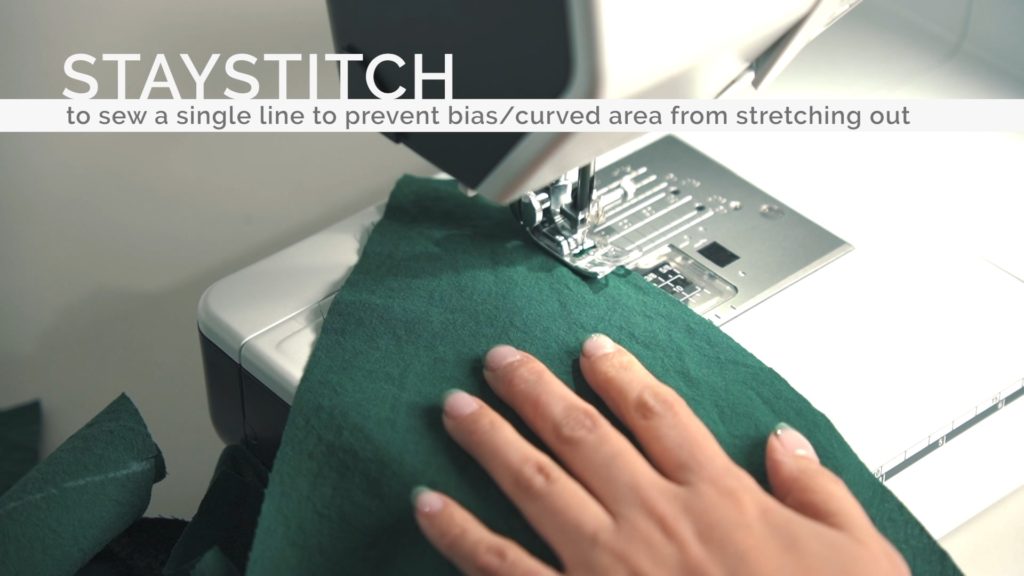
1. Staystitch
Staystitch curved necklines

2. Dart
Fold, aligning the dart notches, and pin
Sew from the edge to the center
At the end of the dart, don’t backstitch and leave the thread tails
Untwist the thread, tie off threads at dart point and trim the thread
Repeat for the waistline darts
Press bust darts downwards and waistline darts outwards
Repeat for the darts on Back Bodice
Press waistline darts outwards

3. Tie
Fold a short raw edge and press
Fold in half lengthwise and press to make a guideline
Fold each edge to the middle and press
Fold in half and press
Topstitch
Pin the raw edge of the two Straps onto the neckline of Bodice RST
The Straps should be placed on 5/8″ away from the waistline
Baste
Pin the raw edge of one Strap onto the side seam of the left Bodice
Pin the raw edge of one Strap onto the side seam of the right Bodice
Baste

4. Bodice
Pin and sew Front and Back at shoulders RST
Pin the Bias Strap onto the neckline and sew
Clip the seam on the curved edge
Press the Bias Strap towards the seam
Understitch

Doublefold the Bias Binding, hiding it inside the Bodice
Topstitch/edgestitch
Pin Front and Back at side seams RST
Sew and serge
5. Sleeve
Serge, fold the Sleeve hem and press
Baste stitch the curved edges
Basting stitch length: 3.5 – 4
Topstitch/edgestitch
Make sure to mark B(ack) and F(ront) on the Sleeve pieces
Overlap the Back with Front and match the notch
Pin and bast overlapping area
Gatherstitch between notches (https://youtu.be/a0QckKXj7Oc)
Slip the Sleeve into the armhole and pin
Sew the armhole leaving the gathering area
Distribute the gathers evenly, pin and sew
Remove the cord and serge

Repeat for the other sleeve
6. Skirt
Pin the Pocket to the Back Skirt (H) matching the notches RST
Pin the Pocket to Front Skirt (F) matching the notches
Pin the Pocket to Front Skirt (G) matching the notches
Sew
Serge the stitch area
Press the Pocket towards the seam
Understitch

Pin and sew Front and Back Skirt matching the notches and Pockets RST
And serge
Doublefold the vertical edges of Front Skirt – Overlap, Underlap and topstitch
Sew gathering stitch on the waistline of Skirt
Prepare the gathers
Pin the gathered waistline of Skirt and the waistline of Bodice RST
Sew and serge
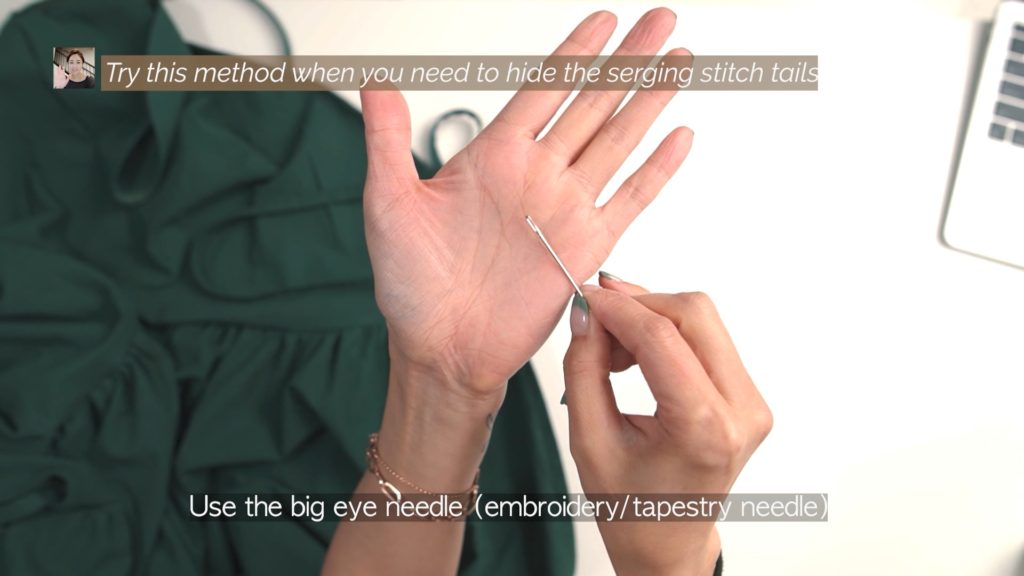
Use the big eye needle (embroidery/tapestry needle)

Weave it back through your serger stitching
7. Hem
Doublefold the hem and topstitch/edgestitch

What did you think of the Hannah Dress? I’d love to hear your thoughts in the comments section below. I would love to see your version so please be sure to tag me so I can celebrate your new Hannah Dress.
Let’s get connected!
Sewing Therapy
Instagram – https://www.instagram.com/yoursara_k/
YouTube – http://youtube.com/c/sewingtherapy
Tiktok – http://tiktok.com/@yoursara_k
Dailylike Canada
Instagram – https://www.instagram.com/dailylikecanada
Two O Nine Fabric Studio Instagram
https://www.instagram.com/twooninefabric.ca
