Hello, Sara here.
Bib Apron is the second tutorial of apron series.
This is probably the most popular type of apron.
It’s versatile and I will show 3 different options for the neckband.
Now, things are slowly getting back to normal. Shops and restaurants are reopening and some of us are going back to work. I wish things get better soon, but we and the world will need time to recover and get back on track. I will rather be positive than be negative. Also, I rather do what I can than be worried and stressed. So here I come again with another beginner-friendly sewing tutorial. If you like sewing, just like the name of my blog and YouTube channel, I truly hope that sewing becomes therapy for you. Alright, enough of chit-chat. Let’s get going.
If you want to check out the first one ‘half apron’, here is the link.
http://sewingtherapy.net/diy-half-apron/
Any questions, you can leave it in the comment section below. I strongly recommend watching the video. Especially for beginners, watching the tutorial is definitely easier than just reading the instruction!
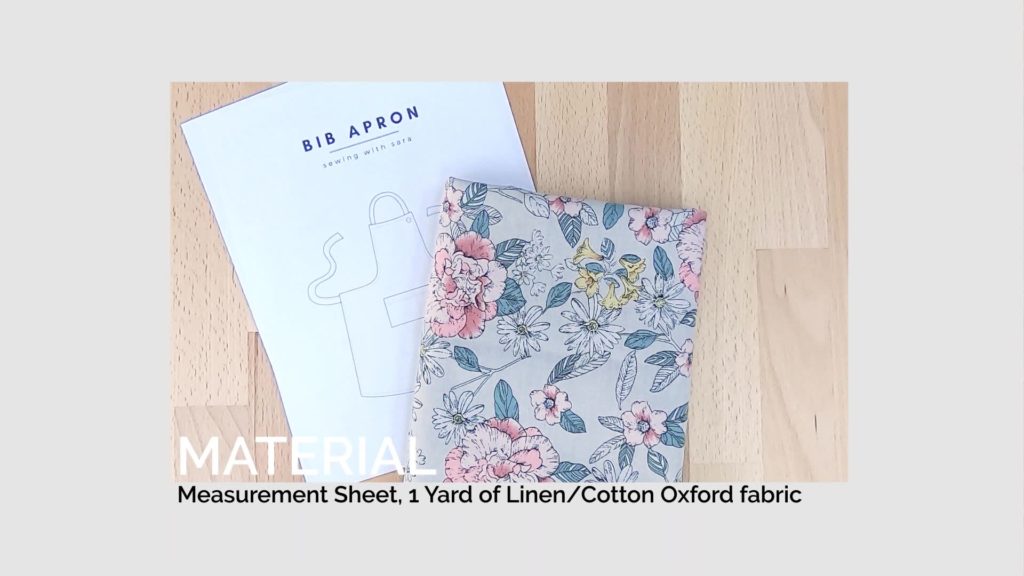
Material I used:
This is the sewing machine I used for this video.
Links will be updated, a lot of them are out of stock due to COVID-19.
SINGER 9960 Quantum Stylist
Unfortunately, links are not available for now
Brother 1034D
Unfortunately, links are not available for now.
Plastic Snap Buttons (Buttons only)
https://amzn.to/3dv8No0 (Canada)
https://amzn.to/2zL7p29 (USA)
Snap Pliers
https://amzn.to/3eAyHHa (Canada)
https://amzn.to/2XO2iWL (USA)
Bias Tape Maker: You can make your own from the fabric in your stash and this tool helps it much easier (You can check how to use it on the video.) Canada https://amzn.to/2ysNrIW
USA https://amzn.to/2VO9Nwb
Sewing Clips https://amzn.to/36lRFhP (Canada)
Sewing Clips https://amzn.to/3bqfI16 (USA)
I bought my flat sewing pins from Korea. The most similar one from amazon would be
https://amzn.to/3bUOXRN (Canada)
https://amzn.to/2WTmyXP (USA)
Let’s get started!
How to draw a pattern
(All the measurements are in the measurement sheet)
Tip: The deeper the curve is, The more comfortable it will be
Cut
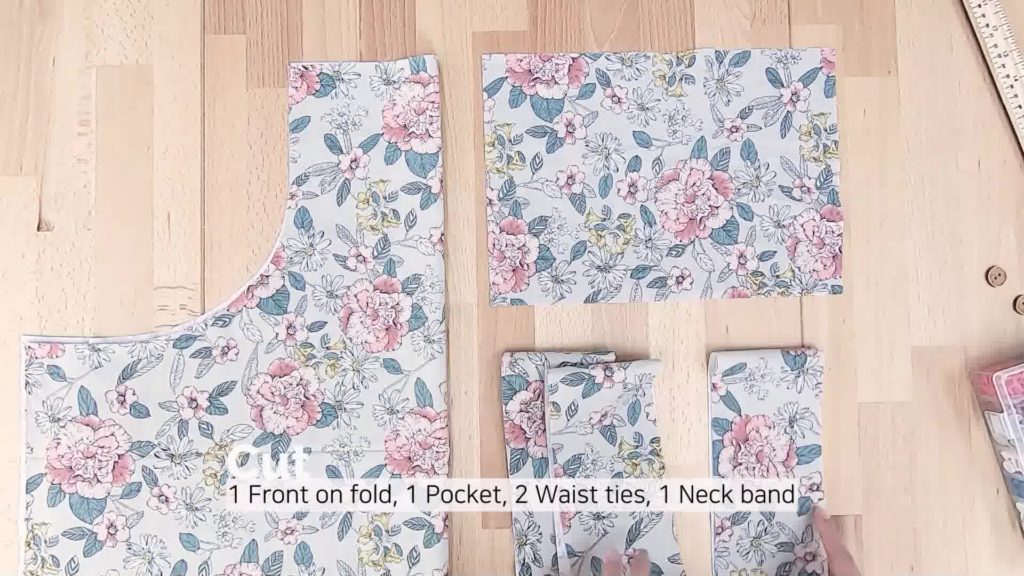
1 Front on fold, 1 Pocket, 2 Waist Ties, 1 Neckband
Optional: 2 Buttons or 2 Snap buttons (for different types of neckband)
1. Neckband and Waist Ties
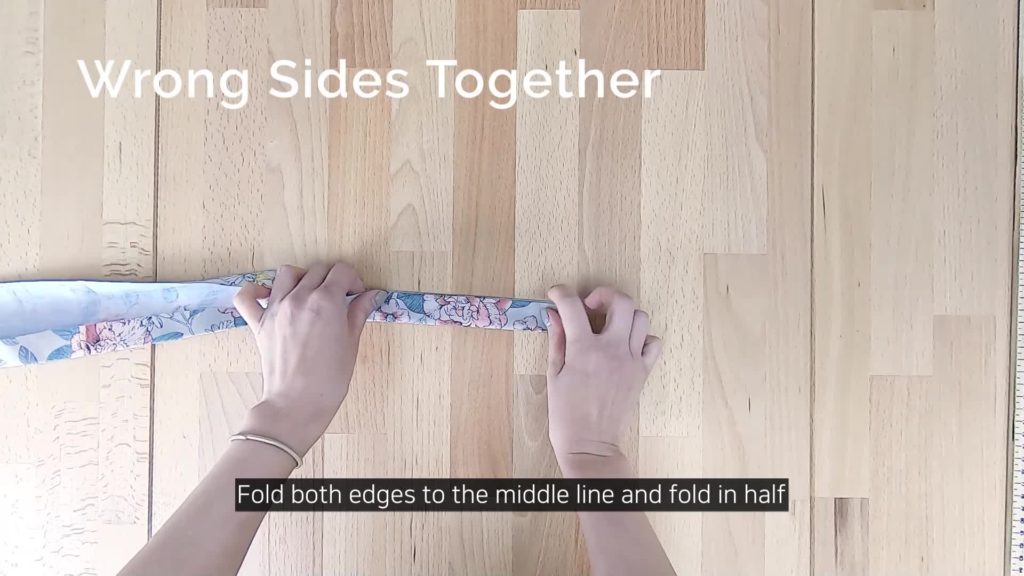
To make one tidy end, fold one short edge WST (Wrong Side Together) and press
Fold both edges to the middle line and fold in half
Press, edgestitch and set aside
Repeat for the other straps (waist ties and neckband)
2. Pocket
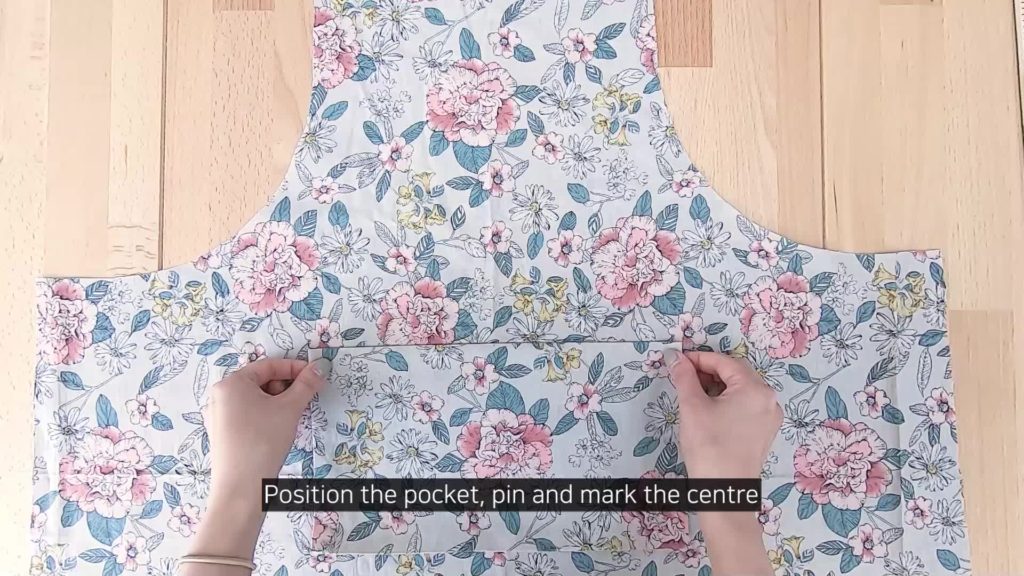
Double fold the top edge of pocket panel and press
Edgestitch the folded edge
Fold the side edges and the bottom edge, press and set aside
Position the pocket, pin and mark the center
Edgestitch the sides and the bottom and sew the center
3. Side Edges
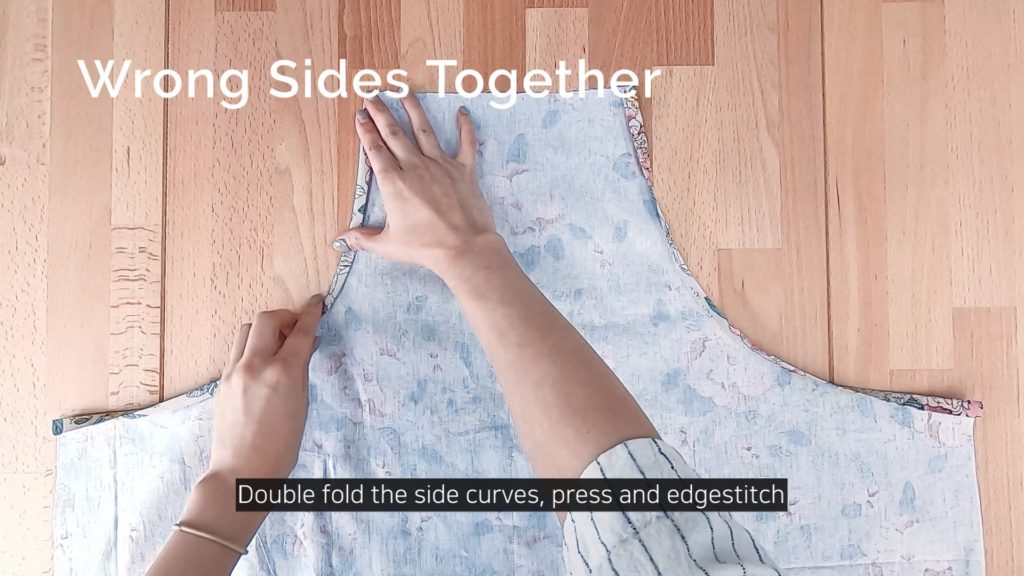
Double fold the side curves, press and edgestitch
Repeat for the other side
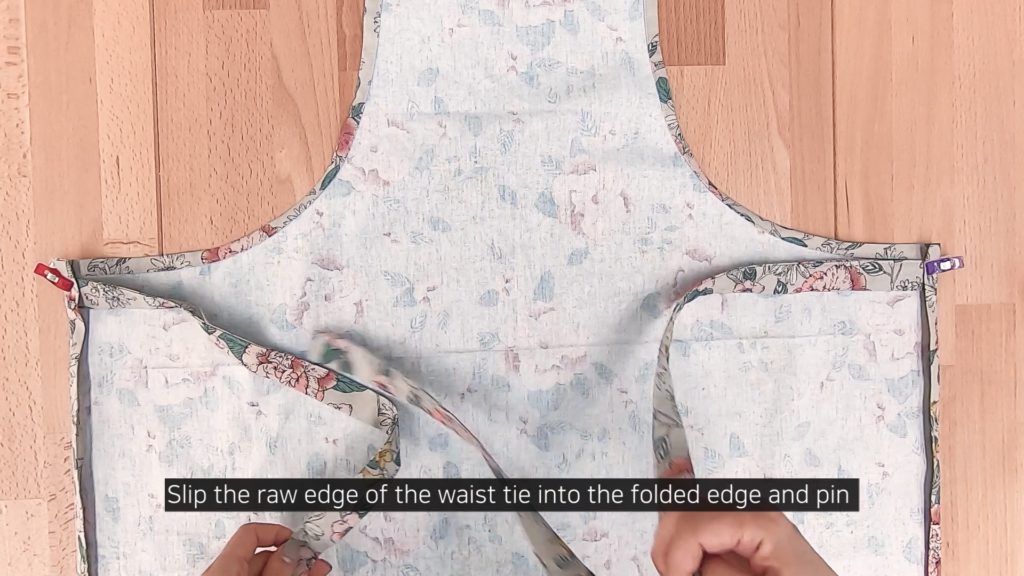
Double fold the sides and press
Slip the raw edge of the waist tie into the folded edge and pin
Edgestitch and repeat for the other side
Send the waist tie towards the outside and sew to make it secure
4. Neckband
Double fold the top edge and press
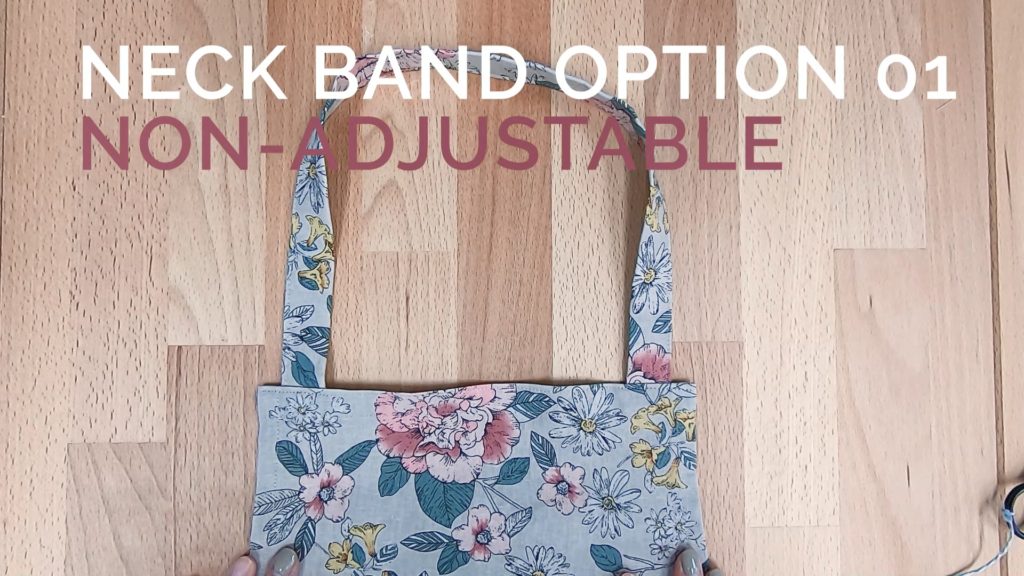
Option 1
Cut the neckband to your preferred length
Slip the edges of the neckband into the folded edge making sure it’s not twisted
Pin and edgestitch the folded edge
Send the neckband towards the outside, pin and sew
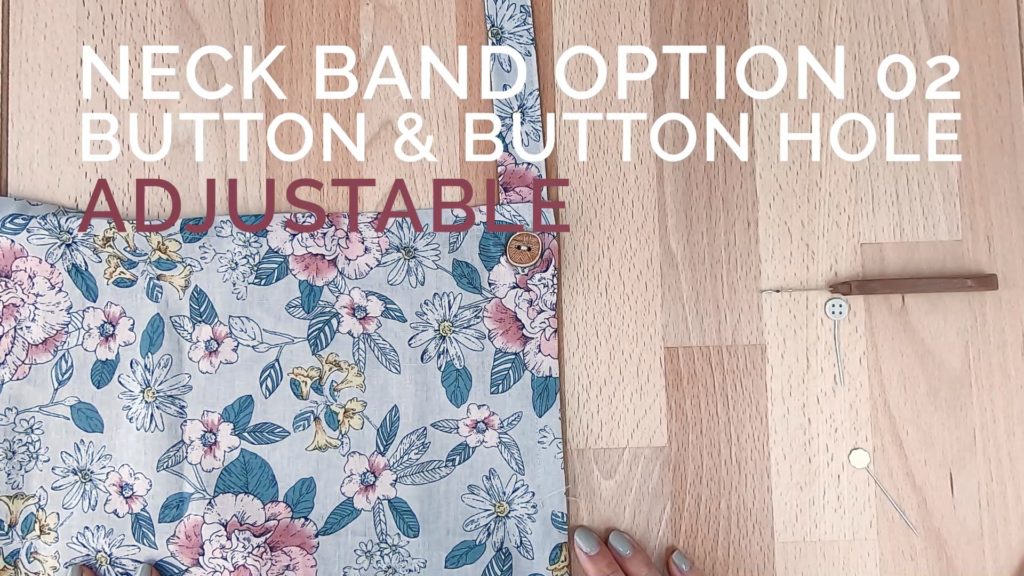
Option 2
Slip the edge of one side of the neckband into the folded edge
Pin and edgestitch the folded edge
Send the neckband towards the outside, pin and sew
Mark for the buttons
Make a buttonhole (How to sew a buttonhole – http://sewingtherapy.net/how-to-sew-a-buttonhole-stitch/)
Attach 2 – 3 buttons
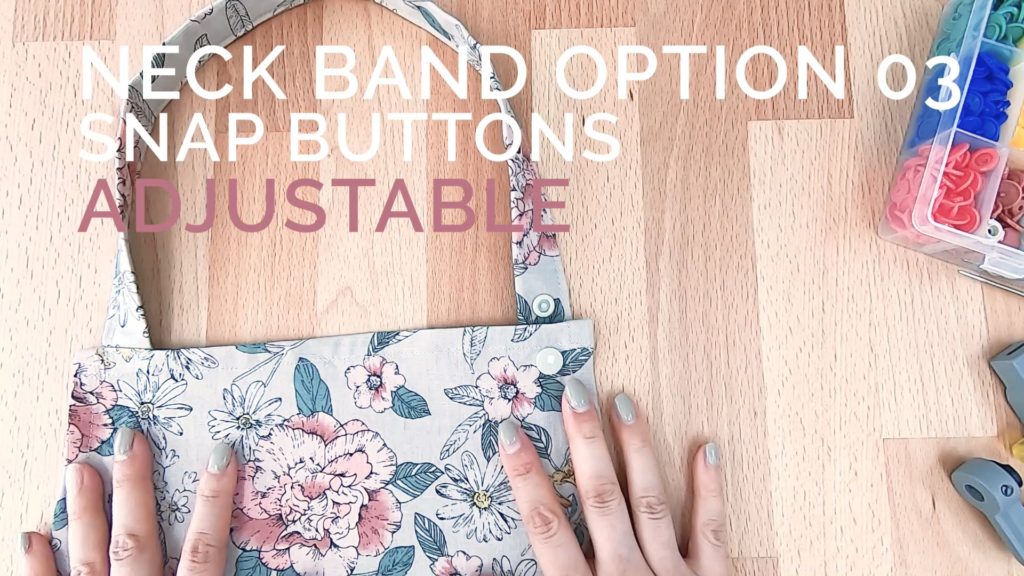
Options 3
Mark for the snap buttons
You will need 3 caps, 1 male side and 2 female sides (in case you are installing 2 adjustable snap buttons)
Poke a hole with an awl
Place the cap from outside
Place the male side from the inside
Press with the pliers
Repeat for the female sides
5. Hem
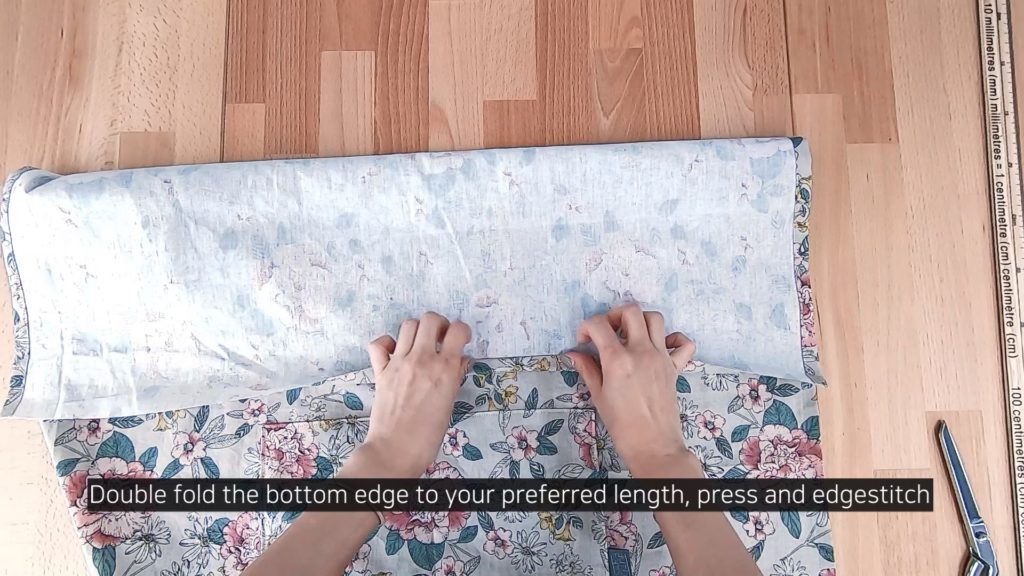
Double fold the bottom edge to your preferred length, press and edgestitch
Thanks for reading & watching! Always stay safe and healthy!
See you in the next post.
These are my online fabric shops.
Dailylike Canada http://www.dailylike.ca
Two O Nine Fabric Studio https://www.etsy.com/shop/twooninefabricstudio
*****Disclosure******
Some of the links above are affiliate links. .Clicking and purchasing through affiliate links gives me a small commission. BUT MORE IMPORTANTLY, I wanted to help you find the materials easier. So you can focus more on your project. Thank you.
**********************
Here’s my Patreon page link. Your support is greatly appreciated! https://www.patreon.com/user?u=32815284
Let’s get connected!
Sewing Therapy
Instagram – https://www.instagram.com/yoursara_k/
Blog – http://sewingtherapy.net/
Twitter – https://twitter.com/SewingTherapy
Dailylike Canada
Instagram – https://www.instagram.com/dailylikecanada
Facebook – http://www.facebook.com/dailylikecanada
Pinterest – https://www.pinterest.ca/dailylikecanada
Two O Nine Fabric Studio
Instagram –https://www.instagram.com/twooninefabric
