Hello, Sara here.
How are you doing? I am planning a serious of tutorials for making garments with buttons. I thought it would be a great idea to start with buttonhole tutorials so that we are all prepared!
Newer machines usually have a buttonhole presser foot and a buttonhole stitch which makes things so much easier. There are 2 methods depending on the type of machine, the 1 step buttonhole stitch and the 4 step buttonhole stitch. I will cover both in this tutorial.
Before I get started, because of COVID-19 situation, I know many of us are very worried. Especially times like this, we should stay strong and follow precautions for ourselves and others. I’ve made a tutorial for how to make a mask with a replaceable filter (free pattern). https://sewingtherapy.net/free-pattern-diy-mask-with-a-replaceable-filter/ I really hope you stay safe and healthy.
I strongly recommend you to watch the video if there’s anything that you don’t understand. Also, you can leave me a comment. I will get back to you ASAP.
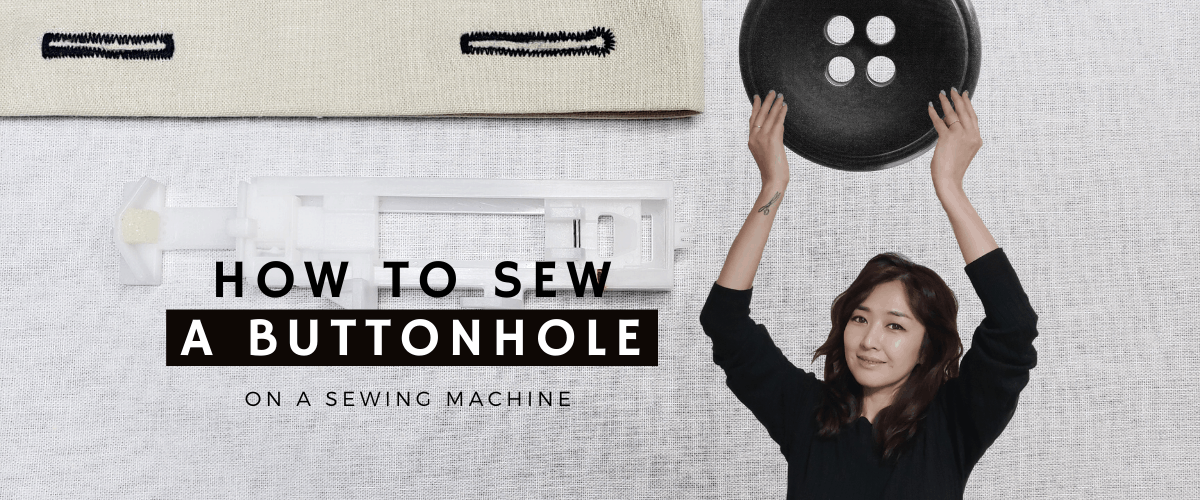
These are machines I used for most of the videos.
Both are really good machines for beginners and intermediates.
*This Singer 4452 has a simple one-step buttonhole stitch which is very convenient.
SINGER Heavy Duty 4452 https://amzn.to/30Am5dz (Canada)
SINGER Heavy Duty 4452 https://amzn.to/369pYaj (USA)
*This Singer 9960 has a variety of decorative and functional buttonhole stitches including keyhole buttonholes, stretch buttonholes, and more. SINGER 9960 Quantum Stylist https://amzn.to/2ujthOR (Canada)
SINGER 9960 Quantum Stylist https://amzn.to/365ndqt (USA)
Preparation
Use interfacing to prevent the buttonhole from stretching out and to stabilize the fabric during the stitching
Fuse the rough side of the interfacing to the wrong side of the fabric
Tip: Always test sew a buttonhole before sewing it on your project
Buttonhole Stitches (The stitch functions varies depending on the machine)
Singer Patchwork 7285Q
91 – 93 4 Step Buttonhole Stitch
94 – 99 1 Step Buttonhole Stitch
94/95 Standard – Medium to heavy weight fabric
96/97 Keyhole Buttonhole – Suitable for thicker buttons
98/99 Rounded at one end – Suitable for fine to medium weight fabric
Mark the spots where the button will be
Use the buttonhole presser foot
Insert your button into the back of the automatic buttonhole foot
The buttonhole foot has a sensor that will make the right size of the buttonhole
1 Step Buttonhole Stitch
Change the presser foot into the buttonhole presser foot
You don’t need a button any longer
The pull-down lever will locate in the middle of the plastic parts
Attach the foot to the machine and pull down the buttonhole lever
You can use a foot controller or a Start/Stop button.
The machine will sew all 4 sides of the buttonhole automatically and stop
4 Step Buttonhole Stitch is for Singer 7285Q specific. It works differently with different machines but I hope you get the idea.
3/4 Step Buttonhole Stitch with standard presser foot (Zigzag foot)
Attach the standard foot
You need to draw a line on as the same length as the button on the fabric
#91: Step 1 – It creates the top and the left side of the buttonhole
Control the stitch length to the bottom mark
#92: Step 2 – It creates the bottom and the single stitch on the right side
Control the stitch length to the top stitch
#93: Step 3 – It creates a zigzag stitch on the right side
Control the stitch length to the bottom stitch
How to open the buttonholes
Pin the ends of your buttonhole not to ruin your last step of the garment sewing
Use a seam ripper to make the first hole and use the clipper to cut to the ends of the holes neatly
Make sure the button fits
So the buttonhole presser foot is more intimidating than it looks. But with the right placement, making buttonholes is a breeze. Always remember, only practice makes you perfect! Happy sewing!
These are my online fabric shops.
Dailylike Canada http://www.dailylike.ca
Two O Nine Fabric Studio https://www.etsy.com/shop/twooninefab…
Instagram – https://www.instagram.com/yoursara_k/
Facebook – http://www.facebook.com/dailylikecanada
Twitter – https://twitter.com/SewingTherapy
Pinterest – https://www.pinterest.ca/dailylikecan…
*****Disclosure******
Some of the links above are affiliate links. .Clicking and purchasing through affiliate links gives me a small commission. BUT MORE IMPORTANTLY, I wanted to help you find the materials easier. So you can focus more on your project. Thank you.
**********************