I’ve been playing with this Waist Collar idea for a while, and it’s finally ready to share. It’s such a simple little piece, but it changes an outfit instantly — I didn’t expect it to be this fun. You can draft the pattern yourself or grab the PDF if that’s easier. This is actually my very first piece in the Accessory Collection, and I really hope you love it as much as I do. I’m running an intro sale on the new pattern right now, so feel free to take a look! 😊
Just a quick tip for today! If curved hems have stressed you out before, this trick is going to help so much. Try it — you’ll want to redo every hem you’ve ever sewn! 😆
BLACK WEEK SALE (Up to 40% off ~ Nov 30) http://twooninefabricstudio.etsy.com http://dailylikecanada.etsy.com http://twooninefabric.ca (CODE:BLACK20)
Sign up on my Sewing Therapy blog and don’t miss out the latest update! https://sewingtherapy.net
Sewing Therapy PDF Patterns https://twooninefabric.ca/collections…
You can purchase my Sewing Therapy Labels here. https://twooninefabric.ca/collections…
These are my online fabric shops Dailylike Canada http://dailylikecanada.etsy.com Two O Nine Fabric http://twooninefabric.ca Two O Nine Fabric on Etsy http://twooninefabricstudio.etsy.com
Here’s my Patreon page link. Your support is greatly appreciated! https://www.patreon.com/user?u=32815284
Hello, Sara here. This video is extra special because I just launched my very first mini pattern—for your mini-me’s! You’ve all shown so much love for the Tie Dress, and now, you can make one for your little favourite people too. #sewingtherapyminitie #sewingtherapytie #girldress PDF Mini Tie Dress Pattern Adult Tie Dress …
Hey everyone, Sara here! Welcome back to Sewing Therapy! Today’s video is more of a tip and inspiration session rather than a sew-along. If you want to make your own patchwork tie dress, definitely watch this tip video and then check out my previous Tie Dress sew-along video. First off, …
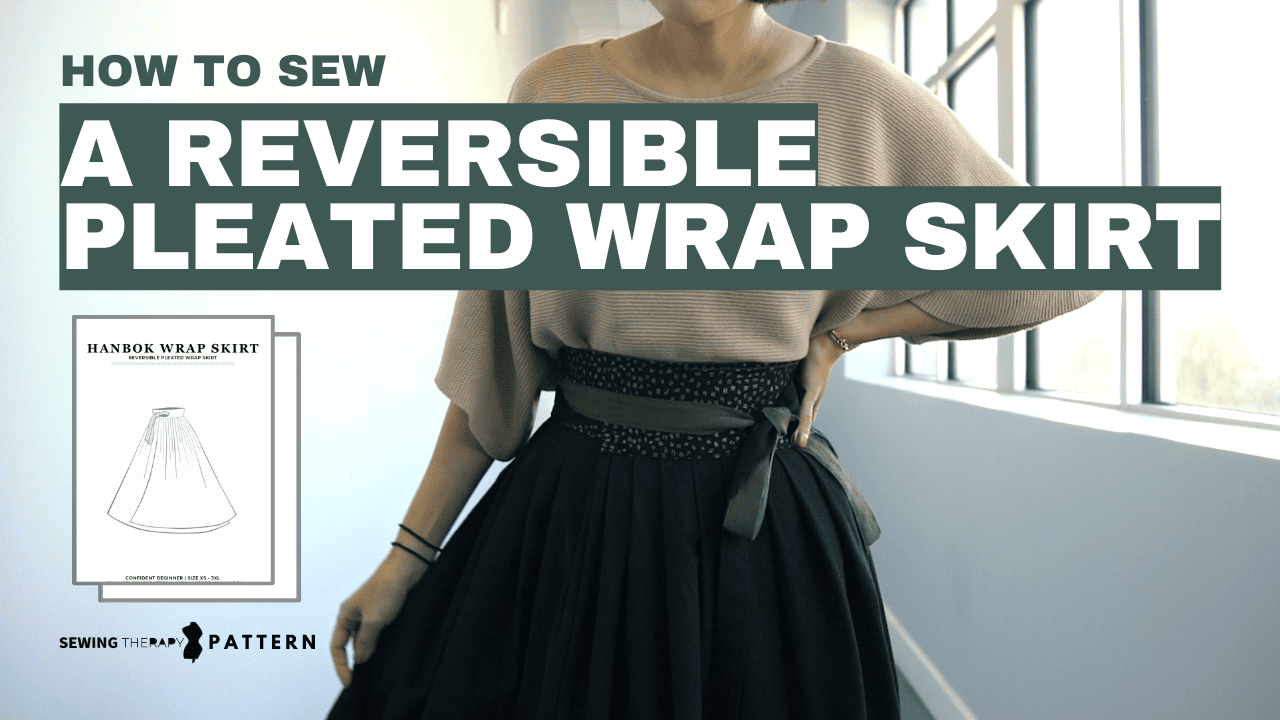
Hello everyone! The pattern for my Hanbok Wrap Skirt is now available and I’m exciting to guide you through the process of sewing your very own skirt. If you have already purchased the Hanbok Wrap Dress pattern, guess what? You can easily hack it to create the skirt. And for …
I’m Sara, and I’m thrilled to guide you through the process of creating a Hanbok Jacket today. First and foremost, I want to express my gratitude for your trust and support in purchasing my initial pattern, the Hanbok Wrap Dress. I’m excited to share that you can hack and sew …
Hello, Sara here. Slits and Thumbholes video is up! I hope you find it helpful to change your sleeve hems and add unique and functional details to your upcoming garments. As always, I love hearing your questions, thoughts and suggestions – I’m here to learn and I’m here to help. Thanks for being with me on this Sewing Therapy journey.
***Disclosure***** Some of the links above are affiliate links. Clicking and purchasing through affiliate links gives me a small commission. BUT MORE IMPORTANTLY, I wanted to help you find the materials easier. So you can focus more on your project. Thank you!
‘M7742 VIEW E’ is what I’m going to show you as an instruction! Hello and welcome back to Sewing Therapy. In my video about the Bias Hobo Bag, I wore one of my most loved tops and many of you inquired about it. It’s a McCall’s Pattern M7742! With a …
Welcome back. I’m Sara, and you’re invited to come and sew along with me. After a long separation, I’ve been enjoying a visit from my parents here in Vancouver, which is why this video has been delayed! Umma (means MOM) and I have been busy catching up and having fun …
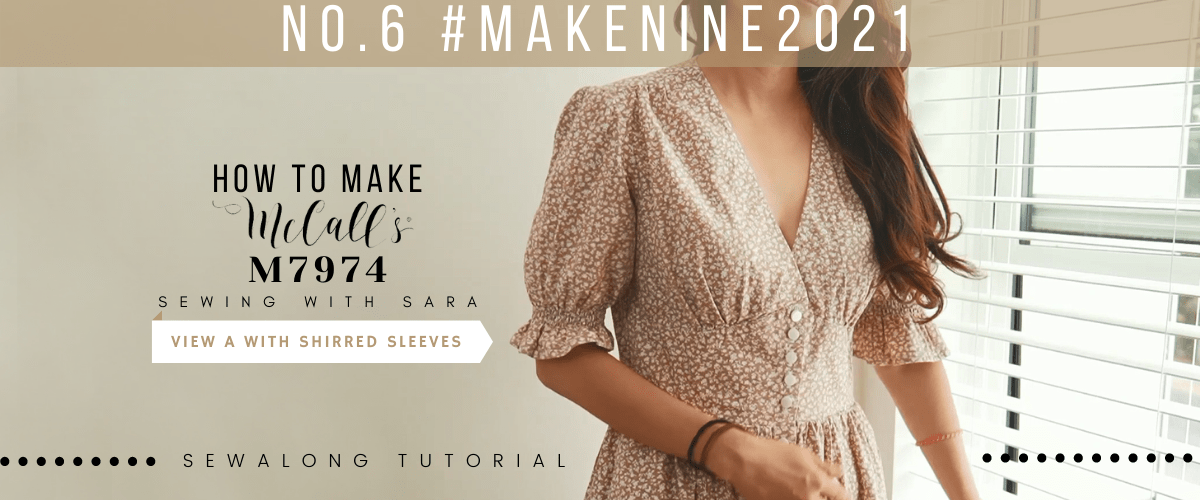
Hello, Sara here with a new pattern and a new tutorial! Normally I stay away from fitted dresses but I had to make two after seeing what Katia of @sew_sewphisticated made. I decided to make my own versions of McCall’s m7974, and guess what, I love them more than I thought I would! There are four views in the pattern and I made View A with shirred sleeves and View D without the collar. You will sew along View A with me in this video.
I heard there can be difficult sizing issues with this dress so I recommend that you make a toile version before committing to the final version.
There are a couple of ways you can adjust the fit without cutting into the fabric. One is to attach the buttons closer to the inside of the dress and the other is to increase the seam allowance on the side seams of the Bodice before assembling it to the Skirt.
For both dresses, I tried to keep a strict 5/8” seam allowance and that worked well for me, although I want to add just one more button on top as the neckline is too wide for me when I sit or bend over.
Alright, make sure to sign up and do not miss out on upcoming events, tutorials, giveaways etc. Let’s get started!
So, I strongly recommend watching the video if you have things that you couldn’t understand.
Cut 2 Front Bodice (Mirrored), 1 Back Yoke, 1 Back Yoke Facing, 1 Back Bodice, 2 Front Facing (Mirrored and Interfaced), 2 Sleeve, 2 Front Midriff (Mirrored), 2 Midriff Facing (Mirrored and Interfaced), 2 Skirt Front, 4 Side Skirt, 1 Back Skirt (On Fold), 4 Pocket (Mirrored)
1. Staystitch * It prevents bias/curved areas from stretching out Staystitch all the necklines and armholes
2. Bodice Gather upper and lower edges of Front Bodice between notches * I use my two favourite methods for the gathers. I recommend you watch my gathering Method video in case you want more detailed instructions! Pin Front Bodice and Back Yoke at shoulders RST (Right Sides Together) Sew leaving the gathered area Adjust gathers, sew, and serge Press the seam toward Back Yoke Gatherstitch between the notches Pin Back Yoke and Back Bodice matching the notches RST Sew leaving the gathered area Adjust gathers, sew, serge Press the seam towards Back Yoke
3. Facings Finish outer edge of Front Facing in your preferred method Pin and sew Back Yoke Facing and Front Facing at shoulders RST Press the seam toward Yoke Facing WST (Wrong Side Together) Fold and press the seam allowance on lower edge of Back Yoke Facing Pin Facing to Bodice, matching all the notches RST Sew the neckline Trim the seam Sinp the curved neckline Understitch Facing *Understitching is stitching that is sewn as close to the seam line as possible holding the seam to the facing or lining Turn Facing inside and press Cover the shoulder seams with Facing and pin *I recommend you either pin all around the Facing or use Wash-Away Wonder Tape Cover the Yoke seam with Facing and pin Edgestitch/topstitch or stitch in the ditch from the right side
4. Midriff Pin Front Midriff and Front Bodice RST Sew leavign the gathering area Adjest gathers and sew Pin the Midriff Facing and sew Pin and sew Front Midriff and Midriff Facing at the front RST Be careful not to catch the Front Bodice piece *For the best look, you need to sew as close to the Bodice at the corner as you can Snip the corner Turn right side out and press Pin and sew Front Bodice and Back Bodice at sides RST Serge
5. Sleeves (I modified the sleeves into shirred sleeves I’ll just share my process briefly) *Please watch the video (12:29 <- Video Timeline)
6. Skirt and Pocket (Optional) Interface the front edge of Front Skirt panel Or doublefold and press Pin the Pockets to the Side Skirt panels and sew RST Serge the stitched area Press the Pocket toward the seam Understitch Pin the Side Skirt and Pocket at sides RST Mark the notches Sew Sew 1/8″ inside of the stitch *Extra backstitching will secure the opening of the Pocket Serge the sides Snipping the corner will help serging Send each Pocket to opposite direction and press Baste the Pocket to the Skirt Sew Front Skirt and Side Skirt panel at the side the Pocket lays towards RST Sew Back Skirt and Side Skirt panel RST Sew Back Skirt and the other Side Skirt panel RST Sew Side Skirt panel and Front Skirt RST And serge all the seams
7. Assemble Bodice and Skirt Prepare for the gathering with your preferred method Divide sections into three at the side seams Sew Bodice and Skirt at the waist RST Match the end of Bodice at the notch on the Skirt Adjust gathers and pin Serge only between notches
8. Front Facing and Hem Fold the self-facing toward the right side and sew RST From the top of Midriff, topstitch/edgestitch Fold the self-facing toward the right side at notch *In case you are using heavier weight fabrics or want a neat finish, follow this extra step Sew where you want to hem Trim the extra layers Turn right side out doublefolding the bottom hem Doublefold the entire hem and press Topstitch/edgestitch
9. Button and Buttonhole *Make buttonholes using your machine’s instructions. Refer to my short video on buttonholes for more help
Alright. That’s it for the my MakeNine 2021 project #6. Thank you very much for reading and watching! I will see you in my next post!
*****Disclosure****** Some of the links above are affiliate links. Clicking and purchasing through affiliate links gives me a small commission. BUT MORE IMPORTANTLY, I wanted to help you find the materials easier. So you can focus more on your project. Thank you. **********************