Hello and welcome back to Sewing Therapy. I’m Sara and today I invite you to sew a Delano Top with me. Thanks so much for your patience while waiting for my next video. Since I started my TikTok account, I’ve been super busy making shorter content for that platform and …
I always recommend that you make the original version of M7742 first and then decide which parts to modify. Everybody is unique and every person has different tastes and desired outcomes from each pattern. By making the original first, you can know which parts you don’t like for yourself and …
UPDATE (Feb 2023) : Unfortunately Ora Pinafore Pattern has been discontinued from Soften Studio. Hello and welcome to Sewing Therapy. Today I invite you to sew an Ora Pinafore with me. Good news first! Melody of Soften Studio generously offers you a special discount code for a limited time! I …
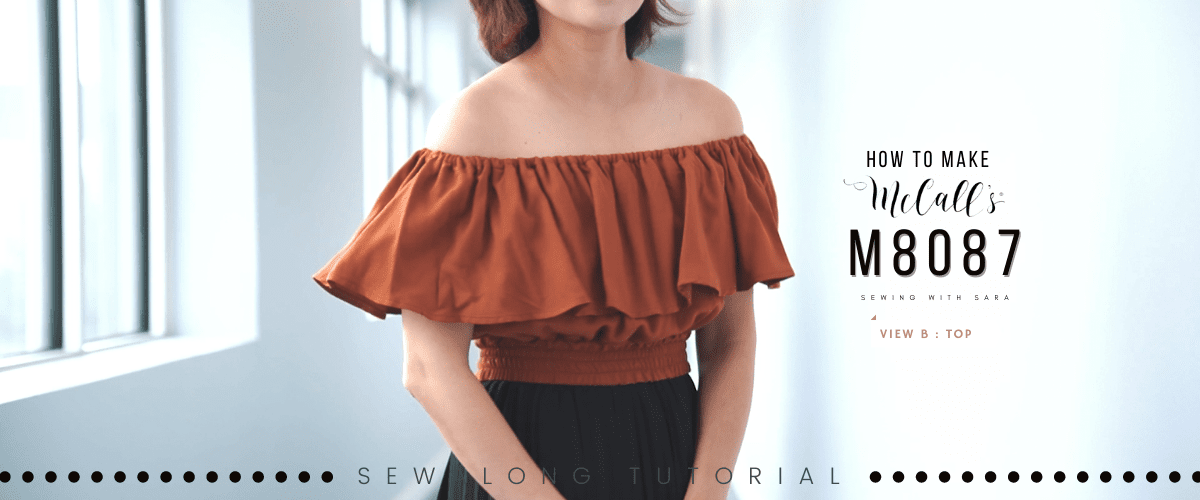
Hello, I’m Sara and welcome back to Sewing Therapy. Today I’m sewing a McCall’s M8087 and invite you to sewalong with me. The M8087 is a dress pattern but I want to introduce this pattern to you as a top pattern. It’s a versatile top with two looks: a ruffle …
Hello and welcome back for Sewing Therapy. I’m Sara and today I invite you to sew a Marcel Dress along with me! This dress is so beautiful and I love that it’s a great pattern for using up remnant fabric pieces. If you’re anything like me, I know you have …
Hi, Sara here, and I’m back, finally! I feel awkward sitting in front of the camera as it’s been a while. Thankfully my facial spasm has disappeared, but because of a side effect from surgery, my facial movements are still a bit off. Please disregard and focus on my sewing! …
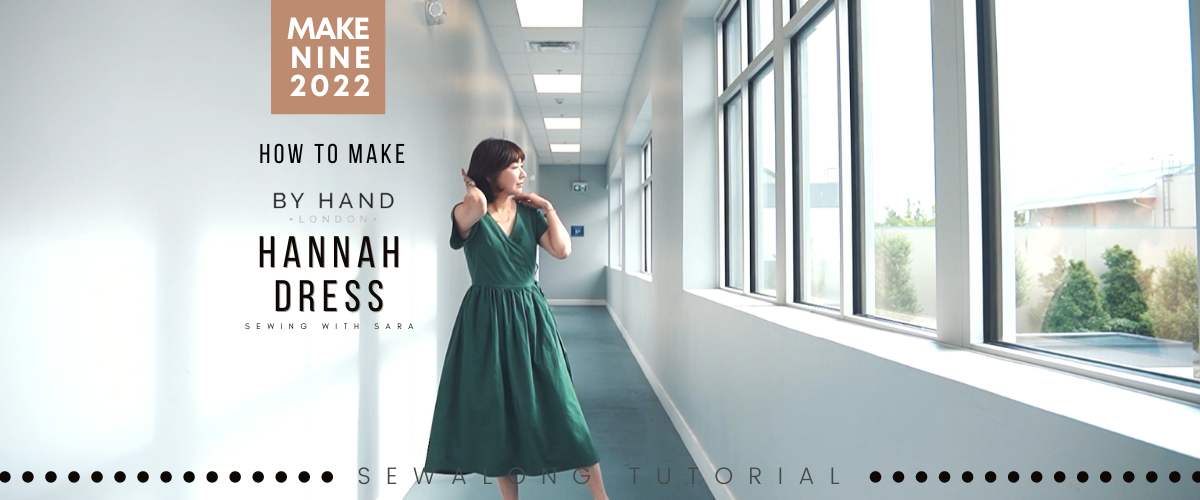
Hello, Sara here. it’s been a while! It’s time for Hannah Dress Sew Along Tutorial! I’m back from my trip to Korea and I’m grateful for your patience while you waited for my next video. If you follow me on Instagram, you might already know that I had surgery in …
Hello, I am Sara and welcome back to sewing therapy. Today we’re sewing an amazing new pattern by I AM Patterns called the HELIOS. This is my first collaboration with I AM and I couldn’t be happier with this pattern. (I AM is known for their trendy yet timeless sewing …
Hi, I’m Sara and welcome back to Sewing Therapy! If it’s your first time here, welcome. At Sewing Therapy, I invite you to sew along with me as I share my sewing process for various patterns I choose, as well as any tips or tricks in hopes that you can …
‘M7742 VIEW E’ is what I’m going to show you as an instruction! Hello and welcome back to Sewing Therapy. In my video about the Bias Hobo Bag, I wore one of my most loved tops and many of you inquired about it. It’s a McCall’s Pattern M7742! With a …