Free measurements are included in the video! Feel free to modify them to suit your needs and wants.
- IMPORTANT UPDATE: The measurements of Outer and Inner are 12″ x 26″ !
Hello and welcome back to Sewing Therapy! I’m Sara and today I’m working on something different and welcome you to sew with me a Bias Hobo Bag.
I first drafted the Bias Hobo Bag pattern when I was beginning in my sewing journey. While I loved the bag I created, I was recently inspired to revisit the pattern and revamp it for size and quality as my skills have grown a lot since I first began sewing. It’s not a fancy bag, but I like it for its effortless style that can be seamlessly added to any outfit. Depending on the fabric, size, and colours you choose, the bag can give off very different vibes!
Before we get started, I have to mention that there’s a lot of bias binding in this project, so it’s a great opportunity to practice your bias binding! And I’m sharing the measurements for my favourite size of the bag with you in the video. You can modify them to suit your needs and wants. Let’s get started.
Materials
I used Cotton Canvas from my shop
https://etsy.me/3J0Cdub
Other fabrics are from personal stash!
FAQ Material List
The sewing machine I have:
Bernette B37 Swiss Design Computerized Sewing Machine
https://amzn.to/3etYaFE (USA)
The serger I have:
Brother 1134D
Hem Tape
Canada https://amzn.to/35iQzqM
USA https://amzn.to/35kXYpq
LDH Scissors and thread snip
http://bit.ly/3vbHj04
Tailor’s Chalk Pencil
http://bit.ly/chalkpencil
Poly Sewing Thread
https://bit.ly/209thread
Lightweight Fusible Interfacing
https://bit.ly/3GETKGw
Wash-away Wonder Tape
Canada https://amzn.to/35DUwUj
USA https://amzn.to/39ylJc2
Craft Clips
Canada https://amzn.to/32vmK2u
USA https://amzn.to/3sjKKiU
Flat Head Pins
Canada https://amzn.to/2IaKoKm
USA https://amzn.to/32slD31
Point Turner
Canada https://amzn.to/39rgfQA
USA https://amzn.to/3qjfKyA
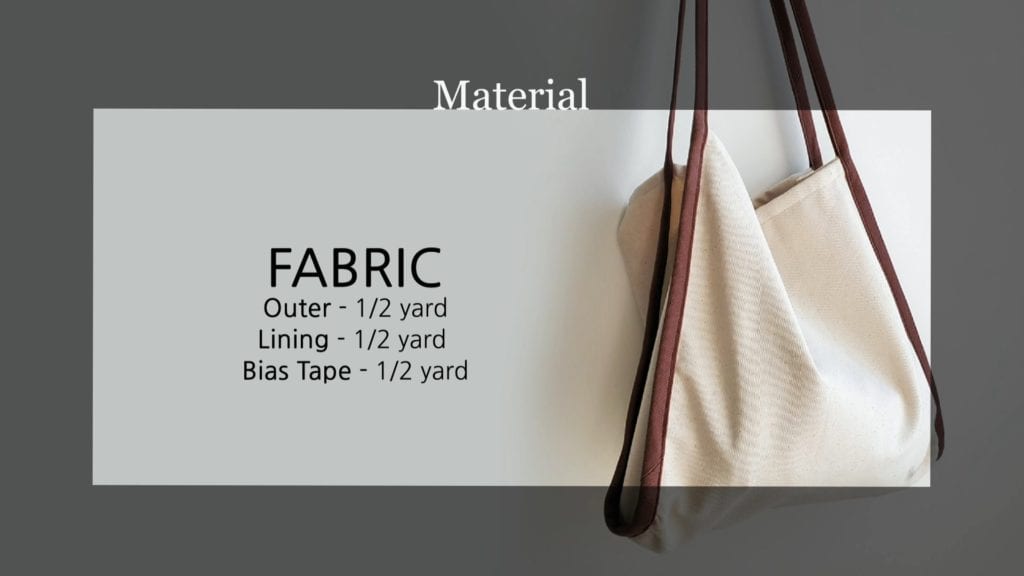
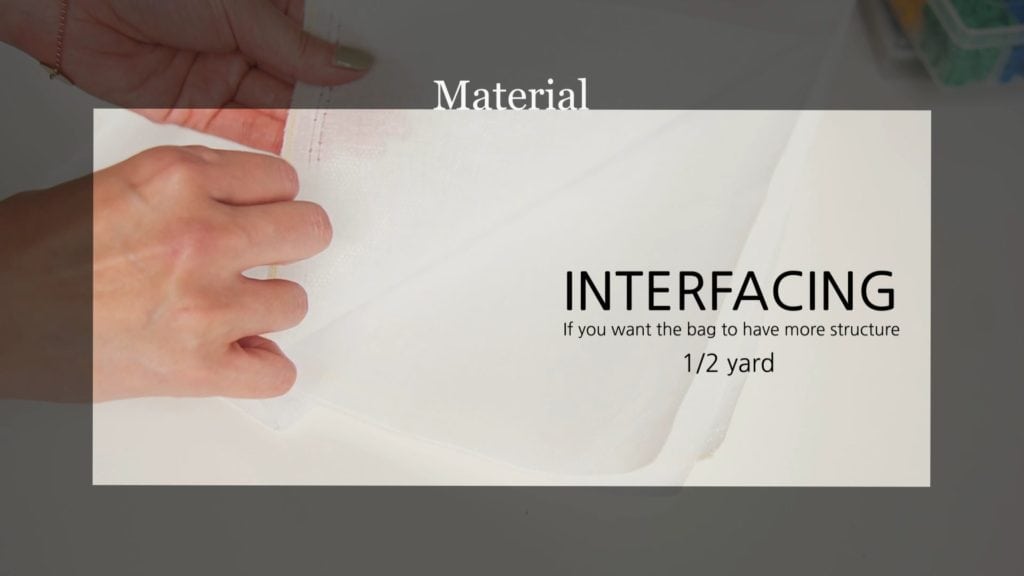

Cut
1 Outer + 1 Lining (12″ x 26″)
1 Pocket (7″ x 12″)
2 Side Panel (3.5″x 12.5″)
2 Button Tab (2″ x 3″)
2 Snap Tab (2″ x 3″)
Bias Tape (2″ x 110″) *Bias Tape is normally made from fabric cut on the Bias (45 degrees) so it has a bit of stretch
Seam Allowance
Use 1/2″ seam allowance unless otherwise stated
0. HOW TO MAKE CONTINUOUS BIAS TAPE
Lay the ends of two strips at a right angle and pin RST (Right Side Together)
Draw a diagonal line from the top left corner to the bottom right and sew
Trim the seam Open the seam and press
Repeat
Now that you’ve made a long strip of bias tape, let’s make it a double-fold tape
Fold in half and press to make a fold line
Repeat on the other side
1. SNAP TAP
Fold the long edges and press WST (Wrong Side Together)
Fold in half and press
Edgestitch/topstitch
2. POCKET
Fold the bottom edge and press WST
Double-fold the top edge and press
Edgestitch/topstitch the top edge
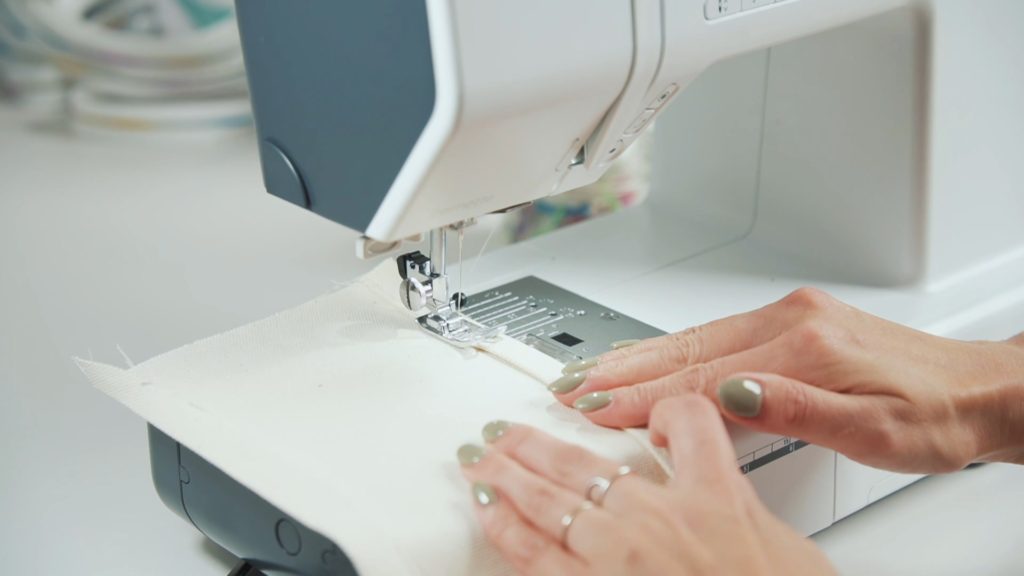

Place the Pocket 4″ away from the top edge and pin
Baste the sides and edgestitch/topstitch the bottom
Divide the Pocket into your preferred portions
3. BODY
Layer Outer and Lining together and baste all the edges WST
Optional) You can wrap the top edge with bias tape

Double-fold the short edges and press
Place the Button Tab on the center and pin
Repeat for the other side
Topstitch/Edgestitch
Using Snap Tabs, you can make the closure in a variety of ways
4. SIDE PANEL
Round the two bottom corners
Double-fold the top edge of Side Panel and press
Edgestitch/topstitch
Mark the center of the bottom
Mark the center of the sides of the body
Match the side of Body and Side Panel and pin WST
*If you are a beginner, I recommend that you sew this step in two separate parts
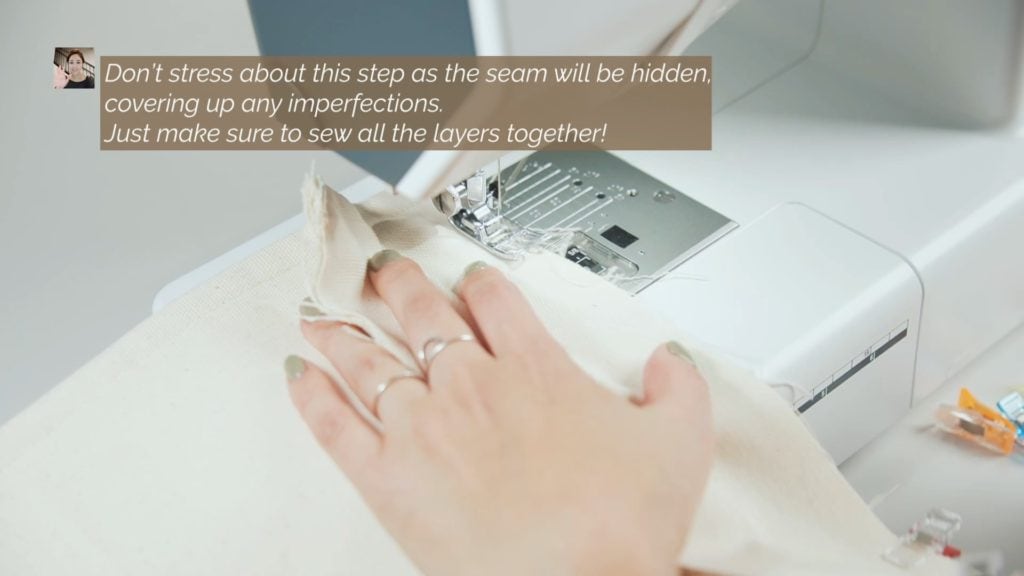
5. Bias Binding
Begin sewing 3″ away from the end
Sewing curves through multiple layers of heavyweight fabric can be tricky
Decrease the stitch length for the rounded corners and go slow
Measure and leave 24″ for the handle
Make sure the handle is not twisted
Pin and sew the Bias Tape on the other side
Measure and leave 24″ for the other handle
Make sure the handle is not twisted
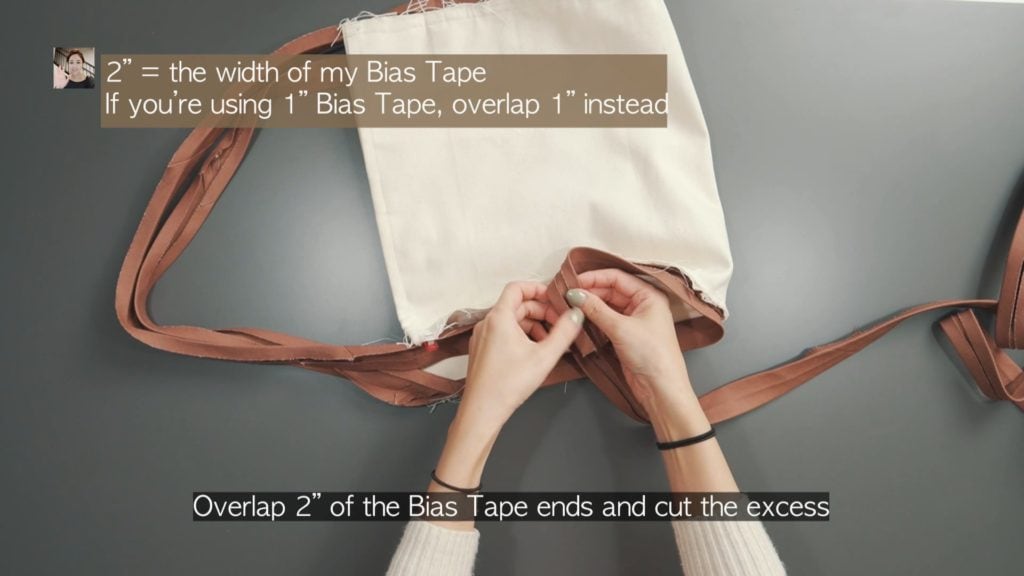
Let’s attach the handle end to the bag
Like making continuous bias tape, lay the ends together at a right angle RST
Pin, Draw a diagonal line from one corner to the other and sew
Trim the seam, open and press
Attach the bias binding to the remainder of the bag
Fold and pin the Bias Tape all around the bag, then edgestitch/topstitch
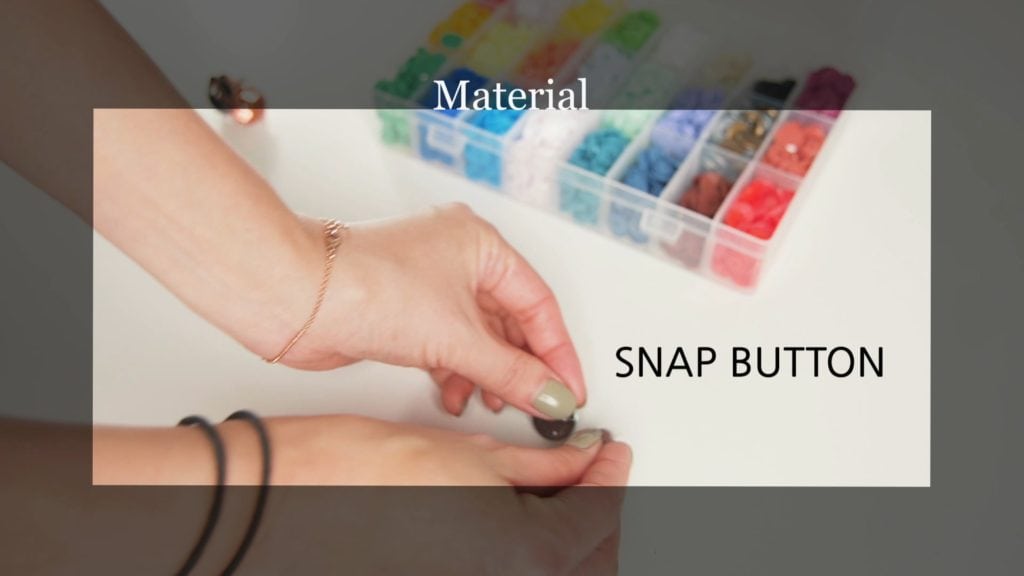
5. SNAP BUTTON
Attach the snap button in your preferred way and position
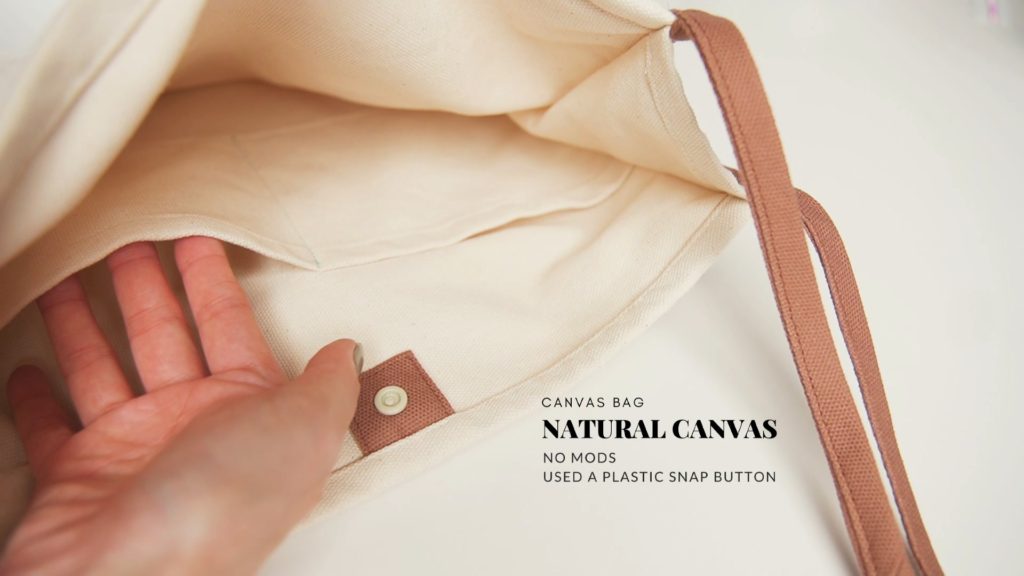
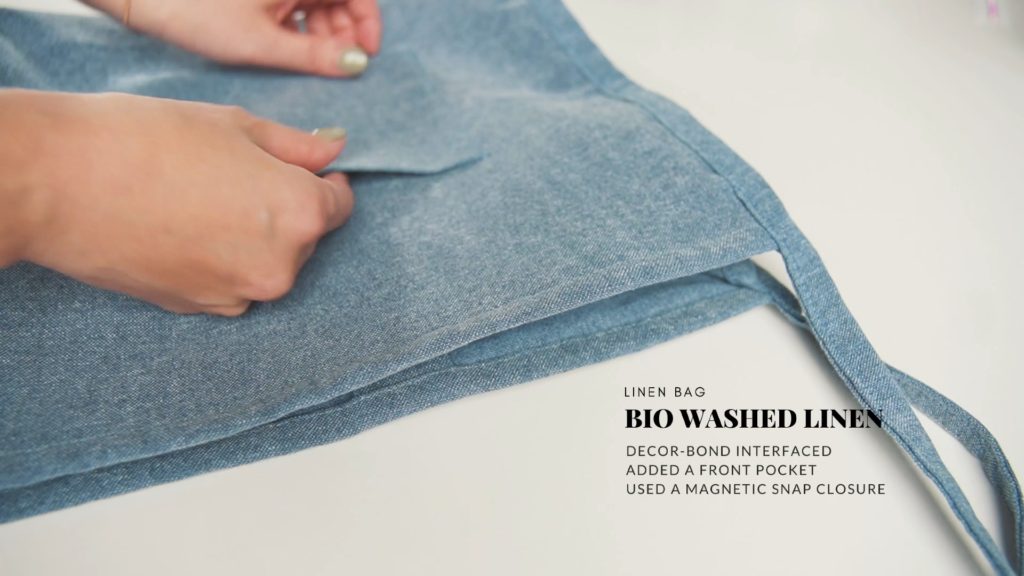
That brings us to the end of my Bias Hobo Bag, a slouchy bag that can hold so much and yet effortlessly match many of your outfits in your handmade wardrobe. I hope you enjoy your new Bias Hobo Bag and I’d love to see how you style it with your outfits – tag me @yoursara_k to show me your bag. I will see you in my next post!
*****Disclosure******
Some of the links above are affiliate links. Clicking and purchasing through affiliate links gives me a small commission. BUT MORE IMPORTANTLY, I wanted to help you find the materials easier. So you can focus more on your project. Thank you.
**********************
Let’s get connected!
Sewing Therapy
Instagram – https://www.instagram.com/yoursara_k/
YouTube – http://youtube.com/c/sewingtherapy
Tiktok – http://tiktok.com/@yoursara_k
Dailylike Canada
Instagram – https://www.instagram.com/dailylikecanada
Two O Nine Fabric Studio Instagram
https://www.instagram.com/twooninefabric.ca
