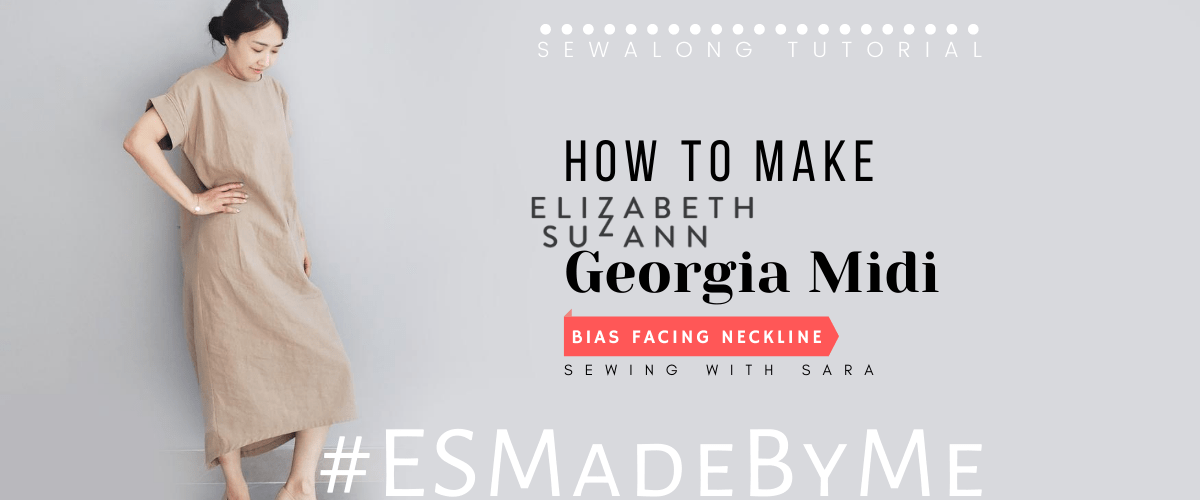
Hello, Sara here. A project-based sewing instructor in Vancouver, BC. Georgia by Elizabeth Suzann is their bestselling series and I have chosen to make two versions: Georgia Tee and Georgia Midi, but using the same techniques, you can make any version in the Georgia series.
I won’t be making any modifications in the tutorials so that I can replicate the original Georgia pieces. If you want to add slits to your Midi, please check out my Athina Top tutorial for the technique.
http://sewingtherapy.net/how-to-make-athina-top/
Also, here is the link for the other two tutorials for Elizabeth Suzann’s patterns.
Harper Tunic: http://sewingtherapy.net/harper-tunic-tutorial/
Clyde Pants: http://sewingtherapy.net/clyde-pants-tutorial/
I strongly recommend you to watch the video for anything you are confused with. You can also leave your questions on a comment section below.
And there is one more thing that I should mention. As they were in a format that only pattern-makers could use, it took another team to convert them into A0 format and PDF for home print. Thank you all!
The Team
https://www.instagram.com/minimalistmachinist/
https://www.instagram.com/mombasics
https://www.instagram.com/thestoryclubpdx
https://www.instagram.com/luigiwu
The organizations you can donate:
https://blacknovember.org/
https://www.instagram.com/glits_inc/
https://thelovelandfoundation.org/
Update! The patterns are no longer available for download as Liz Pape (the designer) would like to host the files exclusively on her website. To be notified when the patterns are available, please subscribe to the Elizabeth Suzann newsletter on their site: https://elizabethsuzann.com
Alright. Let’s get started.
Oh, before we start, I should mention about the seam allowance. Please use 3/8″ seam allowance unless otherwise stated.
Materials
Elizabeth Suzann Georgia Pattern, Midweight Linen (OS – 60″ : 1.5 – 2 yards / 44″ : 3 yards)
Etsy listing available in my shop – Check out this item in my Etsy shop https://www.etsy.com/ca/listing/840533289/12-yard-cotton-linen-blend-apricot-from
Etsy listing available in my shop – Check out this item in my Etsy shop https://www.etsy.com/ca/listing/821762714/ldh-scissors-95-prism-fabric-shears
These are my online fabric shops.
All the fabrics I use are from either Dailylike Canada or Two O Nine Fabric Studio.
Dailylike Canada
http://www.dailylike.ca
Two O Nine Fabric Studio
https://www.etsy.com/shop/twooninefabricstudio
Cut
1 Front, 1 Back, 2 Sleeves, 1 Bias Binding
Tip: Cut the fabric on a 45-degree angle for stretch!
1. Shoulder Seams
Pin and sew shoulder seams of Front and Back RST (Right Side Together)
And Serge

2. Side Seams
Pin and sew side seams of Front and Back RST
And serge

3. Sleeves
Sew the short edges RST
Open the seams
Fold in half lengthwise WRT (Wrong Side Together) and press
Send the shoulder seams towards the Back and press
And turn inside out
Slip the armhole area into the sleeves and pin the armhole edge RST
Tip: Shoulder seams and side seams lay towards the back
Sew
Carefully sew without making any bulky areas on the armhole
Repeat for the other sleeve
And serge
Send the seams towards the Bodice and press
Wait! Let’s copy a nice detail from original ES Georgia! 🙂

Topstitch/understitch around the armhole
This stitch will keep the seam in place and also add a nice detail (1/4″ from the stitch line / stitch length: 3)
Repeat for the other sleeve

4. Neckline (Bias Facing)
Here, You can check out the comparison.


Sew the short edges RST
Open the seams
Fold in half and mark the middle (opposite of the sewn edge)
Fold the bodice in half and mark front and back centers of the neckline
Match the centers of neck binding to the centers of neckline RST
It’s normal that the neck binding is a little smaller than the neckline
So we will pin only the centers and carefully sew
Sew the binding onto the neckline, stretching it to fit (1/4″ seam allowance)
Send the neck binding towards the seam and press
Clip the seam
Fold the neck binding, wrapping the seam, and fold again
Folding the entire neck binding ensures it will not be visible from the outside
Pin and edgestitch/topstitch the folded edge (Stitch length: 3)
Tip: when edgestitching, check often that the bodice fabric is laying flat and stretch the bias binding to cover both layers. It will prevent the neckline of bodice from puckering

Doublefold and press
Edgestitch / Topstitch the folded edge (Stitch length: 3)

And that’s the Georgia tee and midi! What do you think about the sleeves and shape? If it’s too boxy for you, the midi also looks great with a belt and the tee half-tucked. I hope you enjoyed this tutorial.
Thanks for reading and watching!
I will see you on the next one!
*****Disclosure******
Some of the links above are affiliate links. .Clicking and purchasing through affiliate links gives me a small commission. BUT MORE IMPORTANTLY, I wanted to help you find the materials easier. So you can focus more on your project. Thank you.
**********************
Here’s my Patreon page link. Your support is greatly appreciated! https://www.patreon.com/user?u=32815284
Let’s get connected!
Sewing Therapy
Instagram – https://www.instagram.com/yoursara_k/
Blog – http://sewingtherapy.net/
Twitter – https://twitter.com/SewingTherapy
Dailylike Canada
Instagram – https://www.instagram.com/dailylikecanada
Facebook – http://www.facebook.com/dailylikecanada
Pinterest – https://www.pinterest.ca/dailylikecanada
Two O Nine Fabric Studio
Instagram –https://www.instagram.com/twooninefabric
