Finally, my Estuary Skirt (#MakeNine2020 project No.4) Sew-Along Tutorial is here! Because I got sidetracked with 3 GORGEOUS projects from Elizabeth Suzann, I am getting a bit behind! I should work harder!
Hello!
I’m Sara from Vancouver, a sewing instructor with a passion for garment sewing. I love sharing my tips and tricks with you and I’m excited to share this tutorial for the Estuary Skirt!
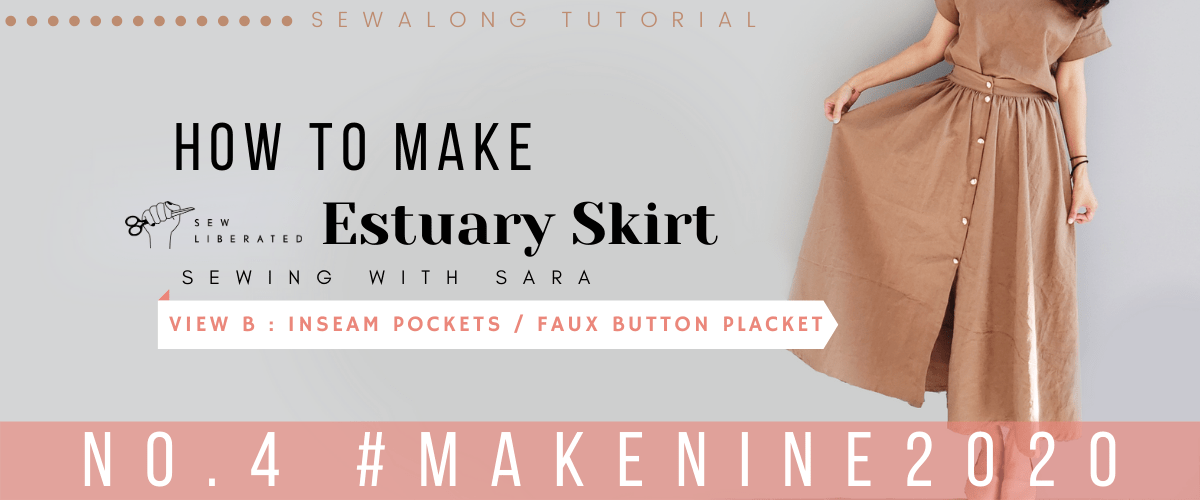
Sew Liberated describes the pattern as beginner-friendly and body-friendly as it comes in sizes 0-30 and has an elastic back. I will be making mine with faux buttons/buttonholes (go to my tutorial on buttonholes if you prefer yours with buttons) and cover View B with inseam pockets.
Before I move on, here are the links for my other 3 MakeNine2020 projects!
Well, I still got 5 more to go!
NO.1 Athina Top from Tessuti Fabrics
https://sewingtherapy.net/how-to-make-athina-top/
NO.2 Peppermint Wrap Top from Peppermint Magazine
https://sewingtherapy.net/diy-wrap-top/
NO.3 Jadie Jumpsuit from Paper Theory Pattern
https://sewingtherapy.net/makenine-zadie-jumpsuit-sewing-tutorial/
I strongly recommend you watch the video at least once to get the right idea. You can always come back and read the part that you forgot or wasn’t sure of.
Alright! Let’s get started!
Material
Sew Liberated Estuary Skirt Sewing Pattern, Lightweight Linen (or any fabrics that drapes), Lightweight Fusible Interfacing, Elastic, Buttons

Estuary Skirt Sewing Pattern is available at https://www.etsy.com/shop/twooninefabricstudio/
Or
PDF pattern at https://sewliberated.com
Fabrics
I used Washing Cotton 20c in Warm Beige from my online fabric store, Dailylike Canada (currently out of stock)
I used Lightweight Bio Washed Cotton Linen blend in Coffee Clay from Two O Nine Fabric https://etsy.me/344xwOg
Elastic
https://amzn.to/2EbSIXW Canada
https://amzn.to/2E5WKko USA
Wonder Tape
https://amzn.to/3g6kVwm Canada
https://amzn.to/3fZUKHx USA
Flathead Sewing Pin
https://amzn.to/30ZazKp Canada
https://amzn.to/2FomQja USA
These are my online fabric shops.
All the fabrics I use are from either Dailylike Canada or Two O Nine Fabric Studio.
Dailylike Canada http://www.dailylike.ca
Two O Nine Fabric Studio https://www.etsy.com/shop/twooninefabricstudio
SEAM ALLOWANCE
Use 5/8″ seam allowance unless otherwise stated
Cut
2 Front (Mirrored), 1 Back on fold, 4 Pockets (mirrored), 2 Front Plackets, 2 Front Waistbands, 1 Back Waistband
Fuse the light-wight interfacing on 2 Front Waistbands and 1 Front Placket *I’ll skip the placket as I’m doing a faux-button placket

1. Plackets
Fold one long edge of the plackets 1/4″ to the wrong side and press Wrong Side Together (WST)
Pin and sew the unfolded edge of the placket to the center edge of Front Skirt Right Side Together (RST)
Press the placket towards the seam
Fold the placket in half, covering the stitch slightly and press

Pin or use Wonder Tape to keep it in place
From the right side, edgestitch or stitch in the ditch
2. Inseam Pockets
Place the pockets on the Skirt Front (on the side without the placket) RST
Place the pockets on the Skirt Back RST
And sew
Serge the stitched areas
Send the pockets to the seam and press
Understitch (1/8″ away from the stitch) the seam to the pocket

Repeat for the other pockets
Place the Skirt Front and Back RS
Pin in place matching the stitches
We will sew from the top to the mark (slightly inside of the stitch)
(Optional) For the deeper pockets, mark 1″ away from the bottom
Sew down to the bottom edge, leaving the pocket opening
Make sure to sew slightly inside of the stitch
Sew around the pocket to the stitches we just sew
Repeat for the other pocket
Set the knife at a lower position OR clip the corner
**Either method will make serging the sharp corner easier
Send the pockets towards the Front and baste (1/2″) from the top

3. Waistband
Sew the short edges of the Front Waistband and Back Waistband piece RST
Open the seams
Fold one long edge 3/8″, press and set aside
Sew two parallel lines of the gathering stitches on the Skirt Fronts (Stitch length: 4 – 5)
**Don’t forget to leave long thread tails for gathering!
Pull the thread tails and gather the Skirt Front

Pin the raw edge of the Waistband to Skirt RST, leaving 5/8″ seam allowance of the Waistband beyond the Skirt Placket RST
Match the side seams and pin
Gather the Skirt to fit the Front Waistband
Pin the Back Waistband and Skirt Back
Sew the entire Waistband to the Skirt
Send the Waistband towards the seam and press
Fold in half of Waistband, slightly covering the stitch RST
Sew the ends of the Waistband right where the Placket starts
Make sure not to sew the Plackets
Flip the Waistband right side out
Fold the Back Waistband WST, slightly covering the stitch and keep it in place using Wonder Tape or pins

Edgestitch or stitch in the ditch along the Back Waistband ONLY
Insert elastic into the Back Waistband
Sew the elastic to the side seam to secure one end
Secure the elastic and carefully try on the skirt for fit and adjust as needed
Sew the other end of the elastic to the side seam
Enclose the waist seam with the Front Waistband, slightly covering the stitch
Pin in place
Edgestitch or stitch in the ditch on both Front Waistband
Distribute the gathers evenly and sew the two parallel lines on the Back Waistband
*Tip: Increase your stitch length to 3.5 and stretch the elastic while sewing. These two lines will secure the elastic and keep the gathers spread more evenly

Place one placket over the other placket and sew right under the Waistband
Sew the button on the Waistband and down the placket
4. Hem
Serge or double-fold the bottom edge
Fold to your desired length, press and sew

Wasn’t this pattern so friendly to make? I hope you had as much success with yours as I did with mine. If you have any questions or need to troubleshoot, let me know in the comments below and I’d love to help.
Thanks for reading and watching!
I will see you in the next post!

*****Disclosure******
Some of the links above are affiliate links. .Clicking and purchasing through affiliate links gives me a small commission. BUT MORE IMPORTANTLY, I wanted to help you find the materials easier. So you can focus more on your project. Thank you.
**********************
Here’s my Patreon page link. Your support is greatly appreciated! https://www.patreon.com/user?u=32815284
Let’s get connected!
Sewing Therapy
Instagram – https://www.instagram.com/yoursara_k/
Blog – https://sewingtherapy.net/
Twitter – https://twitter.com/SewingTherapy
Dailylike Canada
Instagram – https://www.instagram.com/dailylikecanada
Facebook – http://www.facebook.com/dailylikecanada
Pinterest – https://www.pinterest.ca/dailylikecanada
Two O Nine Fabric Studio
Instagram –https://www.instagram.com/twooninefabric
Pingback: Nexus Blouse by Papercut Patterns | Sewing Therapy Sew Along Tutorial - Sewing Therapy