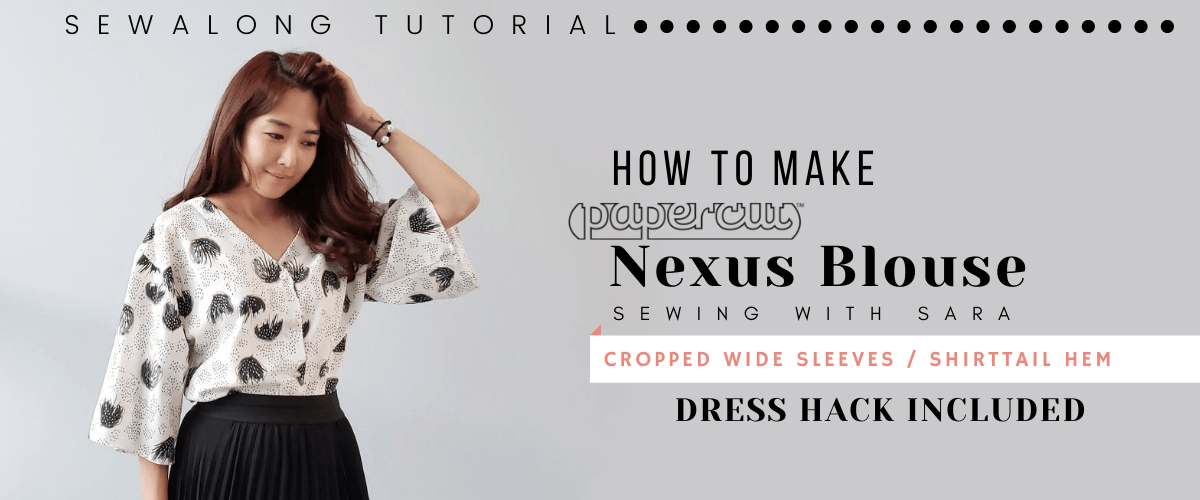
Today’s tutorial is for the Nexus Blouse by Papercut Patterns! This is truly a versatile blouse that can be worn with its V-neck button-up feature in the front or back.
Hello! I am Sara, your virtual sewing instructor in Vancouver, BC.
I chose to make the blouse with a cropped straight hem and wide sleeves, but you can also make this with a longer shirttail hem or gathered sleeve with buttons. So dig into your stash and grab that fabric you’ve been saving as you’ll want to use it for this gorgeous blouse.
Before I move on, here are the links for my 4 MakeNine2020 projects!
I strongly believe all worse making one.
Well, I still got 5 more to go!
NO.1 Athina Top from Tessuti Fabrics
http://sewingtherapy.net/how-to-make-athina-top/
NO.2 Peppermint Wrap Top from Peppermint Magazine
http://sewingtherapy.net/diy-wrap-top/
NO.3 Jadie Jumpsuit from Paper Theory Pattern
http://sewingtherapy.net/makenine-zadie-jumpsuit-sewing-tutorial/
No.4 Estuary-Skirt from Sew Liberated Pattern
http://sewingtherapy.net/estuary-skirt-sew-along-tutorial/
I strongly recommend you watch the video at least once to get the right idea. You can always come back and read the part that you forgot or wasn’t sure of.
Alright! Let’s get started!
Material

Nexus Blouse Pattern from Papercut Patterns, Any fabrics that drape, Buttons, Lightweight-Featherweight fusible interfacing
I MUST say that I love Papercut’s fun and creative instruction booklet!


Tropical Tan Shop here: https://etsy.me/2YNMqVx
The code is “SEWINGTHERAPY” and will be valid until quantity lasts!
Nexus Blouse Pattern from Papercut Patterns
PDF : https://papercutpatterns.com/
Paper : https://etsy.me/32VMSmf
All the fabrics I used are from my fabric studio
https://www.etsy.com/ca/shop/TwoONineFabricStudio
LDH Scissors and thread snip
https://www.etsy.com/ca/shop/TwoONineFabricStudio
These are my online fabric shops.
All the fabrics I use are from either Dailylike Canada or Two O Nine Fabric Studio.
Dailylike Canada http://www.dailylike.ca
Two O Nine Fabric Studio https://www.etsy.com/shop/twooninefabricstudio
SEAM ALLOWANCE
Use 3/8″ seam allowance unless otherwise stated
Cut
2 Front Bodice (mirrored), 1 Back Bodice on Fold, 2 Sleeves, 1 Back Neck Facing, 2 Front Neck Facing (Mirrored) | Skipped Sleeve hem Facings
1. Neck Facing
Fuse Lightweight Interfacing to Front and Backs Neck Facing
Sew the shoulder seams of Front and Back Neck Facing RST (Right Side Together)
Open the seams and beaten the outer edge by serging or folding
Set it aside

2. Shoulder Seams
Sew the shoulders of Front and Back Bodice RST
Press the seam towards the back

3. NeckLine
Pin the Neck Facing to the Neckline of Bodice RST and sew
Trim the seam
Clip the curved seam
Send the Neck Facing towards the seam and press
Understitch (1?8″ from the stitch) Neck Facing to the seam
Fold the Neck Facing along with the main stitch (not the understitch) and press
Topstitch/Edgestitch the serged edge or folded edge

4. Sleeves
Pin the sleeve with armhole RST and sew
Beginner Tip
Check that fabric is not layered under the seam you’re sewing

Serge and repeat for the other sleeve
Send the seams towards the Bodice and press
Fold the sleeve and pin the underarm seams and sideseams RST
Sew from the end of the sleeves up to where the curve of the bottom hem starts
Sew from the end of sleeves up to the curves start
Try to sew a smooth, rounded curve when sewing the sharp corner at the armpit
Avoid sewing wrinkly darts around the armpit
And serge
5. Sleeve Hem (Rolled Hem Without Rolled Hem Foot)
*This method only works with lightweight fabrics
Stitch a straight line 1/8″ away from the hem
Fold the stitch line and press WST (Wrong Side Together)
Fold it again and press
Edgestitch the folded edge

6. Bottom Hem (Rolled Hem Without Rolled Hem Foot)
Stitch a straight line 1/8″ away from the hem
Fold the stitch line and press
Fold it again and press
Use extra care when folding where the curves meet at the side seams
Edgestitch the folded edge
7. Buttonholes + Buttons
If you want more detailed instructions, check my buttonhole video.
http://sewingtherapy.net/how-to-sew-a-buttonhole-stitch/
Mark the positions of the buttons and buttonholes from the pattern
Let’s make buttonholes first (check the other video if you don’t know)
Make holes using a thread nip and seam ripper
Sew the buttons

8. MY MODIFICATION TIP
*How to make a deeper back neckline
Decide the preferred depth you want to add (Mine is 1″) and mark
Connect the point with the end of the neckline
Keep 90 degrees on the folded center to make a nice curve
Check the measurement of the original Back Neck Facing! (It’s 2″)
Trace the neckline and the shoulder
Mark 2″ away from the neckline
Connect all the marks to make a nice curvy outer line
Keep 90 degrees angle when cutting on the folded edge
9. MY MODIFICATION TIP
*The simplest way to make a top into side gathered dress
Mark your preferred position for the waist
From that point, draw a diagonal line
Match all the entire length of the skirt
10. MY MODIFICATION TIP
*How to attach waist ties
Make two pieces of bias tape
Attach them onto the waist marks on either Front Bodice or Back Bodice
11. MY MODIFICATION TIP
*The quick method to turn wide sleeves into bell sleeves
Doublefold the bottom of sleeves to make an elastic case
And cut the elastic to your preferred length
Edgestitch the folded edge leaving an opening
Slide the elastic band into the case and close the opening

I’ve thrown in more tips here and there. However, no need for stress at all. If you can’t quite get it for the first time trying it, No worries. Everyone has a learning curve and you will eventually get better!
And that’s it for the Nexus Blouse! I would love to hear your thoughts and any questions in the comments below. And take lots of pictures and tag me! Although I love my blouse, I don’t love how it looks on me and I’m looking for different ways to modify and style it to my liking. I hope you enjoyed this tutorial. Please subscribe to help me continue growing our incredible Sewing Therapy community. Thank you!
See you in the next post!
*****Disclosure******
Some of the links above are affiliate links. .Clicking and purchasing through affiliate links gives me a small commission. BUT MORE IMPORTANTLY, I wanted to help you find the materials easier. So you can focus more on your project. Thank you.
**********************
Here’s my Patreon page link. Your support is greatly appreciated! https://www.patreon.com/user?u=32815284
Let’s get connected!
Sewing Therapy
Instagram – https://www.instagram.com/yoursara_k/
Blog – http://sewingtherapy.net/
Twitter – https://twitter.com/SewingTherapy
Dailylike Canada
Instagram – https://www.instagram.com/dailylikecanada
Facebook – http://www.facebook.com/dailylikecanada
Pinterest – https://www.pinterest.ca/dailylikecanada
Two O Nine Fabric Studio
Instagram –https://www.instagram.com/twooninefabric
Pingback: Flowy and Fun Elodie Wrap Dress by Closet Core | Sewing Therapy Sew Along Tutorial - Sewing Therapy