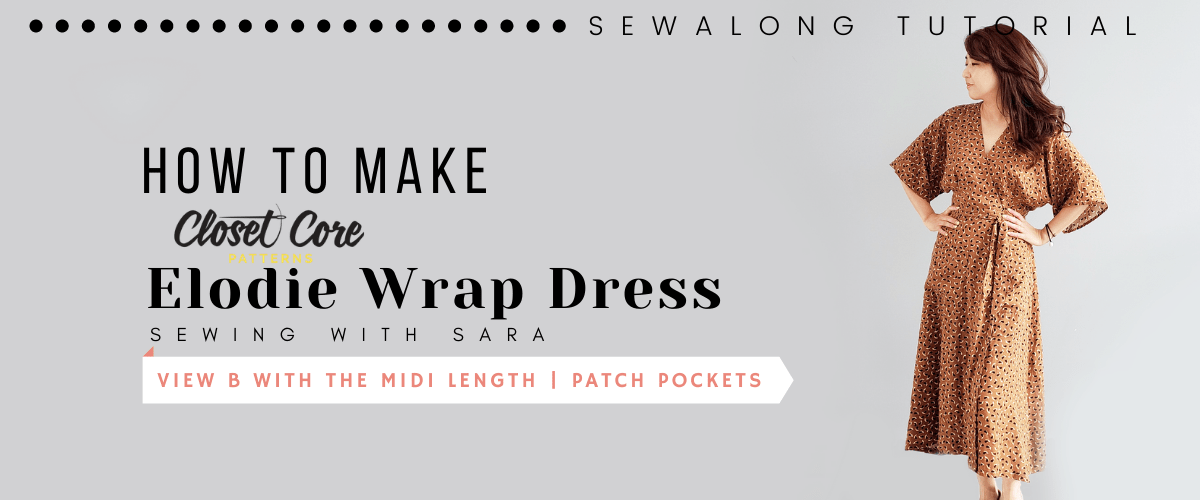
Hello! Sara here. Today’s garment is the Elodie Wrap Dress by Closet Core Patterns! They describe it as a modern take on a classic wrap dress and it is stunning! The pattern includes different options for the sleeves and length and I chose to make View B with the midi length.
Although I always try my best to give you a clear and easy to understand instruction, I strongly recommend you watch the video at least once to get the right idea. You can always come back and read the part that you forgot or wasn’t sure of.
Before we go on, I must tell you that I really like my previous project ‘Nexus Blouse by Paper Cut Patterns’. You can also check that out if you are thinking of making a blouse 🙂
http://sewingtherapy.net/nexus-blouse-sew-along-tutorial/
This dress is flowy, fun, and fabulous – a necessary addition to every capsule wardrobe. So grab a pattern, some fabric, and let’s get started
Material
Elodie Wrap Dress Pattern from Papercut Patterns
PDF : https://store.closetcorepatterns.com
Paper : https://etsy.me/33rlCMs
LDH Prism Snip
https://etsy.me/3ivo5Mk
LDH Prism Shears
https://etsy.me/33rmRvf
Printed Viscose fabric
https://www.blackbirdfabrics.com/
WashAway Wonder Tape
Canada https://amzn.to/3mnHt03
USA https://amzn.to/33zpLxM
Craft Clips
Canada https://amzn.to/32vmK2u
USA https://amzn.to/32w91s4
Elodie Wrap Dress Pattern from Closet Core Patterns, Any fabrics that drape
All the fabrics I used are from my fabric studio
https://www.etsy.com/ca/shop/TwoONineFabricStudio
LDH Scissors and thread snip
https://www.etsy.com/ca/shop/TwoONineFabricStudio
These are my online fabric shops.
All the fabrics I use are from either Dailylike Canada or Two O Nine Fabric Studio.
Dailylike Canada http://www.dailylike.ca
Two O Nine Fabric Studio https://www.etsy.com/shop/twooninefabricstudio
SEAM ALLOWANCE
Use 5/8″ seam allowance unless otherwise stated
Cut
2 Front Bodice (Mirrored), 1 Back Bodice (Mirrored), 1 Back Facing on fold, 2 Front Facing (Mirrored), 2 Front Skirt (Mirrored), 2 Back Skirt (Mirrored), 2 Pocket, 2 Back Waistband, 4 Front Waistband, 2 Belt
0. Preparation
Fuse light-featherweight interfacing to Front and Back Neck Facing (I skipped fusing interfacing to Waistband)
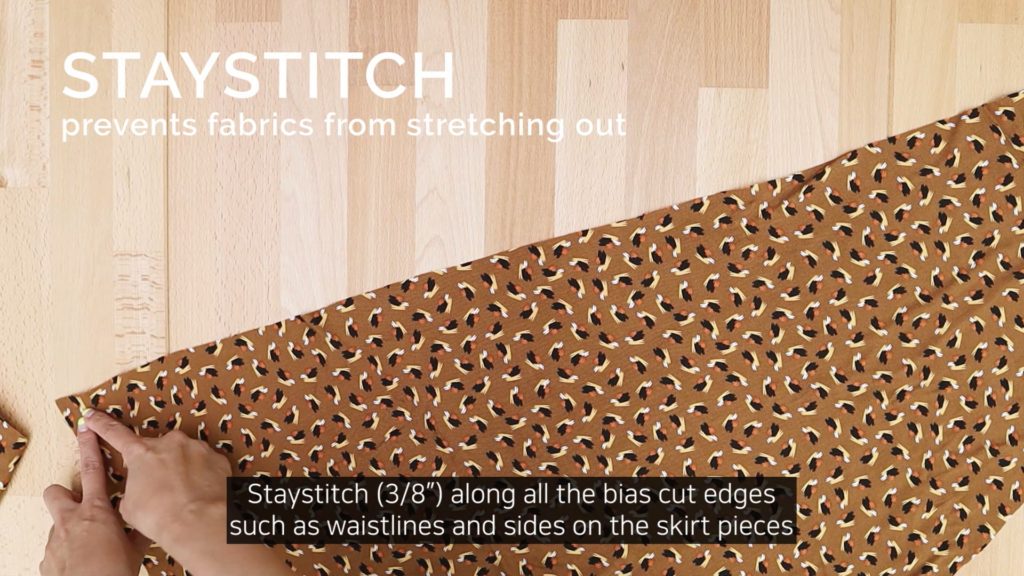
Staystitch (3/8″) along all the bias cut edges such as waistlines and sides on the skirt pieces, necklines of back bodice
1. Back Bodice
Match the notches folding towards side seams
Baste (1/4″-1/2″) Pleats
Sew the center back of Back Bodice RST (Right Side Together)
And serge
Press the seam towards any side
2. Front Bodice
Fold in order to align the notches for the pleats and pin
Sew
Repeat for the other pleats
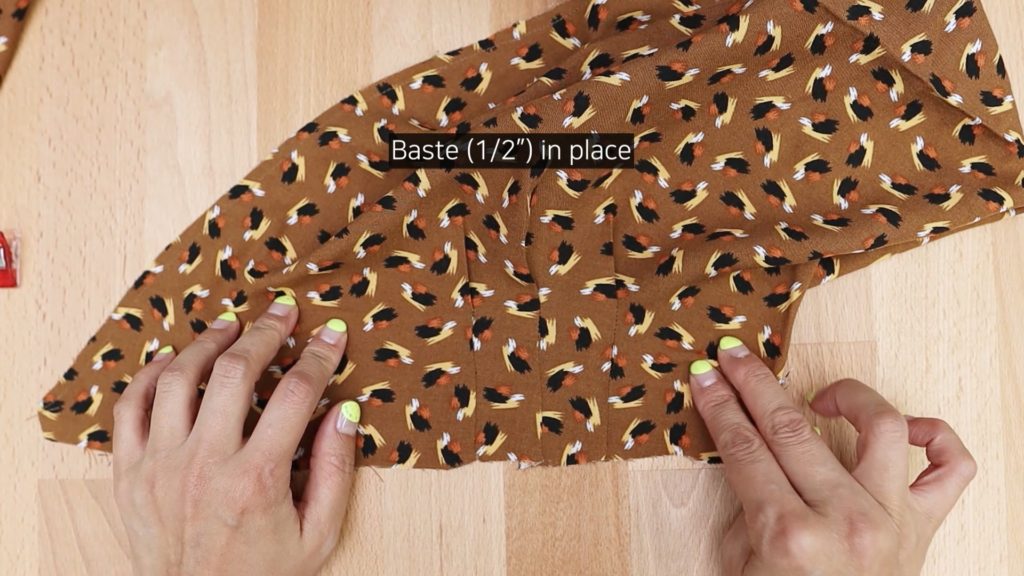
Press pleats towards the neckline
Baste (1/2″) in place
3. Assemble Bodice
Sew shoulder seams of Front Bodice and Back Bodice RST
And serge
Press the shoulder seams towards Back Bodice
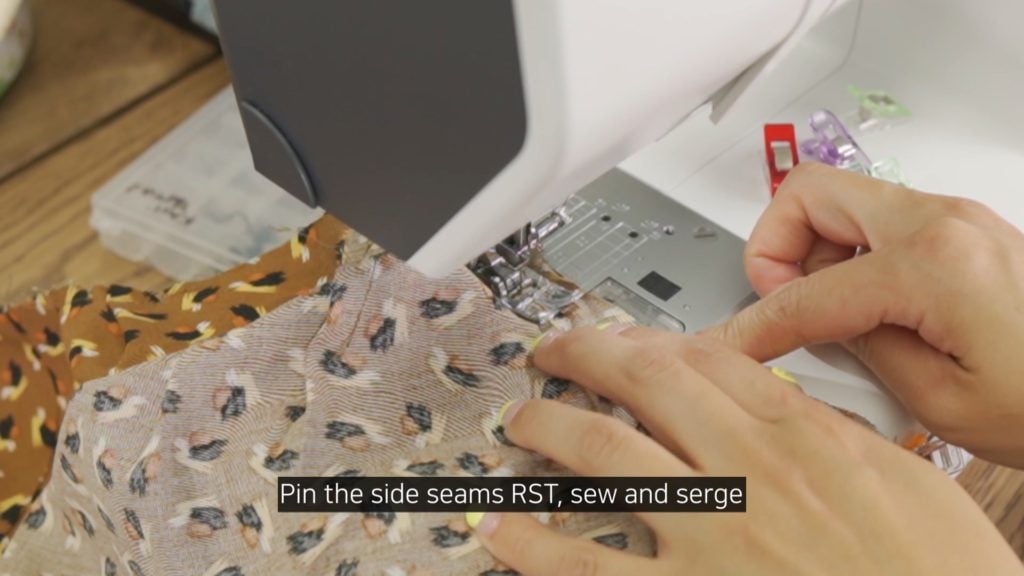
Pin the side seams RST and sew
And serge
4. Facing
Sew the shoulder seams of Front and Back Neck Facing RST
Open the seams
Finish the outer edge of the Facing in your preferred method
Pin the neckline of Bodice and the inner edge of Facing RST
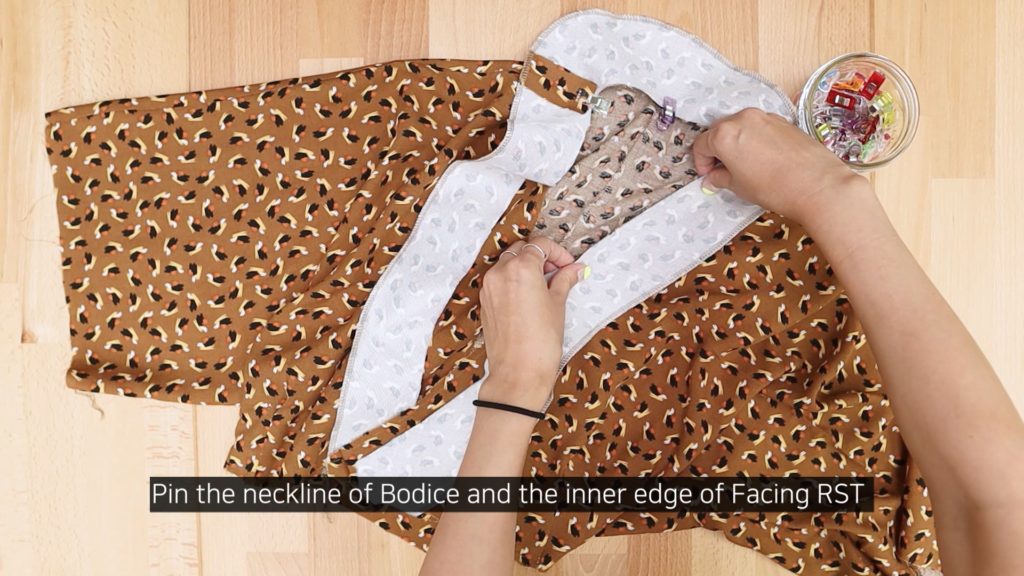
And sew
Trim the seam in half
Clip the curve
Press Facing towards the seam
Understitch the seam to Facing
Turn Facing to inside along the seam line and press
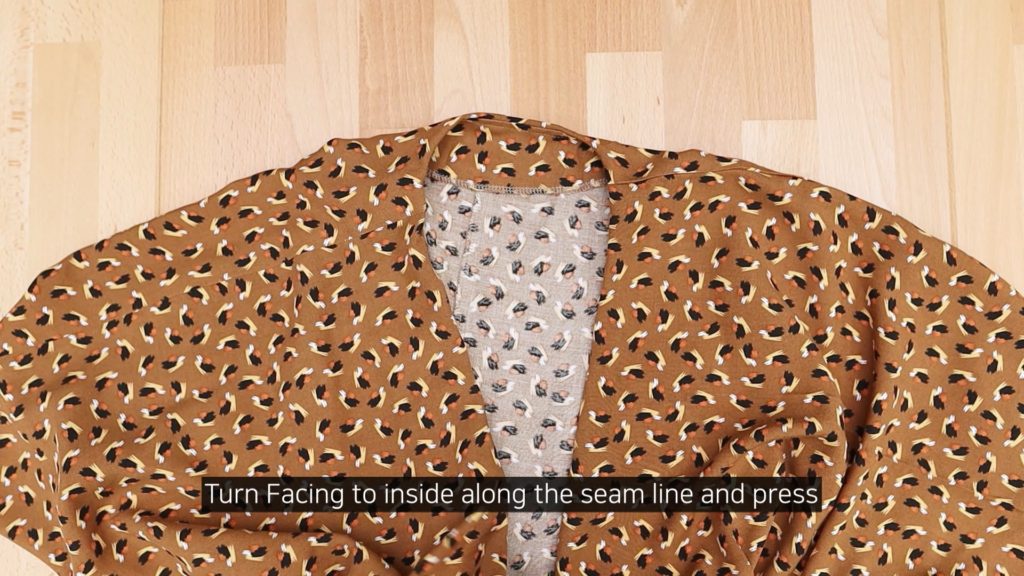
Stitch in the ditch along the shoulder seams to secure the Facing
Baste (1/4″ – 1/2″) the end of Facing to secure it in place
5. Pocket (2 methods. original instructions and more common method)
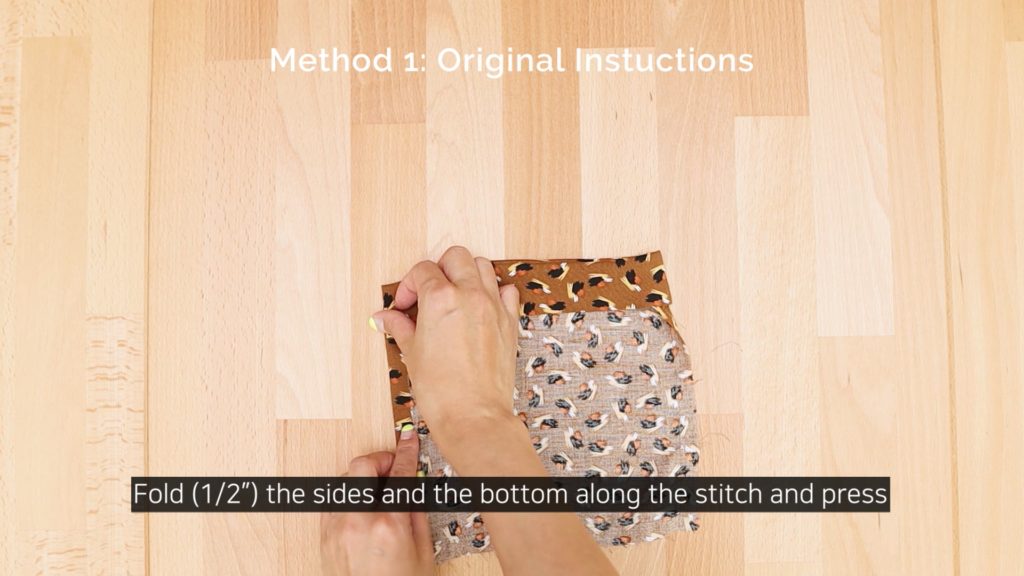
Method 1: Original Instructions
-Fold 1/2″ of the top edge WST (Wrong Side Together)
-Fold again along the notches RST and press
-Sew (1/2″) the sides and the bottom
-Turn right side out
-Fold (1/2″) the sides and the bottom along the stitch and press
-Topstitch/edgestitch the folded edge
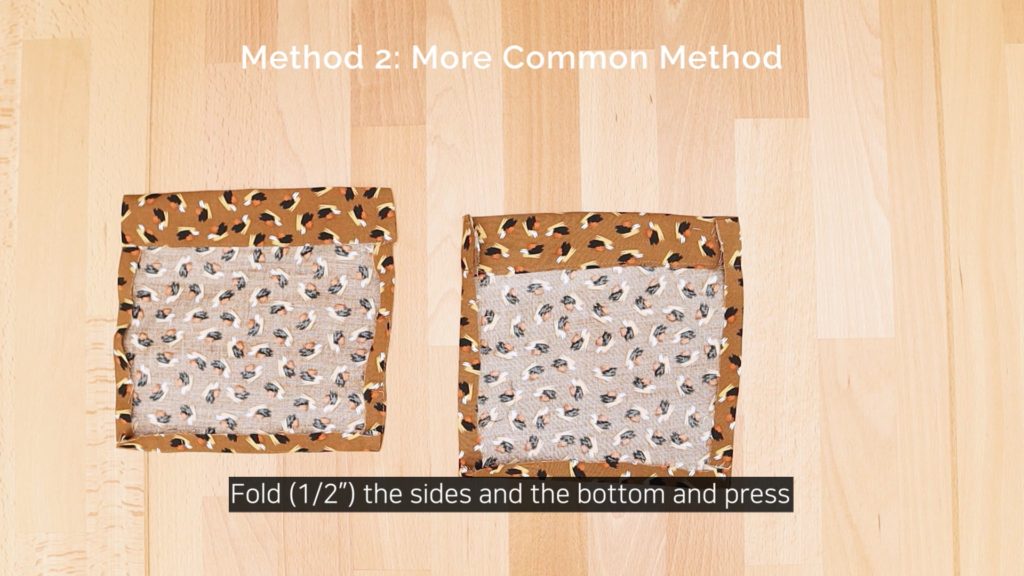
Method 2: More Common Method
-Fold (1/2″) the top WST and press
-Fold the top along the notches WST and press
-Topstitch/edgestitch the folded edge
-Fold (1/2″) the sides and the bottom and press
-Pin the pocket to the marks on the Front Skirt
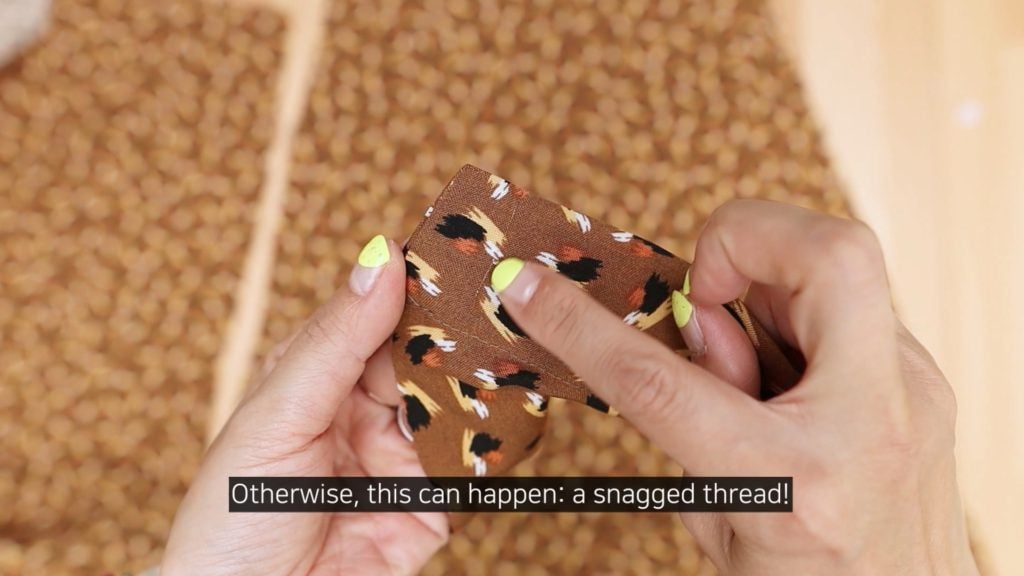
-Use extra fine pins or WashAway Wonder Tape
*Otherwise, this can happen: a snagged thread
-Repeat for the other pocket
-Topstitch around the pocket
6. Skirt
Double fold the side away from the pocket and press
Align Back and Front Skirt matching notches
Pin
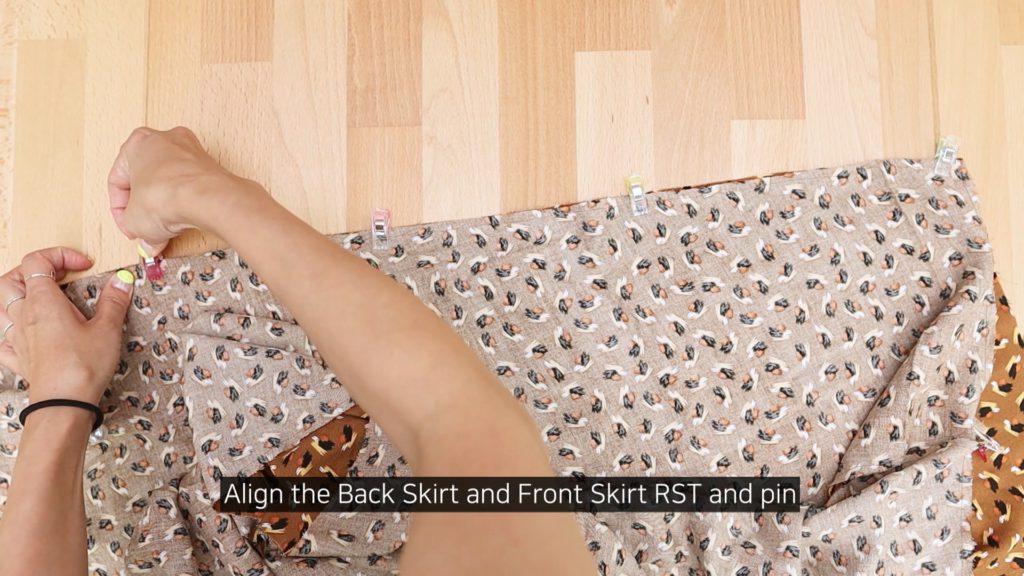
Align the Back Skirts RST and pin
Align the Back Skirt and Front Skirt RST and pin
Sew all pinned edges and serge
Press the seams towards the back
7.Belt
*If you prefer the tube-turning method, follow the original instructions. I personally don’t like tube-turning, so this is how I make belts
Fold 3/8″ both long edges “WST”
Fold in half
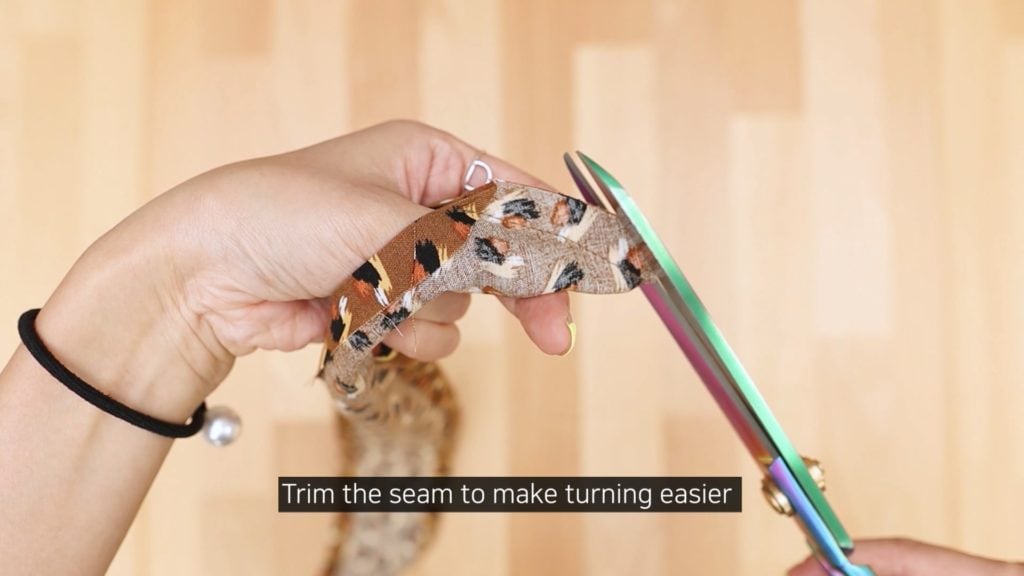
Sew the diagonal edge
Trim the seam to make turning easier
Turn inside out
Fold in half WST and press
Edgestitch the folded edge
8. Waistband
The long pieces are placed on the center
Sew one end of Front and Back Waistband RST
Baste the other end of Front and Back Waistband RST (Will be removed)
Open the seams
Understitch (3/8″) both sides of the stitch line
Fold the bottom edge of one waistband by 5/8″ and press
Place one of the waistbands (unfolded) to the Bodice RST
Leave 5/8″ seam allowance on the waistband
Match notches and the seam lines
Leave 5/8″ seam allowance on the other side as well
Place the other Waistbad onto the wrong side of Bodice matching raw edges
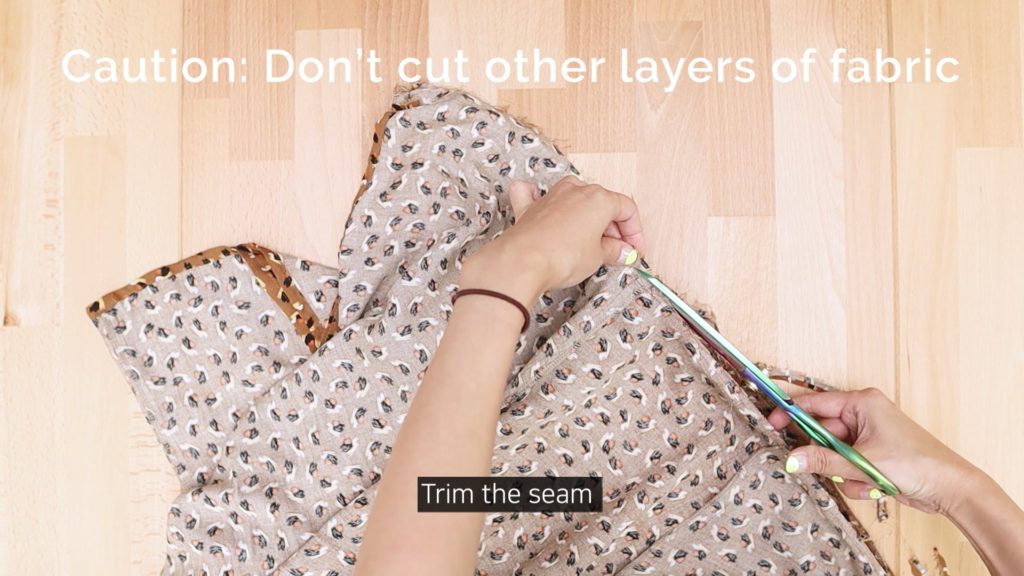
Trim the seam
***Caution: Don’t cut other layers of fabric
Press Waistband towards the seam
Pin the Skirt to the unfolded edge of Waistband (Outer Waistband)
Make sure to leave 5/8″ seam allowance on both ends
Sew
Trim the seam
Sew the raw end of the Belt on the end of the outer Waistband
Fold the Waistband RST and sew to the closed-end
Avoid sewing the Skirt
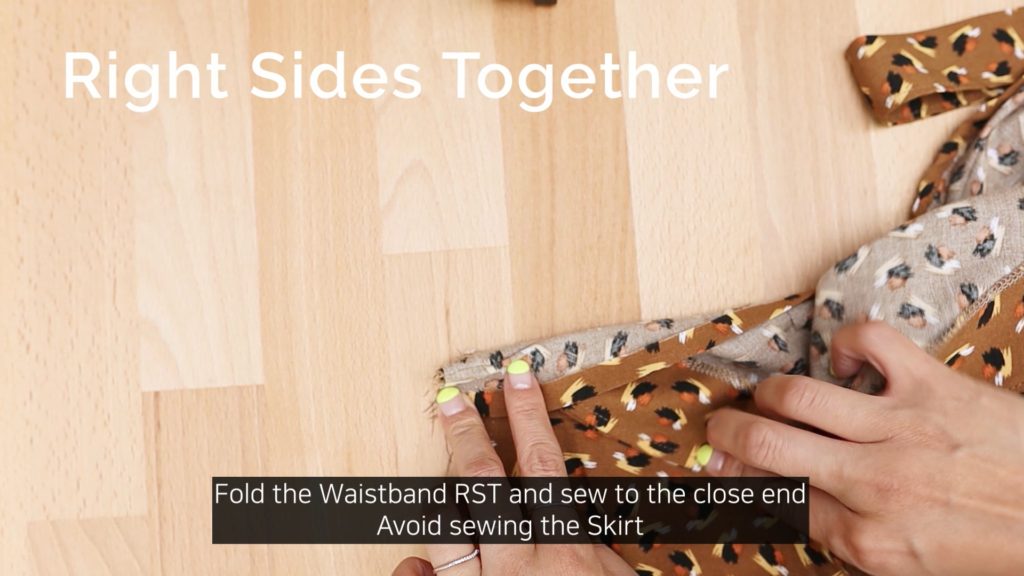
Turn the Waistband right side out
Press and pin the inner Waistband slightly covering the seam line
Slipstitch by hand or stitch in the ditch on the outer Waistband
Remove the basting for the belt opening
Hand stitch or machine stitch along the opening to secure two layers
9. Sleeve Hem
For the rolled hem, stitch along the hem at 1/8″
Fold along the stitch line and press
Fold again and press
Edgestitch/topstitch the folded edge
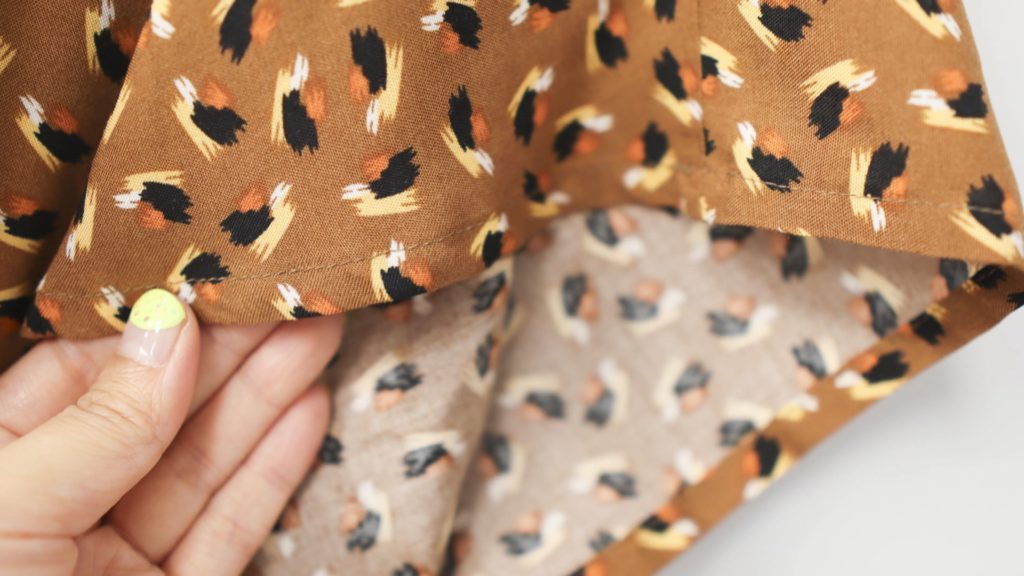
10. Hem
Serge the bottom edge, fold 1″ and press
Topstitch the serged edge
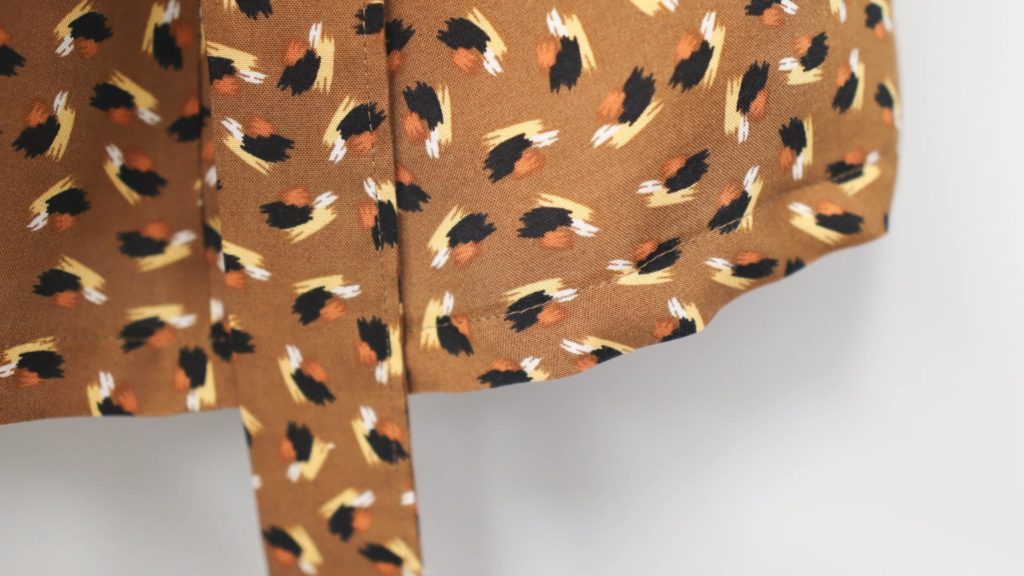
11. Optional Finish
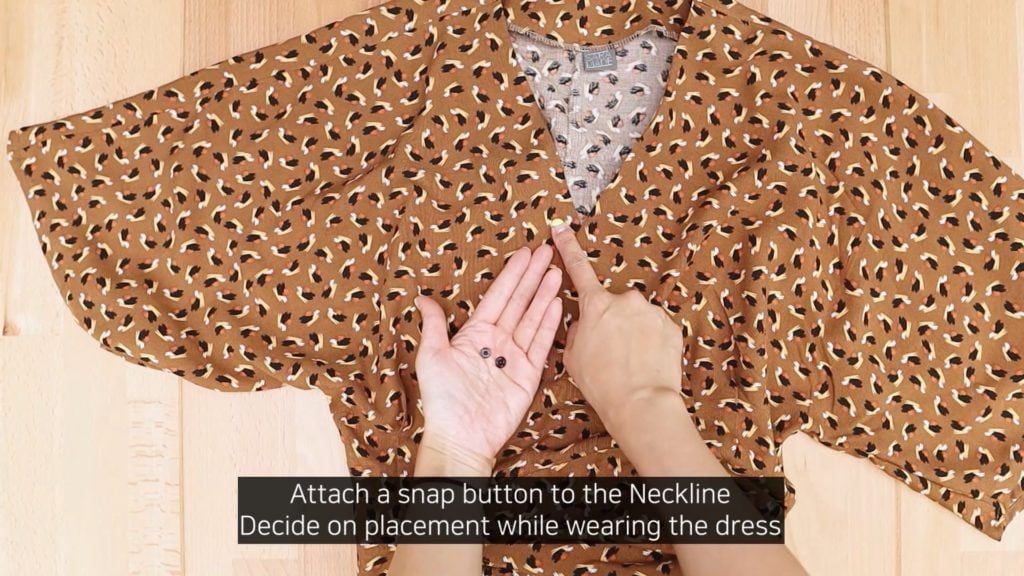
Attach a snap button to the Neckline
Decide on placement while wearing the dress
I hope you love yours as much as I love mine and that your days are full of twirly fun in your new Elodie Wrap Dress! Until next time, please sign-up for my blog along with my YouTube channel, so we can continue growing our incredible Sewing Therapy community.
*****Disclosure******
Some of the links above are affiliate links. .Clicking and purchasing through affiliate links gives me a small commission. BUT MORE IMPORTANTLY, I wanted to help you find the materials easier. So you can focus more on your project. Thank you.
**********************
Here’s my Patreon page link. Your support is greatly appreciated! https://www.patreon.com/user?u=32815284
Let’s get connected!
Sewing Therapy
Instagram – https://www.instagram.com/yoursara_k/
Blog – http://sewingtherapy.net/
Twitter – https://twitter.com/SewingTherapy
Dailylike Canada
Instagram – https://www.instagram.com/dailylikecanada
Facebook – http://www.facebook.com/dailylikecanada
Pinterest – https://www.pinterest.ca/dailylikecanada
Two O Nine Fabric Studio
Instagram –https://www.instagram.com/twooninefabric
