
Hello! I’m Sara, your virtual sewing instructor! Today’s tutorial is for the Cielo Top / Cielo Dress by Closet Core Patterns. This pattern creates a semi-cropped top and a shift dress, but with some unique features that help set this pattern apart from others, such as hidden pockets and angled shoulder yoke. I love the simple look of this basic yet timeless design that fits perfectly into my capsule wardrobe.
You can also choose a dramatic gathered long sleeve for a trendy look!
I’ve done a sew-along tutorial on Elodie Wrap Dress from Closet Core Patterns as well. I recommend you to check out that beautiful dress if you like their patterns.
So, I strongly recommend watching the video if you have things that you couldn’t understand.
These are my online fabric shops.
Dailylike Canada http://www.dailylike.ca
Two O Nine Fabric Studio https://twooninefabric.ca
The fabrics I used in the video:
Cielo Top Whatnot Rayon : https://bit.ly/3fyIFN2
Cielo Dress Find Me In Ibiza Cotton : https://bit.ly/3wkqFMp
The sewing machine I have:
Bernette B37 Swiss Design Computerized Sewing Machine
https://amzn.to/3etYaFE (USA)
LDH Scissors and thread snip
http://bit.ly/3vbHj04
The items I always use for my sewing project
Craft Clips
Canada https://amzn.to/32vmK2u
USA https://amzn.to/3sjKKiU
Flat Head Pins
Canada https://amzn.to/2IaKoKm
USA https://amzn.to/32slD31
Point Turner
Canada https://amzn.to/39rgfQA
USA https://amzn.to/3qjfKyA
Wash-away Wonder Tape
Canada https://amzn.to/35DUwUj
USA https://amzn.to/39ylJc2
Let’s get started.

Seam Allowance
Use 5/8″ seam allowance unless otherwise stated
Material
Cielo Top + Dress Pattern from Closet Core Patterns & Your Choice of Fabrics
Cut
1 Dress Front (on fold)
1 Dress Pocket (on fold)
1 Back (on fold)
2 Back Shoulder (mirrored)
2 Sleeve (Mirrored)
2 Sleeve Cuff
1 Neckline Bias (bias cut)

1. Dart
Fold, aligning the dart notches, and pin RST (Right Side Together)

Sew from the edge to the center
Tie off threads at dart point
Press dart down
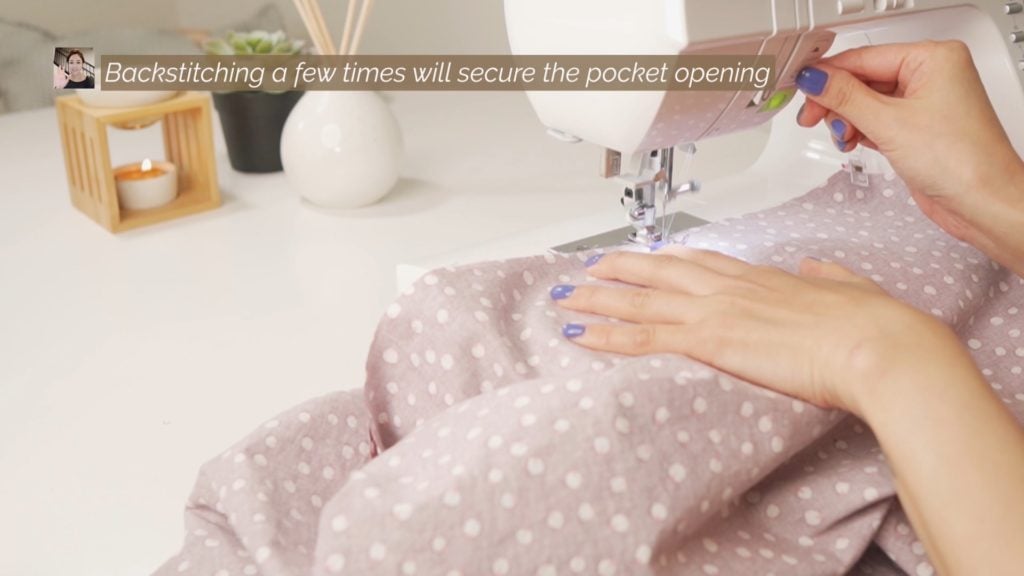
2. Pocket
Match and pin the curved edge of Dress Front and Dress Pocket RST

Sew between the markings
**Drawing straight lines between the marking will help you!
**Backstitching a few times will secure the pocket opening
Sew the curved edge and serge
Press the Pocket down

Baste the Pocket and Front Dress at the sides
**Basting is sewing to hold layers in place temporarily

3. Back Shoulder Yoke
Pin and sew the Back Shoulder and the Back RST
Serge
Press the seam upwards
Optional: understitch/topstitch

Sew Front and Back Dress at the shoulder RST
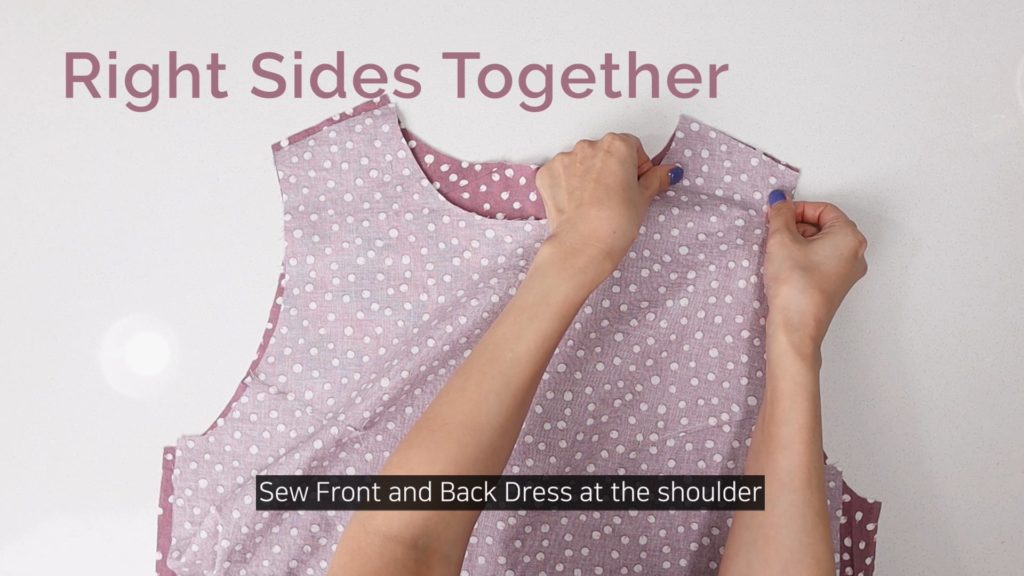
Press the seam towards the Back
4. Neckline – Bias Facing Method
Staystitch the neckline
**Staystitch prevents bias/curved areas from stretching out

Trim neckline to 1/4″
Fold 1/2″ one of the short edge and press

Starting at the Back Center, pin the Bias Binding to the neckline RST
**I didn’t stretch the bias tape while pinning: I just matched the edge, which naturally gives a bit of tension to the bias binding, causing it to curl
Overlap by 1/2″ with the starting end and trim the excess
Sew around the neckline with 1/4″ seam allowance

Clip along the neckline
Press the Bias Binding towards the seam
Understitch the seam to the binding

Fold the Binding along the stitch line and press
Double fold the Bias Binding, wrapping the seam, and pin
Edgestitch/Topstitch

5. Sleeve
To make the gathers, sew two lines of long stitches between the notches
Don’t backstitch and leave the long thread tails
Distribute the gathers
Matching the notches, pin the Sleeve onto the Bodice RST


Sew and serge
Pin and sew side seams RST

Fold in half and sew the short ends of Sleeve Cuff RST

Clip the angled point and open the seam
Fold in half lengthwise and press WST (Wrong Side Together)
Slip the Sleeve into the Sleeve Cuff, matching the raw edges together RST
Pin the notches and sew

Serge
Press the Sleeve Cuff outwards and the seam inwards
Understitch/topstitch
6. Hem
Serge the hem
Fold the hem to your preferred length, press and sew


Alright! I hope you enjoyed and made an amazing top or dress! I will see you in the next post! Thanks for reading!
*****Disclosure******
Some of the links above are affiliate links. .Clicking and purchasing through affiliate links gives me a small commission. BUT MORE IMPORTANTLY, I wanted to help you find the materials easier. So you can focus more on your project. Thank you. **********************
Let’s get connected!
Sewing Therapy
Instagram – https://www.instagram.com/yoursara_k/
Blog – https://sewingtherapy.net/
Twitter – https://twitter.com/SewingTherapy
Dailylike Canada
Instagram – https://www.instagram.com/dailylikecanada
Facebook – http://www.facebook.com/dailylikecanada
Pinterest – https://www.pinterest.ca/dailylikecanada
Two O Nine Fabric Studio
Instagram –https://www.instagram.com/twooninefabric