Hello, Sara here. Today, I’m continuing with my pyjama pants series with some modifications that will expand your sewing skills but also make the pyjama pants more versatile. I’ll be using the pattern from the Ver. 1 video (http://sewingtherapy.net/pyjama-pants/) and for this tutorial, I’ll be adding slashed pockets (they’re my favourite way to make pockets), waist ties, and a back pocket. you’re going to love these pyjama pants because they feel like pyjama pants but don’t look like pyjama pants and can most definitely be worn outside fashionably. maybe we should call them lounge shorts? I made these for my husband and he says they’re his new favourite summer staple.
I strongly recommend you watch the video if you got stuck along the way.
Pattern Paper
For both US and Canada From my Two O Nine Fabric Studio
https://www.etsy.com/listing/807936055/1-yard-non-woven-pattern-tracing-paper
These are my online fabric shops.
Dailylike Canada
http://www.dailylike.ca
Two O Nine Fabric Studio
https://www.etsy.com/shop/twooninefab…
Sewing Clips https://amzn.to/36lRFhP (Canada)
Sewing Clips https://amzn.to/3bqfI16 (USA)
I bought my flat sewing pins from Korea. The most similar one from amazon would be
https://amzn.to/3828lMd (Canada)
https://amzn.to/2WTmyXP (USA)
*****Disclosure******
Some of the links above are affiliate links. .Clicking and purchasing through affiliate links gives me a small commission. BUT MORE IMPORTANTLY, I wanted to help you find the materials easier. So you can focus more on your project. Thank you.
**********************
Alright. Let’s get started.
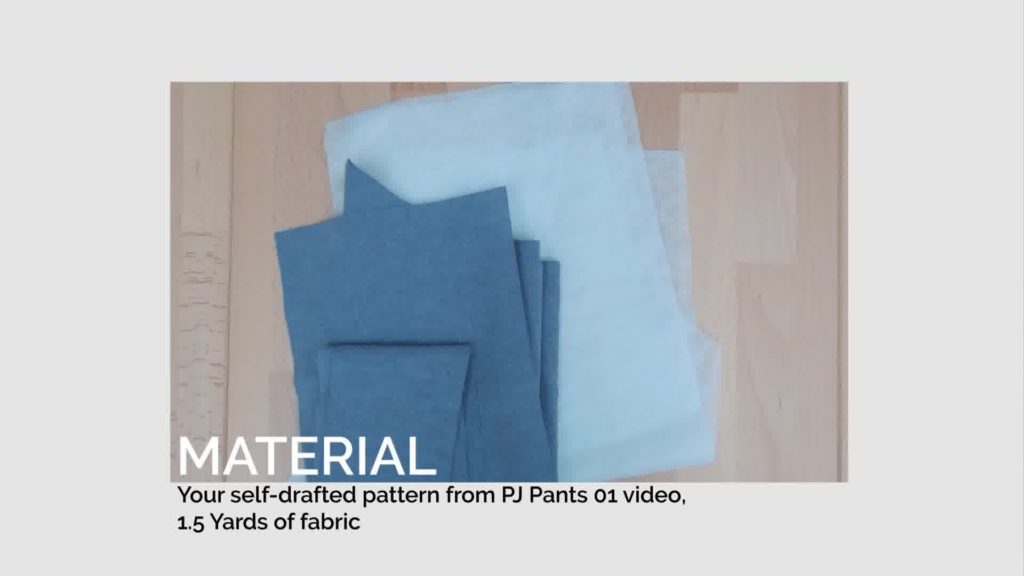
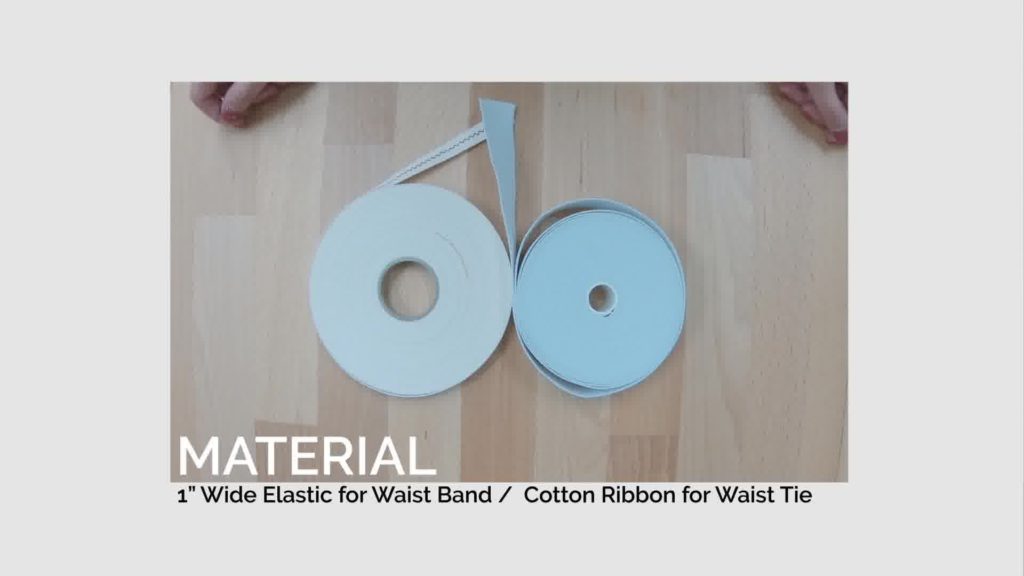
Material: Your self-drafted pattern from PJ pants 01 tutorial http://sewingtherapy.net/pyjama-pants/ , 1.5 yards of fabric, 1″ wide elastic for waist band, cotton ribbon for waist tie
Cut
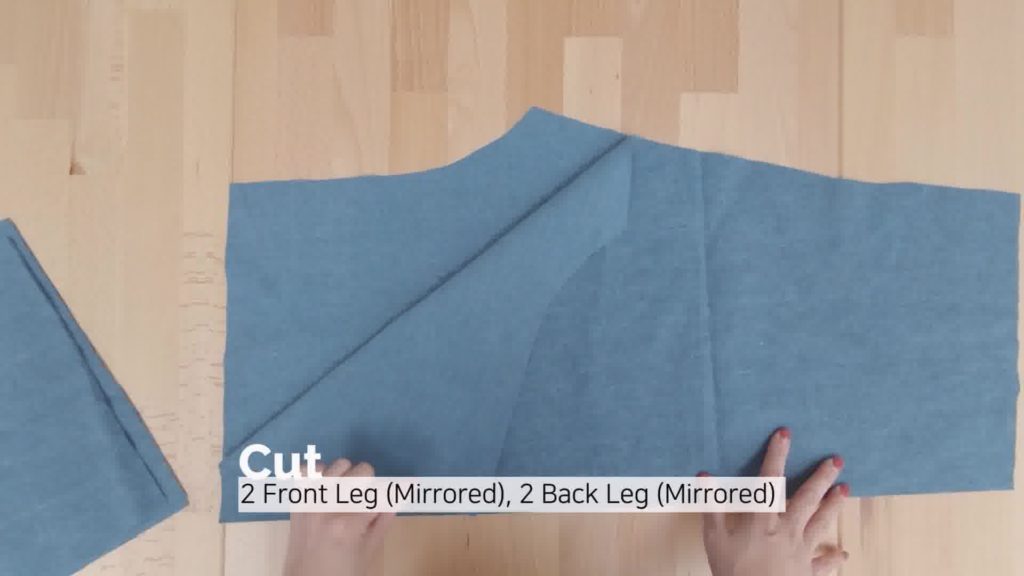
2 Front Leg (Mirrored), 2 Back Leg (Mirrored), 2 Pocket (mirrored), 1 Back Pocket, 1 Waist Band
1. Slashed Pockets
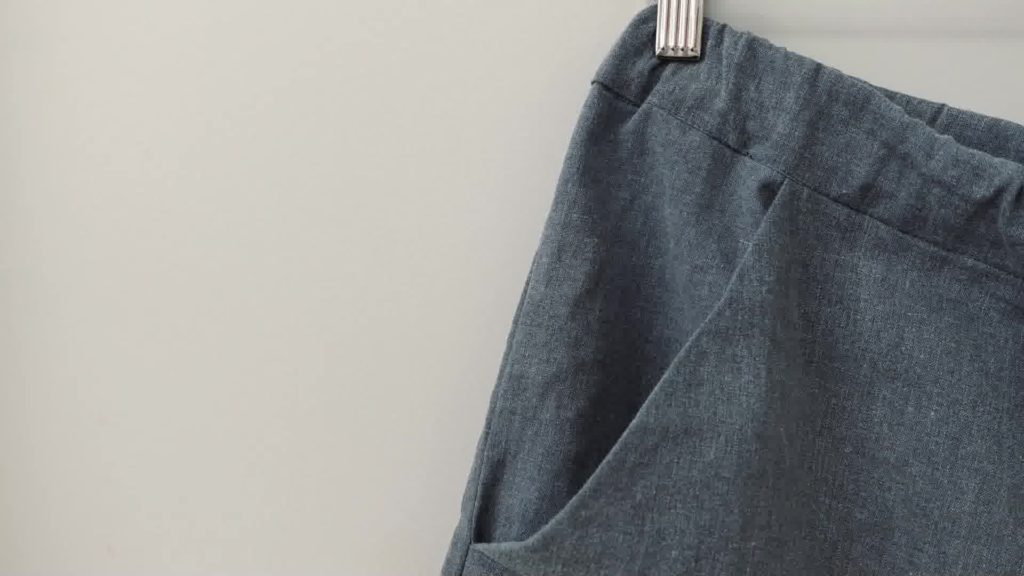
Put the slash part of the pocket on the outseam of the FRONT leg RST (Right Side Together)
Trim to match the pocket
Repeat for the other leg
Pin the slashed part and sew RST
Press the seam towards the pocket and understitch
Repeat for the other side
Fold the pocket in half aligning the lower edge, pin and sew RST
Serge the edge and repeat for the other pocket
Fold the pocket backwards and press
Align the side and the top and pin
Staystitch (1/8″ – 1/4″ SA) the side and top edge of the pocket
Repeat for the other side
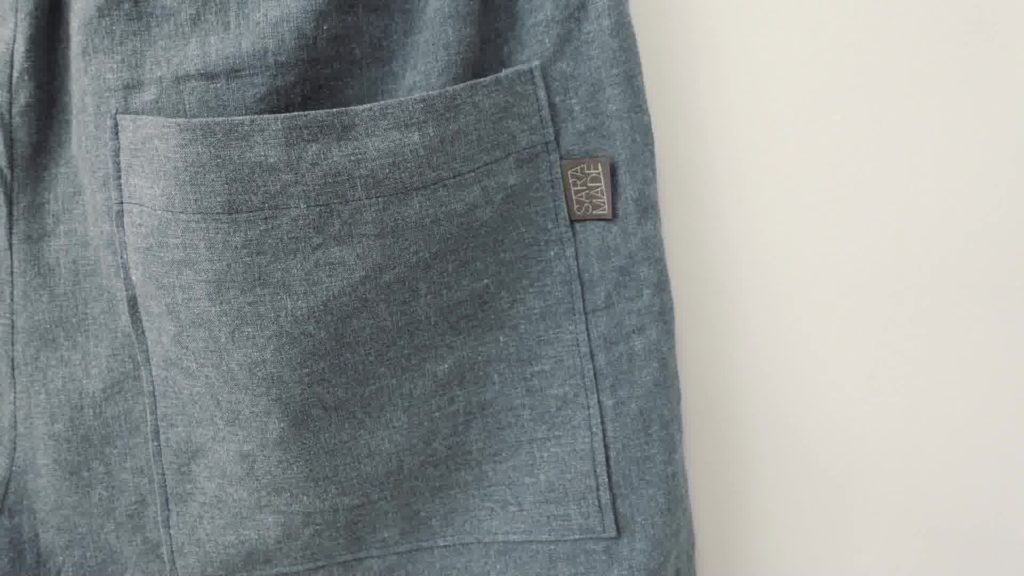
2. Back Pocket
Double fold (1″ each) short edge and press WST (Wrong Side Together)
Edgestitch the folded edge
Fold the sides and the bottom, press and set it aside
Take the right side of Back Leg (in case you’re left handed take the left side of Back Leg)
Position the pocket 2.5″ – 3″ away from the top and center from the sides
Pin and sew the sides and the bottom
3. Inseams + Outseams
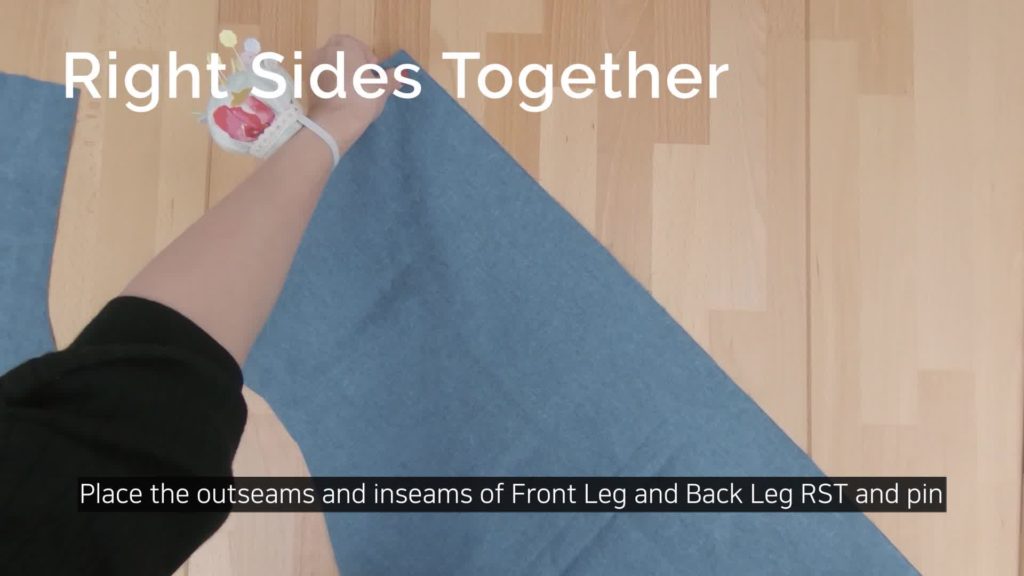
Place the outseams and inseams of Front Leg and Back Leg RST and pin RST
Sew and Serge
4. Crotch Seam
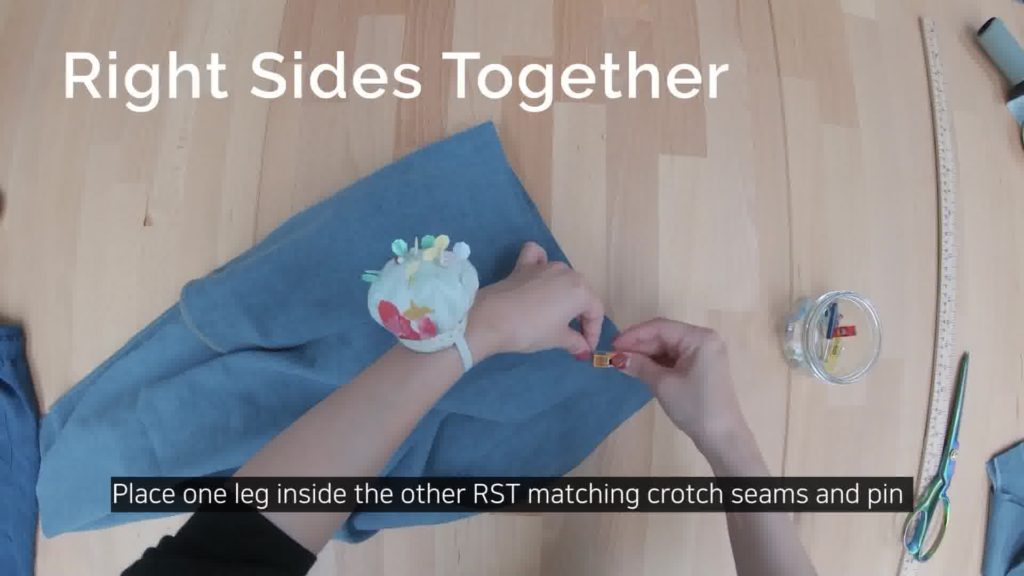
Place one leg inside the other RST matching crotch seams and pin
Sew and serge the crotch
5. Waistband
Measure the waist and cut the waistband to the right measurement (Waistband = Waist + 1″)
Sew the short edges RST
Open the seams
Fold one long edge towards the wrong side and press WST
Mar sides and centers on the waistband
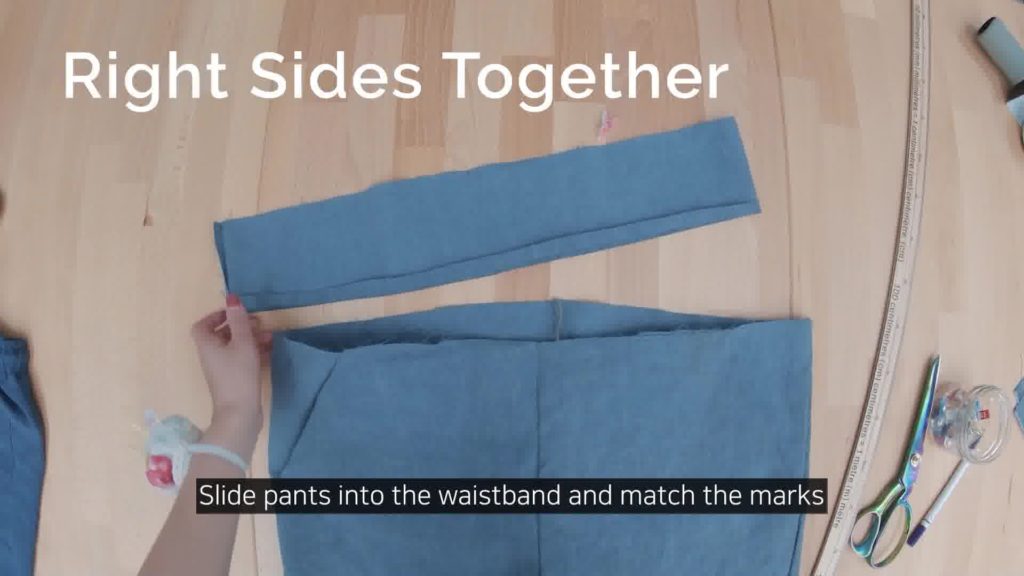
Slide pants into the waistband and match the marks
pin and sew
** Buttonhole **
You can skip this step if you don’t want the waist tie
Mark two 0.5″ lines for the buttonholes
1.5″ away from the center
I tested my buttonhole on a piece of scrap fabric for accuracy of length and position prior to making it on my project
Make holes using pins, a thread snip and a seam ripper
Fold the waistband in half
The folded edge overlaps the waistband seam
Pinning is very important here
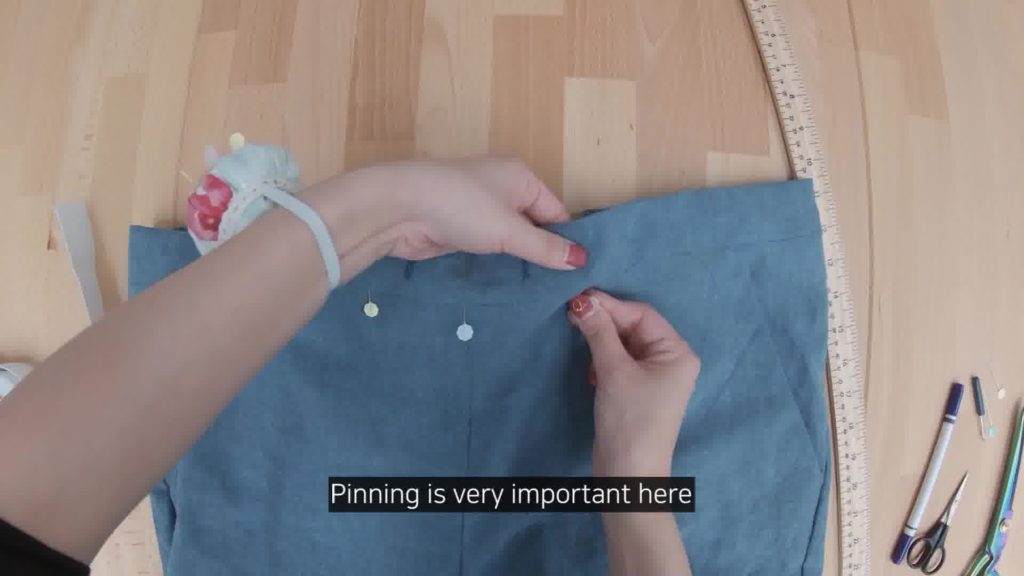
Mark the opening for the elastic on the center of the back
And sew leaving the opening (Edgestitch or Stitch in the Ditch)
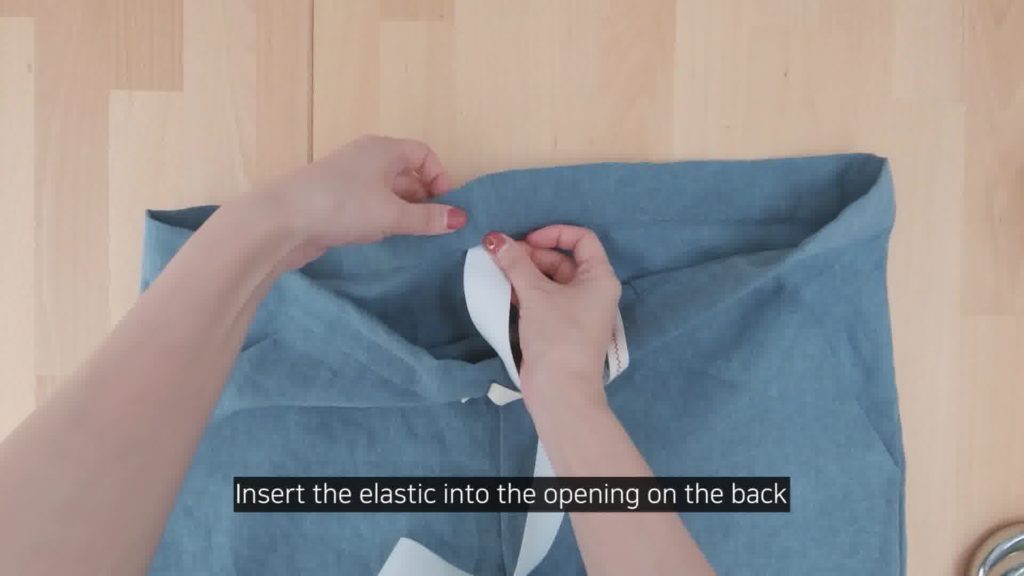
Insert the cotton ribbon into the buttonhole
Insert the elastic into the opening on the back
Sew the ends of elastic together (straight Stitch or Zigzag Stitch)
Close the opening
Optional – You can sew one straight line on the top of waistband to prevent the elastic from twisting
6. Hem
Make the bottom edges straight and neat
And serge
Fold 1″, press and sew
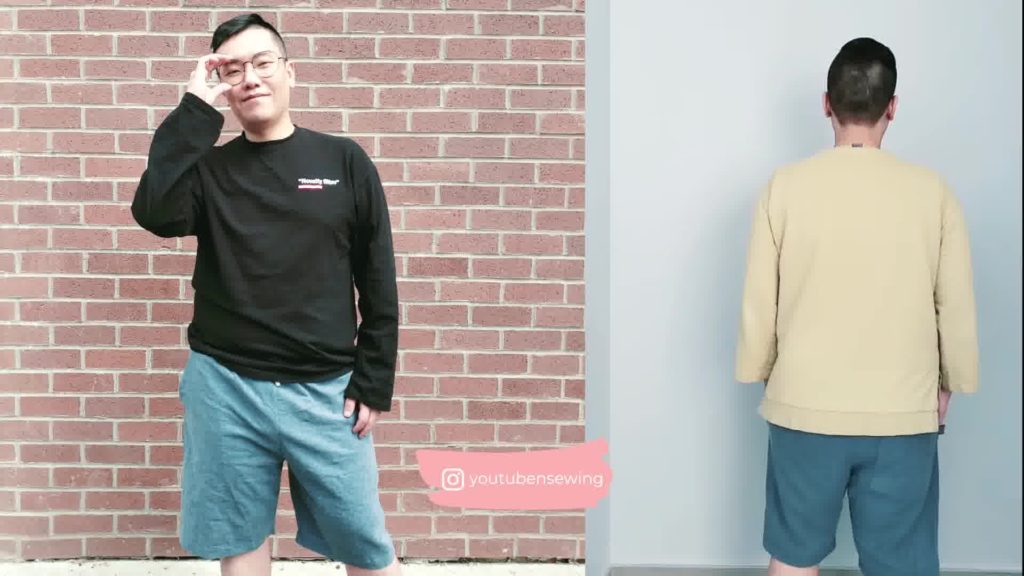
Okay. That’s it for the Ver. 2 pyjama pants. Things can be confusing while trying. You need to pay attention to details more than when you make Ver. 1. However, once you get through it, I’m sure you’ll get the idea of how to add pockets for your upcoming pants’ projects.
Thanks for reading and watching!
I’ll see you in the next post!
Here’s my Patreon page link.
Your support is greatly appreciated!
https://www.patreon.com/user?u=32815284
Let’s get connected! Sewing Therapy
Instagram – https://www.instagram.com/yoursara_k/
Blog – http://sewingtherapy.net/
Twitter – https://twitter.com/SewingTherapy
Dailylike Canada
Instagram – https://www.instagram.com/dailylikecanada
Facebook – http://www.facebook.com/dailylikecanada
Pinterest – https://www.pinterest.ca/dailylikecanada
Two O Nine Fabric Studio
Instagram https://www.instagram.com/twooninefabric
