Hi, Sara here. I’m going to share my oversized gathered sleeve hack today. The first part of this tutorial will cover how to attach the sleeves on already oversized garments and add a color block on the sleeve.
Before I jump into things, I must give credit to the Zero Waste Gathered Dress for this sleeve hack as it was pattern that hooked me on this type of sleeve! Thank you ZW Gathered Dress (or Birgitta)!

Here are some more useful videos to watch for this project.
Peppermint Everyday Dress https://youtu.be/TsaZq-mqyT0
Harper Tunic https://youtu.be/zcoAJyQ9JYk Zero
Waste Gather Dress https://youtu.be/fuhJsxT-gMI
Gilbert Top https://youtu.be/uQPxBoCJQYE
FYI, this hack works best with oversized garments with a drop shoulder. I created this video to give you an idea of how I use this hack, so I’ll minimize the sewing explanations.
I’ll cover how to adjust your set-in shoulder pattern to a drop shoulder and then attach the oversized gathered sleeve to my dress in my part 2, coming soon!
Alright, Don’t forget to subscribe the my page for future sewing tutorials, tips, event, giveaways, and etc!
So, I strongly recommend watching video if you have things that you couldn’t understand.
Cut Sleeve
2 Rectangles
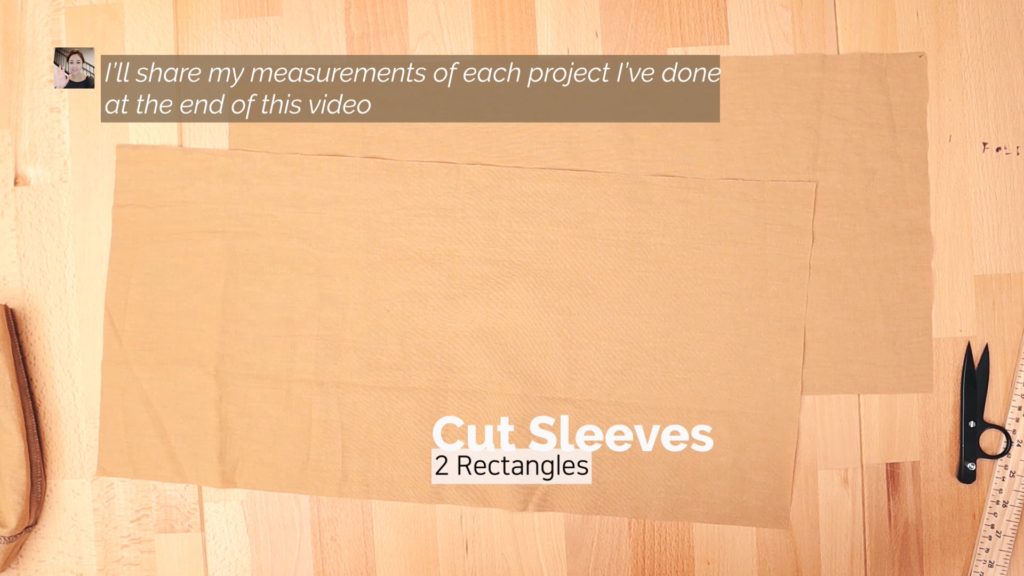
Extending the width with scraps or patchworks makes a pretty color block under the sleeves! Be creative!
Sew, serge and set them aside RST (Right Side Together)

Cut cuff Bands
2 Small Rectangles
13-15″ and 3″
I’ll show you how to attach oversized gathered sleeves on my WIP peppermint Everyday Dress
You will be able to refashion your old clothes!
We won’t modify further than before the pocket
Draw the cut and stitch line
Make sure the lines are 90 degrees to the shoulder seam
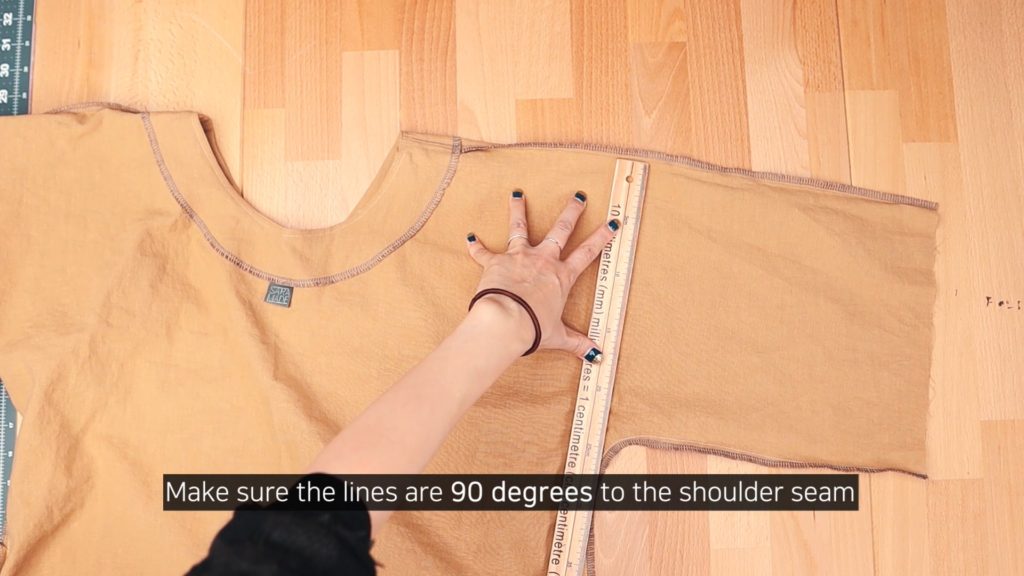
That way the rectangular sleeves will lay well for sewing and wearing
Cut along the cut line
Unpick the side seam down to 1″ away from the pocket
There are 2 straight stiches; unpick the outer one first
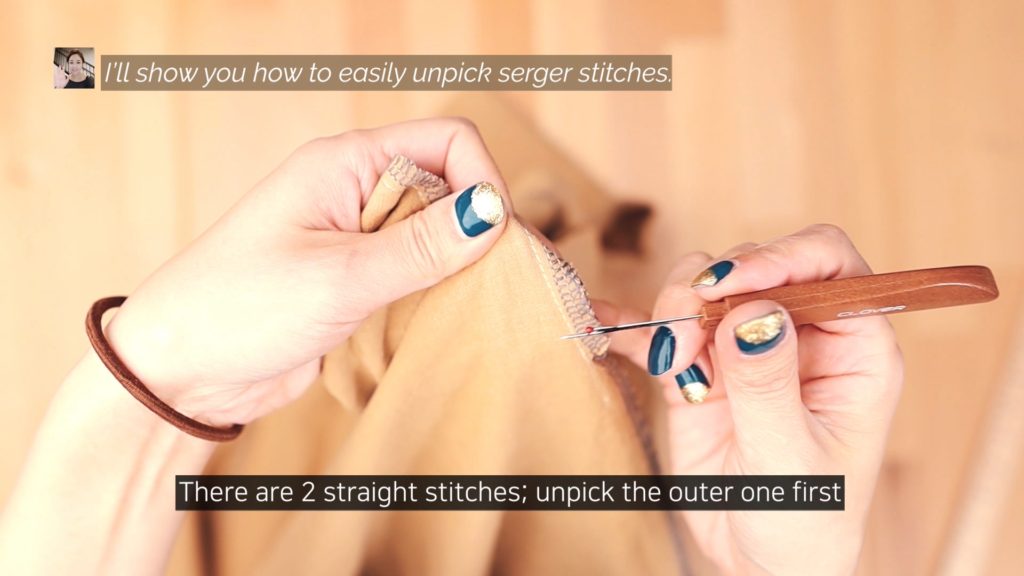
Cut a few location and pull the thread out
It should come out easily
Repeat for the inner stitch
Now the loop stitches are easy to pull out (and satisfying)
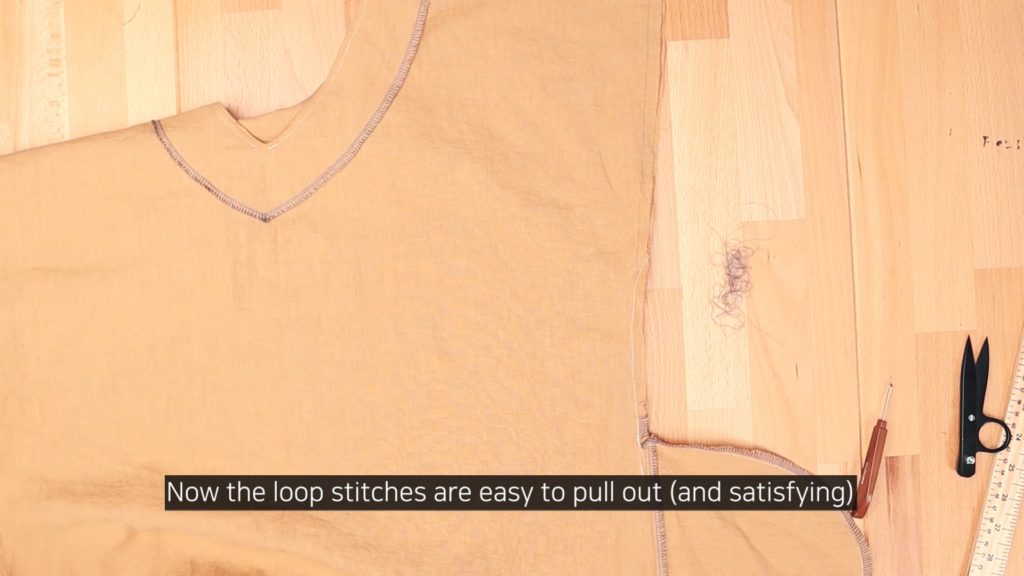
Unpick the main stitch
Now you are ready to attach the new sleeve
Mark the centers of the sleeve
Match the mark and the shoulder stitch and pin RST
Sew along the stitch line we drew
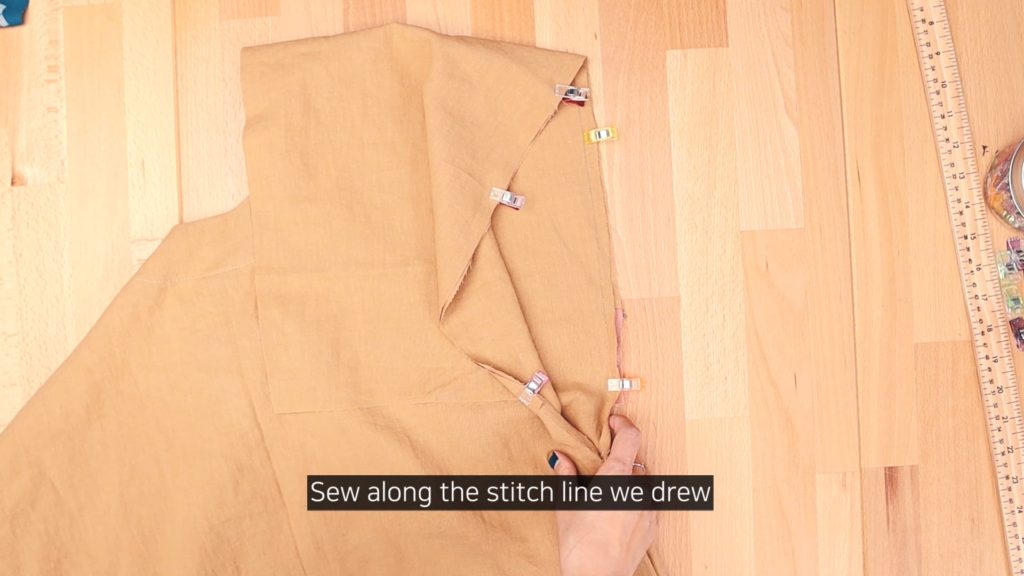
Serge the sewn area
Pin and sew the underarm seam and side seam RST
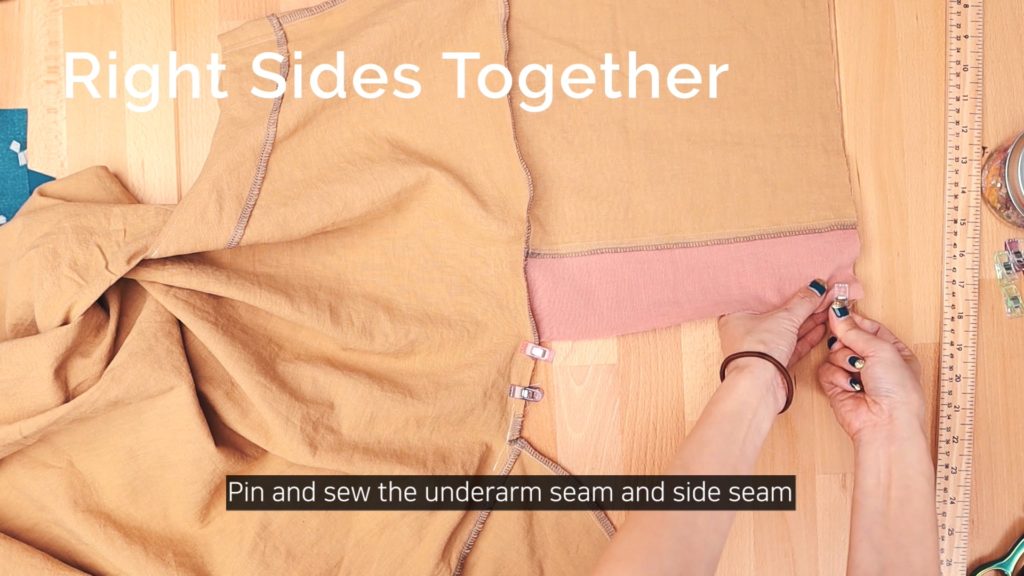
Before serging, snip the corner to make serging easier
Fold the cuff band in half and sew the short edge RST
Open the seam
Make gathers using your preferred way
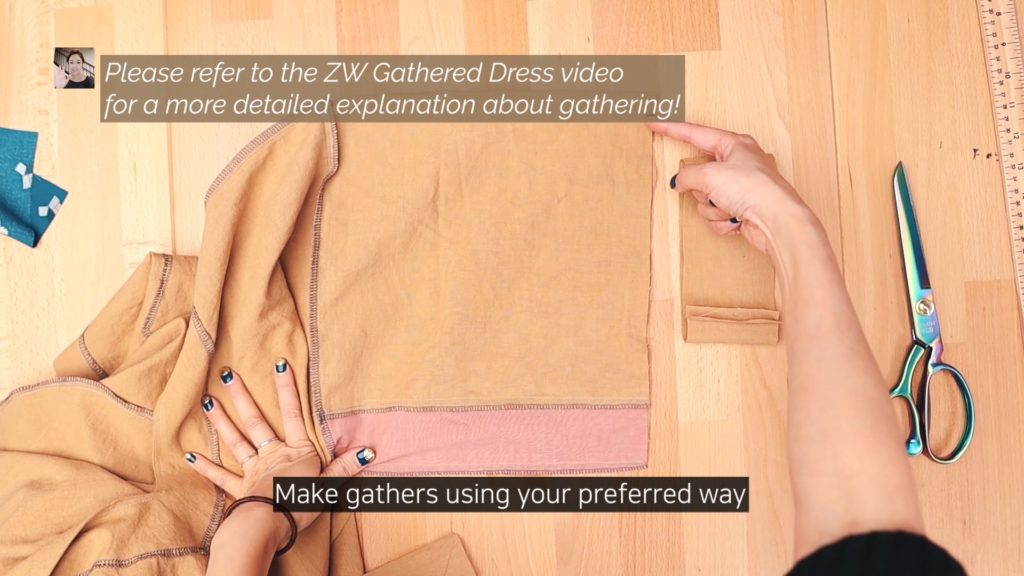
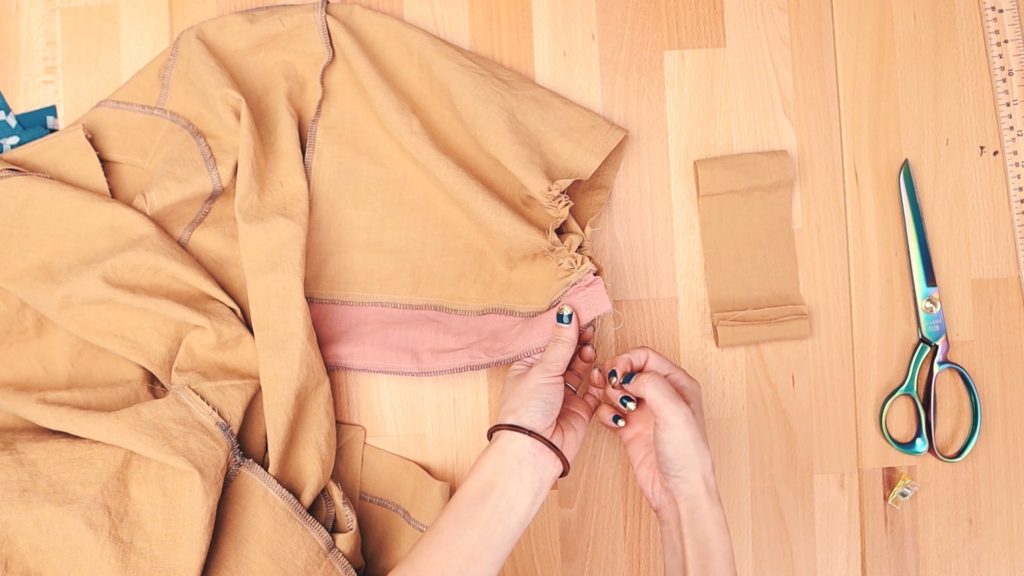
Slip the sleeve into the cuff band and pin
Sew

Press the cuff band towards the seam
Fold 1/4″ the cuff band and press WST (Wrong Side Together)
Fold in half again
Cover the stitch line slightly and edgestitch/topstitch

Now that you’ve seen how simple it is to attach the sleeves on already oversized garments as well as adding a color block to the sleeve, which pieces will you modify? Dramatic sleeves add so much character to clothes and I hope you love them as much as I do! Alright! I will see you in the next post! Thanks for reading!
These are my online fabric shops.
All the fabrics I use are from either Dailylike Canada or Two O Nine Fabric Studio.
Dailylike Canada http://www.dailylike.ca
Two O Nine Fabric Studio https://www.etsy.com/shop/twooninefabricstudio
Here’s my Patreon page link. Your support is greatly appreciated! https://www.patreon.com/user?u=32815284
Let’s get connected!
Sewing Therapy
Instagram – https://www.instagram.com/yoursara_k/
Blog – http://sewingtherapy.net/
Twitter – https://twitter.com/SewingTherapy
Dailylike Canada
Instagram – https://www.instagram.com/dailylikecanada
Facebook – http://www.facebook.com/dailylikecanada
Pinterest – https://www.pinterest.ca/dailylikecanada
Two O Nine Fabric Studio
Instagram –https://www.instagram.com/twooninefabric

Pingback: Oversized Gathered Sleeve Hack Part 2 Adjust Set-in Shoulder to a Drop Shoulder - Sewing Therapy - Sewing Therapy
Pingback: How to Make a Simple and Stylish Ring Scarf | Sew Along Tutorial from Sewing Therapy - Sewing Therapy