Hi, Sara here. Sometimes in between larger projects, I like to sew up simple projects to use up scraps and enjoy the satisfaction of starting and finishing a project quickly. Today’s tutorial is for one of those projects, one I like to call The Ring Scarf! I call it The Ring Scarf because it features a little ring that allows you to style the scarf in a variety of ways.
This project takes about 30 minutes from start to finish and is a refreshing addition to your wardrobe, especially in this time mid-season when it feels like winter may never end. Depending on how it’s styled, the ring scarf can look so different – I highly recommend it! This simple project is scrap-friendly and works with any lightweight fabric.
Alright, before I go any further, here’s the link the sleeve hack tutorial part 1. & 2
http://sewingtherapy.net/oversized-gathered-sleeve-hack-part-1/
http://sewingtherapy.net/oversized-gathered-sleeve-hack (This link is part 2)
So, I strongly recommend watching video if you have things that you couldn’t understand.
My sewing machine
Bernette B38 Swiss Design Computerized Sewing Machine
https://amzn.to/2URpvX6 (USA)
LDH Scissors and thread snip
https://etsy.me/3d3VawQ
Craft Clips
Canada https://amzn.to/32vmK2u
USA https://amzn.to/32w91s4
Flat Head Pins
Canada https://amzn.to/2IaKoKm
USA https://amzn.to/32slD31
Point Turner
Canada https://amzn.to/39rgfQA
USA https://amzn.to/3qjfKyA
Wash-away Wonder Tape
Canada https://amzn.to/35DUwUj
USA https://amzn.to/39ylJc2
Let’s get started!
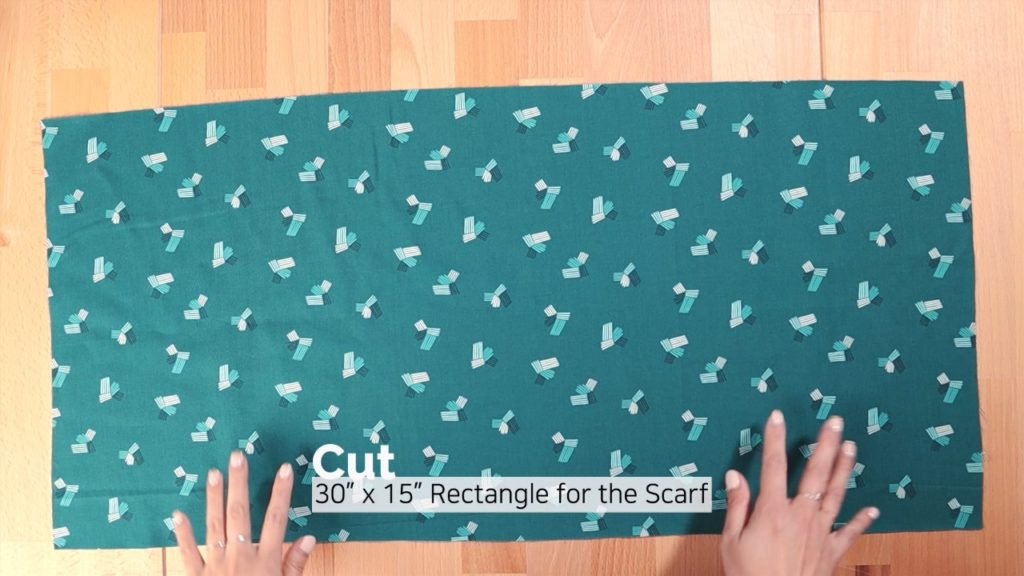
Cut
30″ x 15″ Rectangle for the Scarf
Fold in half and cut one corner diagonally, measuring 5″ from the open end
After cutting, your fabric should look like this

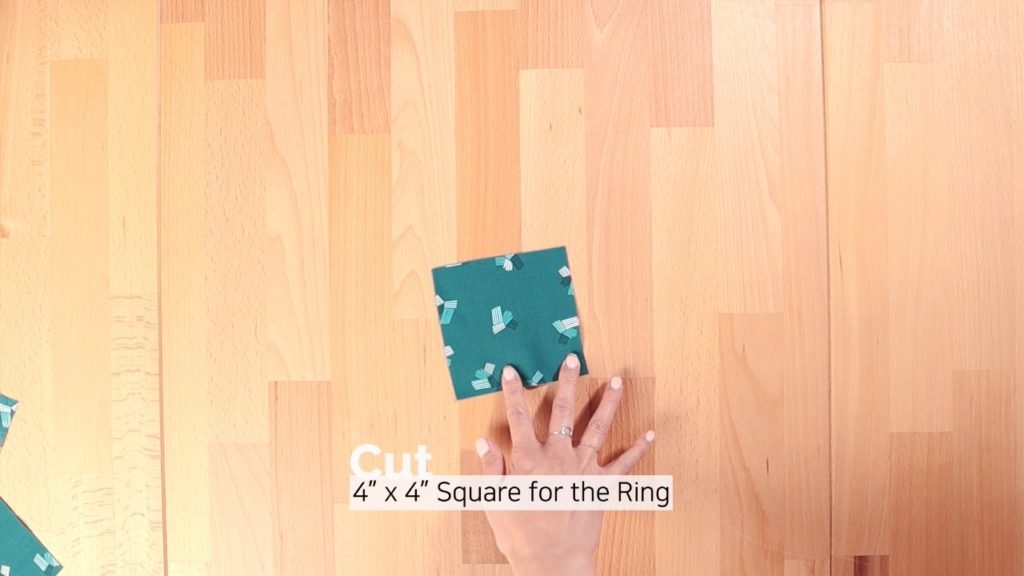
4″ x 4″ Square for the Ring
Fold in half and sew the long edge RST (Right Side Together)
Open the seam and press
Turn right side out and press

Fold in half to meet the raw edges together and baste
This little piece will play a big role in your Ring Scarf
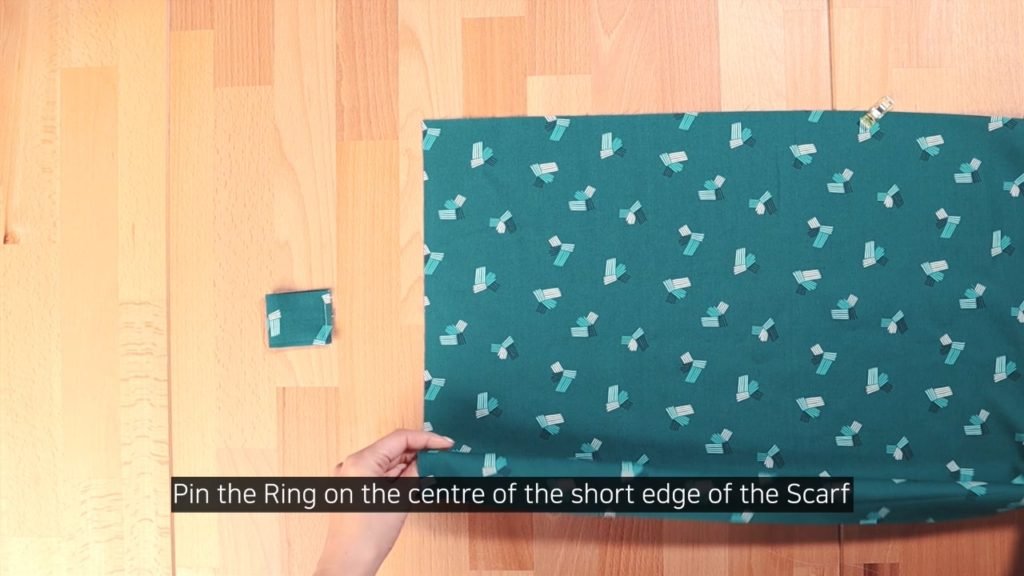
Pin the Ring on the center of the short edge of the Scarf
Fold the Scarf in half again and pin all the edges RST
Mark the opening
Sew along the edges leaving he opening
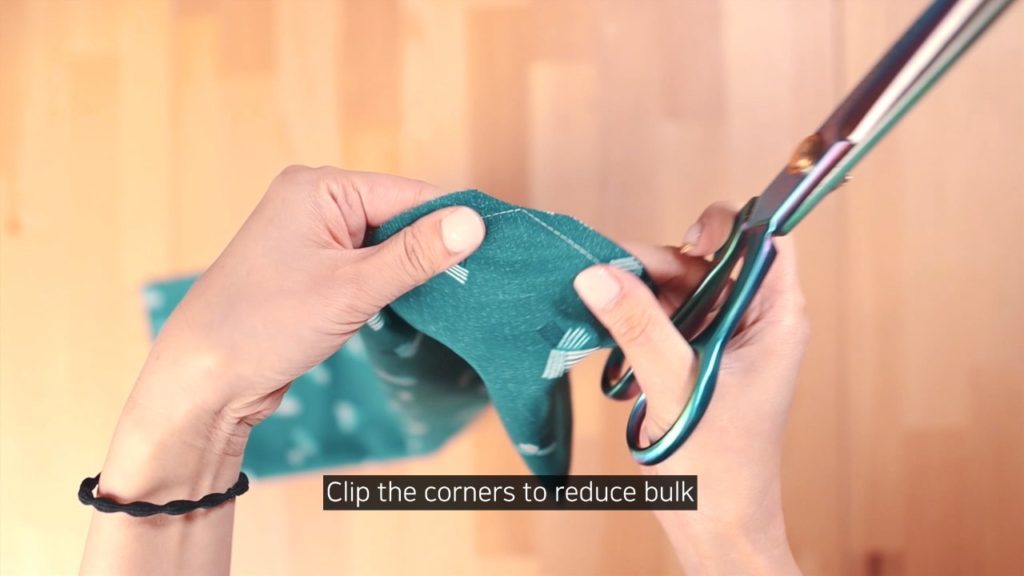
Clip the corners to reduce bulk
Turn the Scarf right side out
Give it a good press

Edgestitch the opening
*You can also hand stitch the opening closed using a ladder stitch
*Try different lengths, widths, and materials

For me, part of the joy of sewing is finishing and wearing my handmade garments. If any of you are feeling stuck, I highly encourage you to take on a small, easy, and quick project like this Ring Scarf to reset yourself so that you can continue sewing your works in progress with energy and joy. I hope you enjoyed the tutorial for this simple but highly satisfying project! See you in the next post!
*****Disclosure******
Some of the links above are affiliate links. .Clicking and purchasing through affiliate links gives me a small commission. BUT MORE IMPORTANTLY, I wanted to help you find the materials easier. So you can focus more on your project. Thank you.
**********************
These are my online fabric shops.
All the fabrics I use are from either Dailylike Canada or Two O Nine Fabric Studio.
Dailylike Canada http://www.dailylike.ca
Two O Nine Fabric Studio https://twooninefabric.ca/
Here’s my Patreon page link. Your support is greatly appreciated! https://www.patreon.com/user?u=32815284
Let’s get connected!
Sewing Therapy
Instagram – https://www.instagram.com/yoursara_k/
Blog – http://sewingtherapy.net/
Twitter – https://twitter.com/SewingTherapy
Dailylike Canada
Instagram – https://www.instagram.com/dailylikecanada
Facebook – http://www.facebook.com/dailylikecanada
Pinterest – https://www.pinterest.ca/dailylikecanada
Two O Nine Fabric Studio
Instagram –https://www.instagram.com/twooninefabric