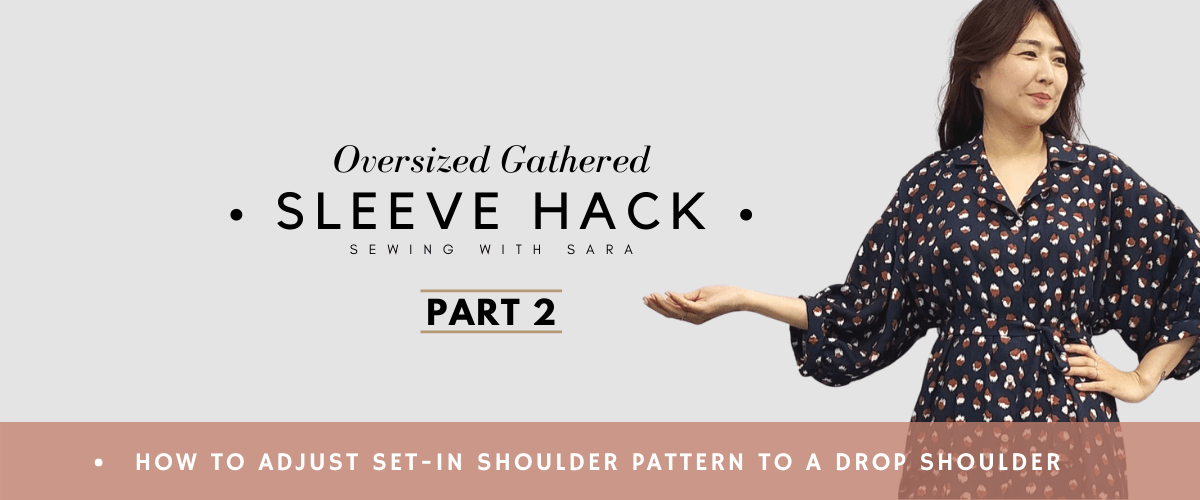
Hello, Sara here from BC. Since I’ve discovered the oversized gathered sleeve hack, I’ve been using it for numerous projects. For part 2 of the tutorial, I will cover how to adjust set-in shoulder pattern to a drop shoulder and how to attach the oversized gathered sleeve.

Alright, before I go any further, here’s the link the sleeve hack tutorial part 1.
https://sewingtherapy.net/oversized-gathered-sleeve-hack-part-1/
And I’ve used my Gilbert Top to show how to do it.
https://sewingtherapy.net/gilbert-top-tutorial/
You will also need any patterns with your favourite neckline.

I used Viscose Crepe fabric from Blackbird Fabrics and Cotton and Steel Rayon (designed by Rifle Paper Co.) from my online fabric shop.
http://etsy.me/3cI2vDY
My sewing machine
Bernette B38 Swiss Design Computerized Sewing Machine
https://amzn.to/2URpvX6 (USA)
LDH Scissors and thread snip
https://etsy.me/3d3VawQ
Craft Clips
Canada https://amzn.to/32vmK2u
USA https://amzn.to/32w91s4
Flat Head Pins
Canada https://amzn.to/2IaKoKm
USA https://amzn.to/32slD31
Point Turner
Canada https://amzn.to/39rgfQA
USA https://amzn.to/3qjfKyA
Wash-away Wonder Tape
Canada https://amzn.to/35DUwUj
USA https://amzn.to/39ylJc2
So, I strongly recommend watching video if you have things that you couldn’t understand.
To begin, we will draw a new pattern with a drop shoulder from a pattern with a set-in shoulder

Front Bodice
Trace the center and the neckline
smooth the slope
Trace the shoulder extending the length to 9″-11″
Mine is 11″
From the end of the shoulder, draw an armscye at 90 degrees
*The 90-degree angle ensures a straight armscye

My measurement of armscye is 12″
Extend the side seam to your preferred length
The more flattened the shoulder, the more oversized your bodice will be

Back Bodice
Trace the neckline and the center of the ORIGINAL PATTERN
Match up the beginning points of the shoulder seams of both patterns pieces, making sure the center seams are parallel to each other
Trace the shoulder, armscye, and side seams

Yoke
Trace the center and the neckline of the ORIGINAL PATTERN
Match up the beginning points of the shoulder seams of both patterns pieces making sure the center seams are parallel to each other
Trace the shoulder
Trace a few inches of the armscye
Trace and extend the bottom of ORIGINAL YOKE pattern

Back Bodice With Yoke
Trace the seam allowance (5/8″) from the NEW YOKE pattern
We need the stitch line mark on NEW FRONT pattern
Match the shoulder of NEW FRONT and NEW YOKE
And the mark 5/8″ away from the bottom of NEW YOKE
Parallel the centers and match the marks
Trace the rest of the armscye and the side seam from the NEW FRONT pattern


If the armscye is straight, your NEW BACK BODICE pattern drawing is successful!
Front Facing
Make sure to modify all pattern elements related to the shoulder
Trace the neckline and the center of the ORIGINAL FRONT FACING
Trace the shoulder of the NEW FRONT BODICE
Trace the rest of the ORIGINAL FRONT FACING

Sleeve + Cuff Band
My measurements are 25″ x 10″ (Sleeve) 14″ x 3″ (Cuff Band)
You can adjust the width and length of your SLEEVE
You can also adjust the width of your Cuff Band
This step is right after the ‘Burrito’ was pulled out
The collar looks nice
You can see the armscye is straight
Pin and sew the armscye and the sleeve RST (Right Side Together)

Enjoy the process of making your own hybrid piece!
I really wish methods you can benefit from these methods! I will see you in the next post!
*****Disclosure******
Some of the links above are affiliate links. .Clicking and purchasing through affiliate links gives me a small commission. BUT MORE IMPORTANTLY, I wanted to help you find the materials easier. So you can focus more on your project. Thank you.
**********************
These are my online fabric shops.
All the fabrics I use are from either Dailylike Canada or Two O Nine Fabric Studio.
Dailylike Canada http://www.dailylike.ca
Two O Nine Fabric Studio https://www.etsy.com/shop/twooninefabricstudio
Here’s my Patreon page link. Your support is greatly appreciated! https://www.patreon.com/user?u=32815284
Let’s get connected!
Sewing Therapy
Instagram – https://www.instagram.com/yoursara_k/
Blog – https://sewingtherapy.net/
Twitter – https://twitter.com/SewingTherapy
Dailylike Canada
Instagram – https://www.instagram.com/dailylikecanada
Facebook – http://www.facebook.com/dailylikecanada
Pinterest – https://www.pinterest.ca/dailylikecanada
Two O Nine Fabric Studio
Instagram –https://www.instagram.com/twooninefabric

Pingback: How to Make a Simple and Stylish Ring Scarf | Sew Along Tutorial from Sewing Therapy - Sewing Therapy