Hello! It’s Sara here with a new tutorial that is not a garment but still something to wear. I mean it. It’s truly a special tutorial which I’ve got requested quit a bit on my Instagram.
The Fennel Fanny Pack by Sarah Kirsten is the perfectly-sized fanny pack to carry on your hip or over your shoulder. It’s big enough to fit your wallet, phone, keys….etc and small enough to avoid that awkward bumbag look.
Everyone is different but the project can be challenging for experienced-beginner or intermediate sewists. However, I can tell you that it will be a VERY SATISFYING one when you are done.
I will show you two ways to do it. Bias-Binding or Drop-In Lining.
And I will cover the DROP-IN LINING METHOD today.
My previous Tutorial was ‘Cross Back Apron from Tessuti Fabrics’. If you are planning a special Christmas gift for your loving ones, I recommend you to check out! http://sewingtherapy.net/cross-back-apron-sew-along-tutorial/
Also, don’t forget to subscribe! More great tutorials are on the way!
Although I always try my best to give you clear and easy to understand instruction, I strongly recommend you watch the video at least once to get the right idea. You can always come back and read the part that you forgot or wasn’t sure of.
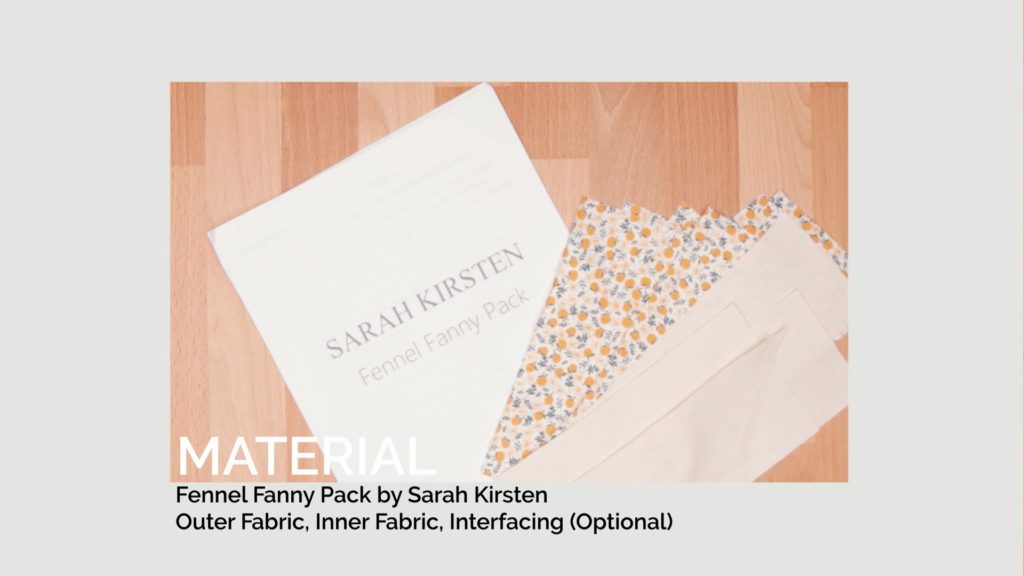
Material
Fennel Fanny Pack pattern by Sarah Kirsten
https://sarkirsten.com/patterns/fennel-fanny-pack#
Outer Canvas in Natural fabric I used:
CANVAS Pure & Natural Unbleached Canvas – Moda Fabrics 54″ Wide
https://etsy.me/36y1ZFg
Quilting weight Tangerine Cotton fabric I used for Linings:
https://www.dailylike.ca/products/design-fabric-cotton-20c-tangerine-42-wide
Webbing & Interfacing from Dailylike Canada
https://www.dailylike.ca
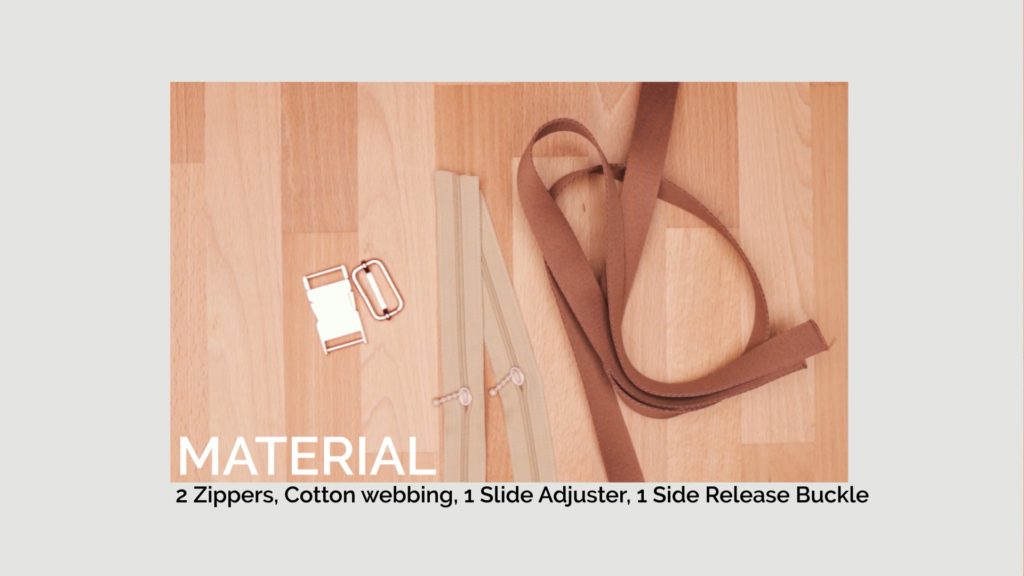
Emmaline Bag Hardware
https://etsy.me/3mKfwiw
https://emmalinebags.com/
My sewing machine
Bernette B38 Swiss Design Computerized Sewing Machine
https://amzn.to/2URpvX6 (USA)
LDH Scissors and thread snip
https://www.etsy.com/ca/shop/TwoONineFabricStudio?section_id=29487961
These are my online fabric shops.
All the fabrics I use are from either Dailylike Canada or Two O Nine Fabric Studio.
Dailylike Canada http://www.dailylike.ca
Two O Nine Fabric Studio https://www.etsy.com/shop/twooninefabricstudio
Seam Allowance
Use 3/8″ seam allowance unless otherwise stated
Cut
Total 6 pieces of Outer layers and Linings (Your preferred mix and match)
Outer fabric – 1 Top Panel, 1 Bottom Panel
Lining fabric – 1 Top Panel, 1 Bottom Panel
Outer fabric – 2 Strap Stabilizer
Webbing Strap, Side Release Buckle, slide Adjuster (Optional)
2 Zippers (Cut them a little longer in case you’re using coil zippers like me)
0. Preparation
Fuse interfacing to 3 Main Panels of the Lining

Fuse interfacing to Top and Bottom Panels of the Lining
Fuse interfacing to Strap Stabilizer
Separate the end of the coil zipper
***How to install the zipper head on a coil zipper
Slide the head onto one side first and hold with your fingers (Use the larger V-shaped side of the zipper head)
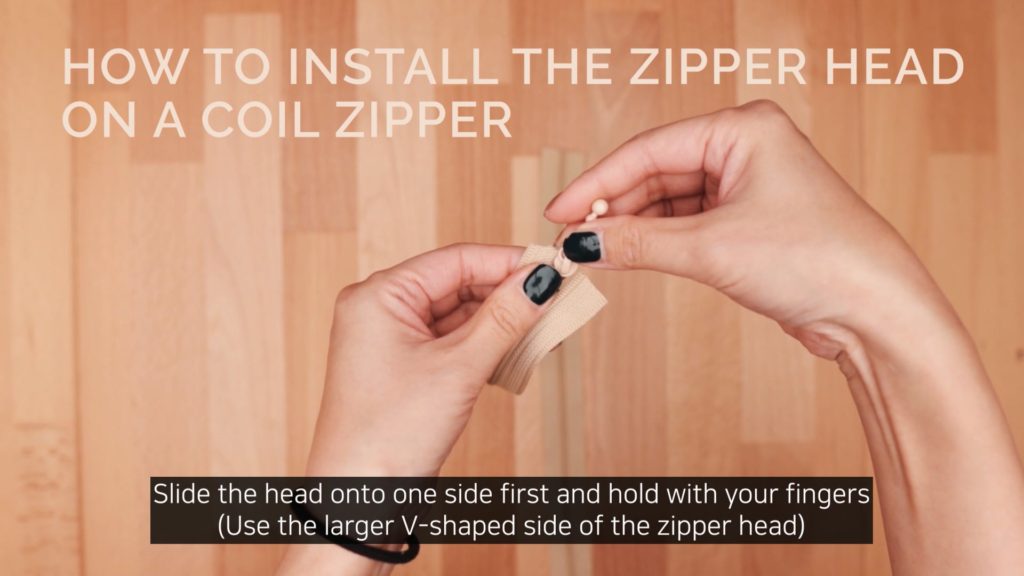
Slide the coil into the other side of the zipper head
And push the back gently
Voila! You will need some practice to make this process easy!
1. Front Panel
Cut 1 1/2″ from the top of the Front Panel ( 1 Outer layer, 1 Lining)
Sandwich the short zipper between the top Outer piece and Lining RST (Right Side Together)
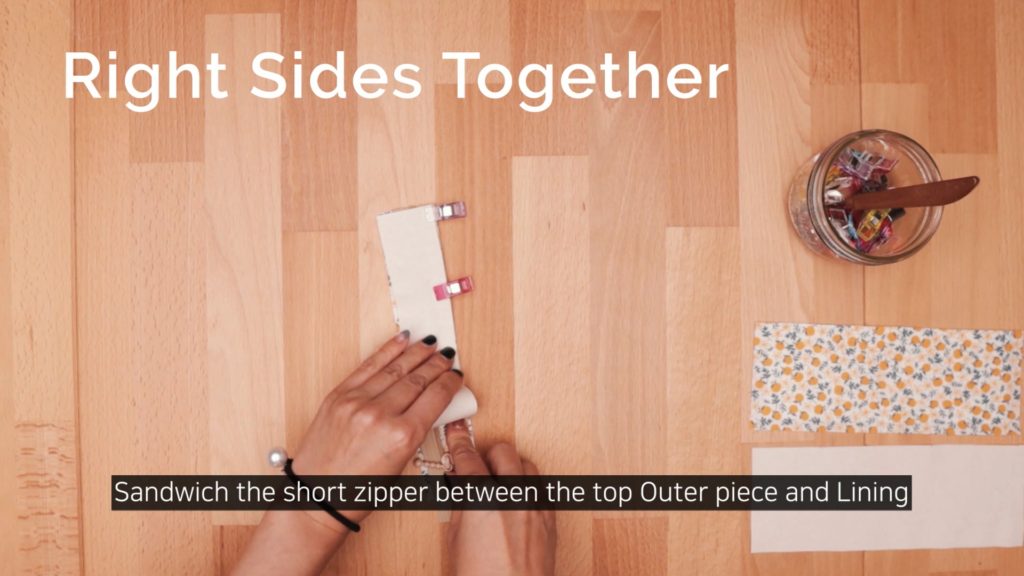
And sew with a zipper foot
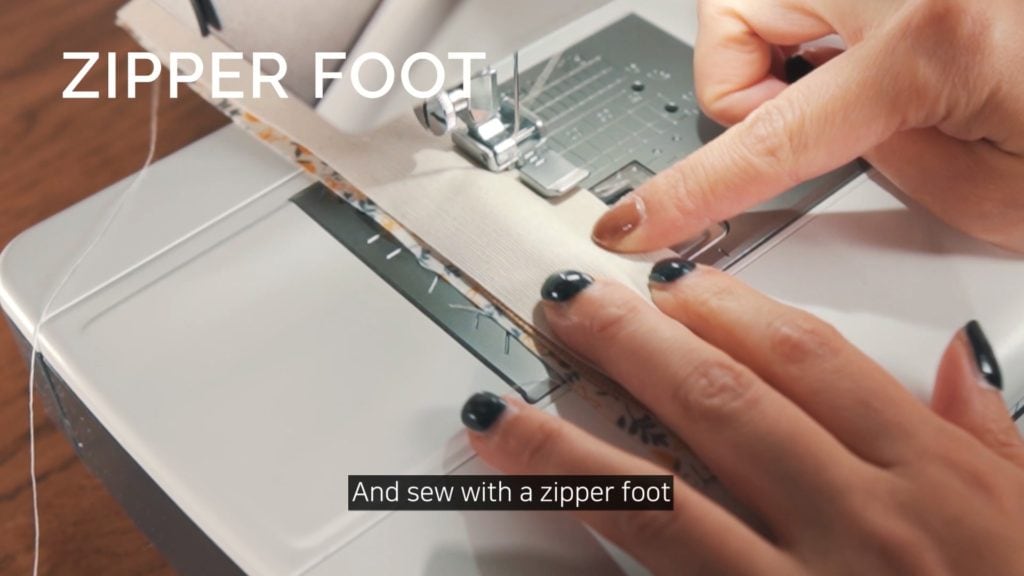
Press the Outer piece and Lining towards the seam
Repeat for the bottom pieces RST
Press the Outer piece and Lining towards the seam
Edgestitch/Topstitch through all layers
Pin and baste the Front Panel and one of the Lining
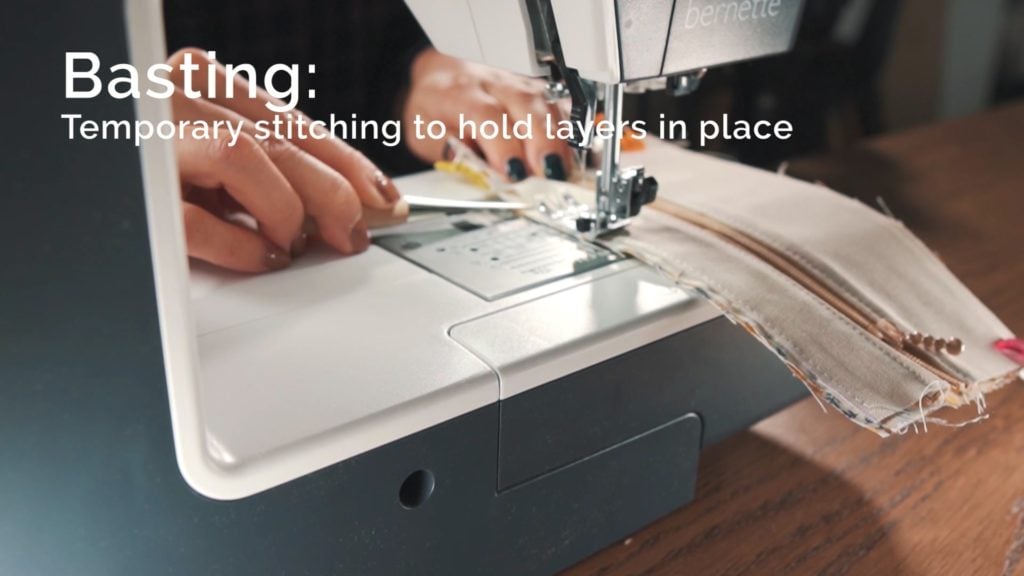
2. Top/Bottom Panel (T/B Panel)
Cut the Outer piece and Lining of Top Panel in half
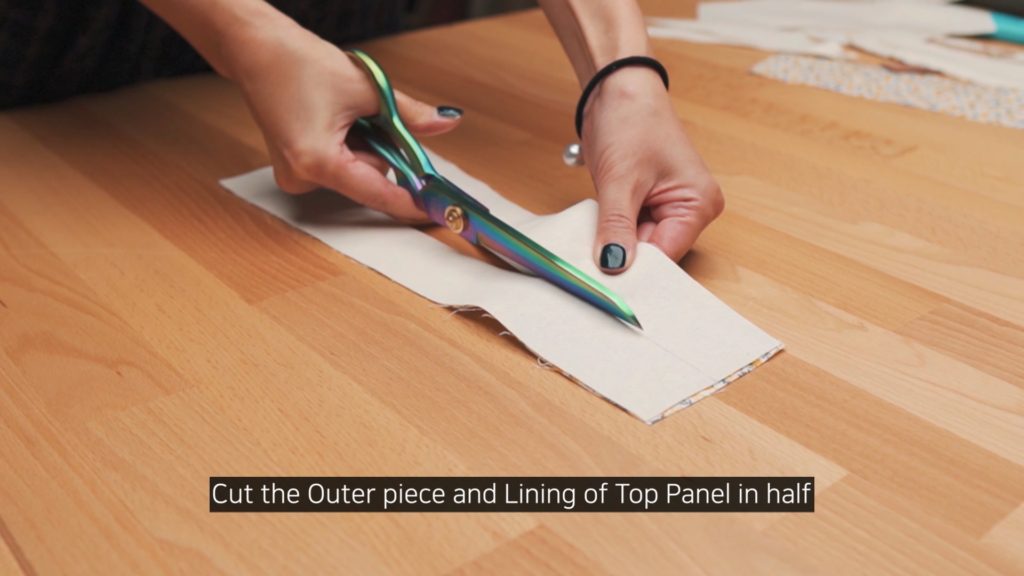
Cut the Outer piece and Lining of Top Panel in half
Attach the zipper on the middle of the Top Panel layers RST
Press Outer layer and Lining towards the seam
Repeat for the other side RST
Press the Outer piece and Lining towards the seam
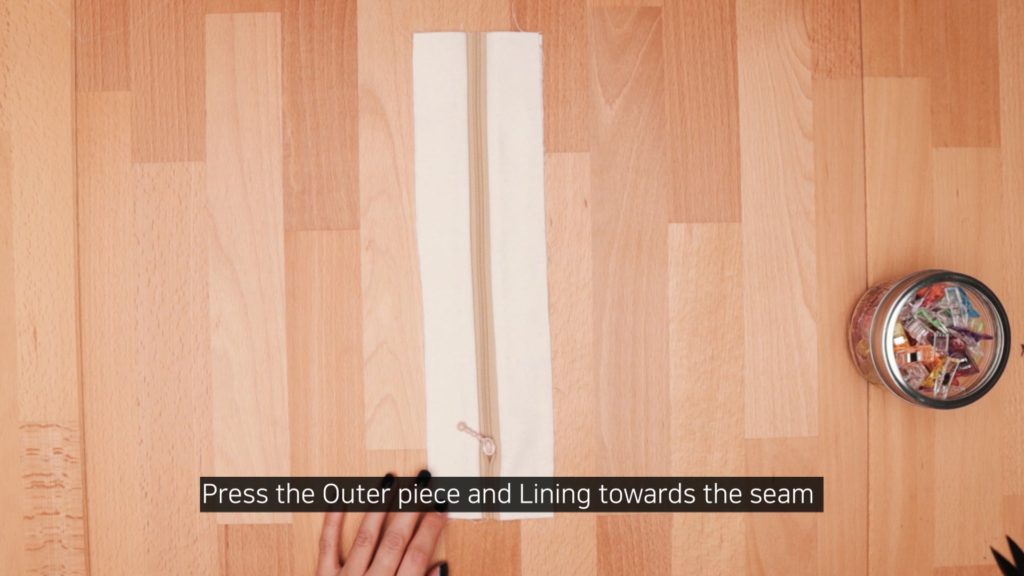
And edgestitch/topstitch through all layers
Sandwich Top Panel between the Lining and Outer piece of Bottom Panel RST
Sew only the zipper area through all the layers
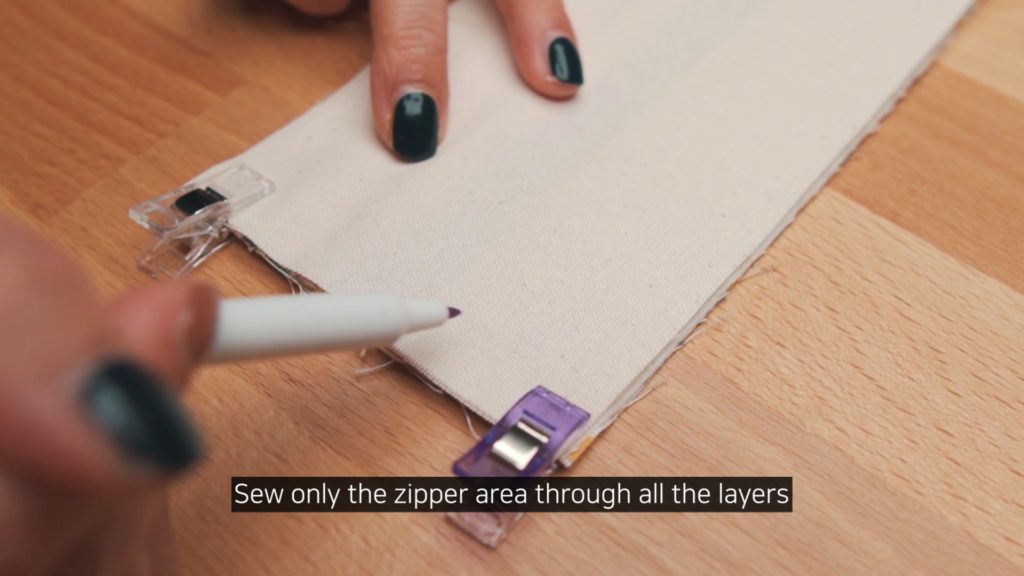
Sew the Outer pieces and Lining pieces separately
Repeat for the other side
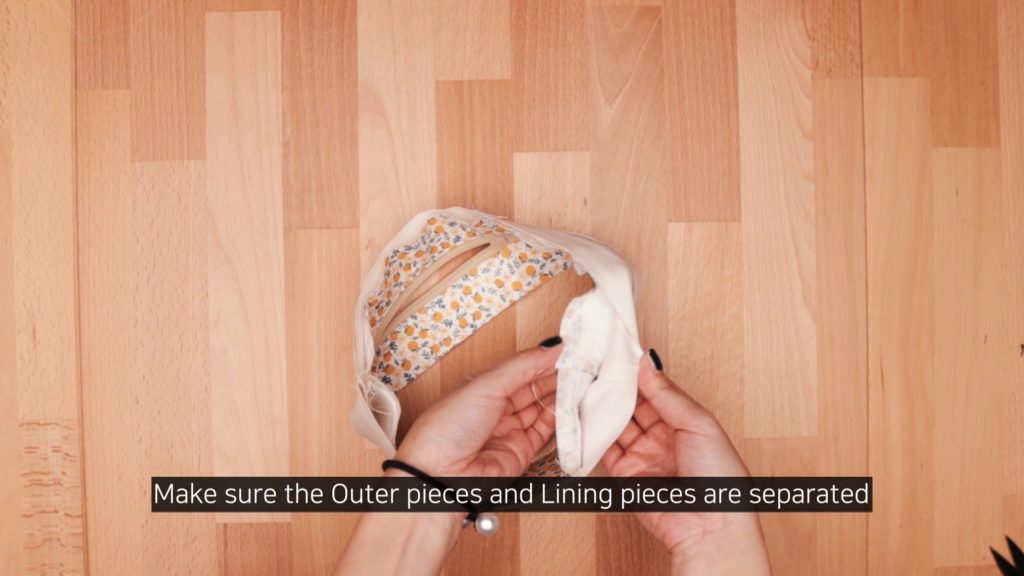
Make sure the Outer pieces and Lining pieces are separated
3. Back Panel
Fold Strap Stabilizer in half RST
Slide the webbing into them
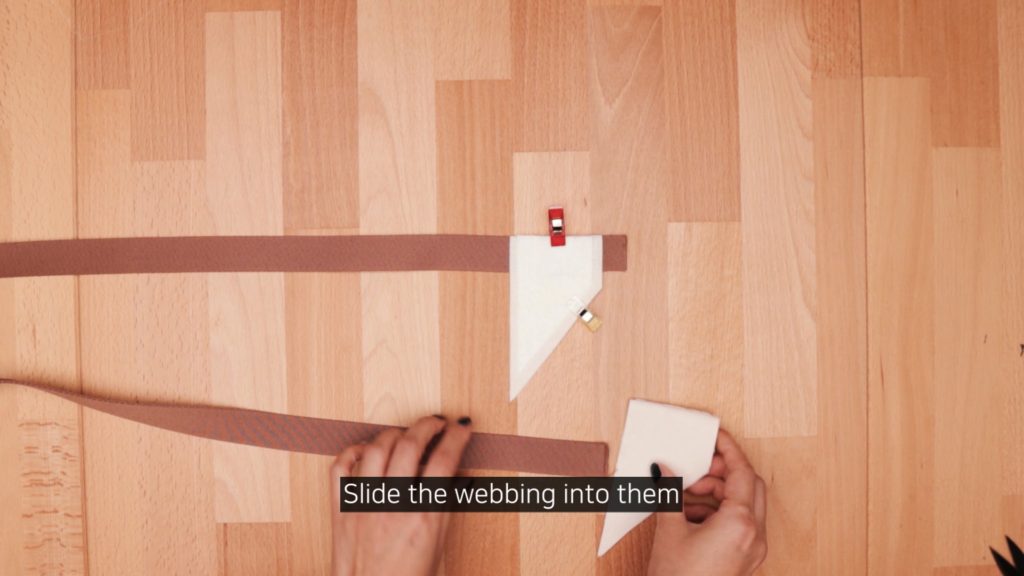
And sew along the short edge and the angled edge
Back stitch a couple times to strengthen stitching
Edgestitch
Place the Strap Stabilizers on the sides of one of the Main Panel RST
Leave 3/8″ seam allowance on the top
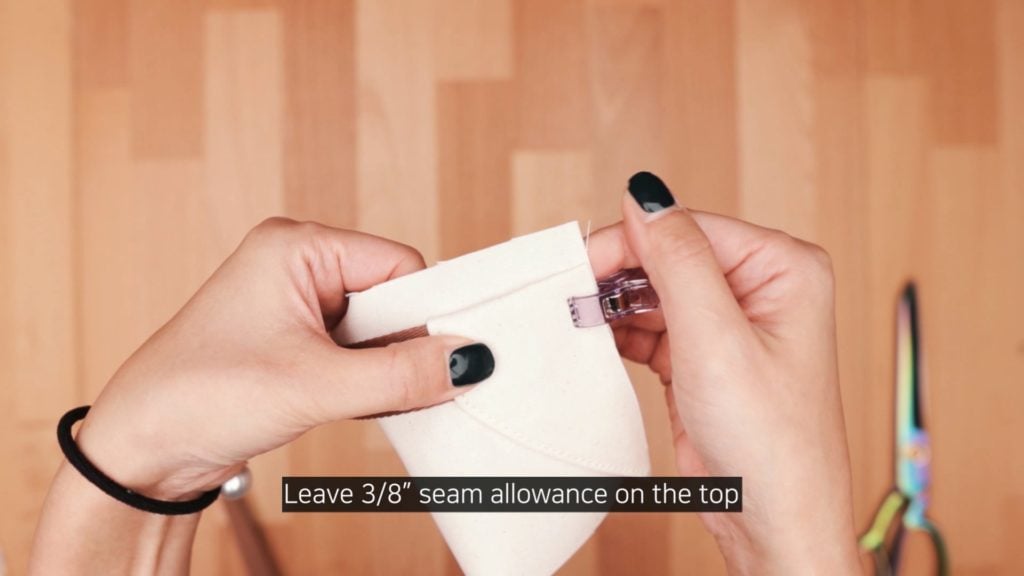
And set it aside
4. Front & T/B Panel
Fold in half and mark the top and bottom center of the Front Panel and T/B Panel
Optional: align the direction of the zippers
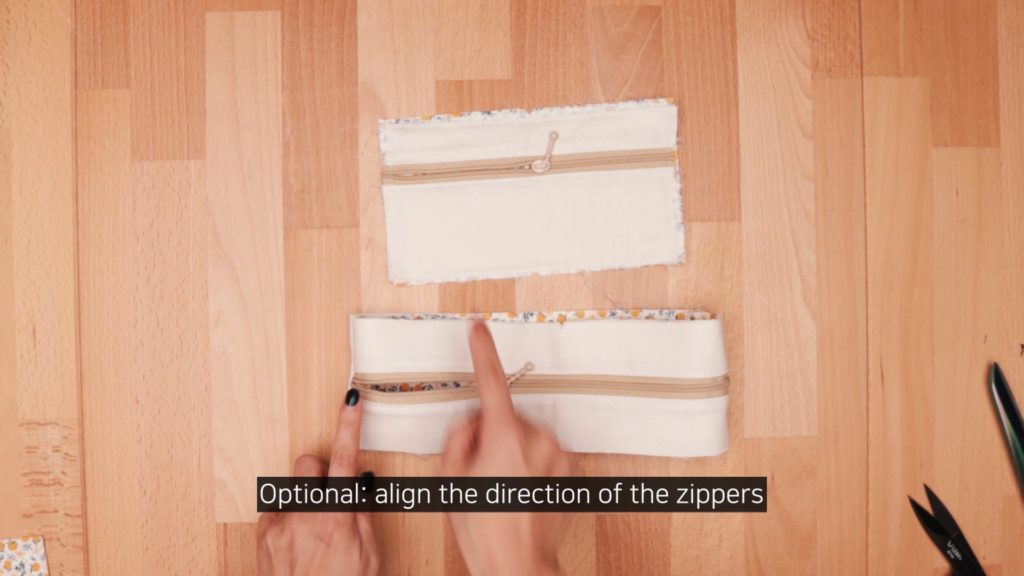
Match the center marks of Front Panel and Top/Bottom Panel RST
Separate the Outer piece and Lining from the T/B Panel
Pin top and bottom
Mark 3/8″ from each side and sew between the marks
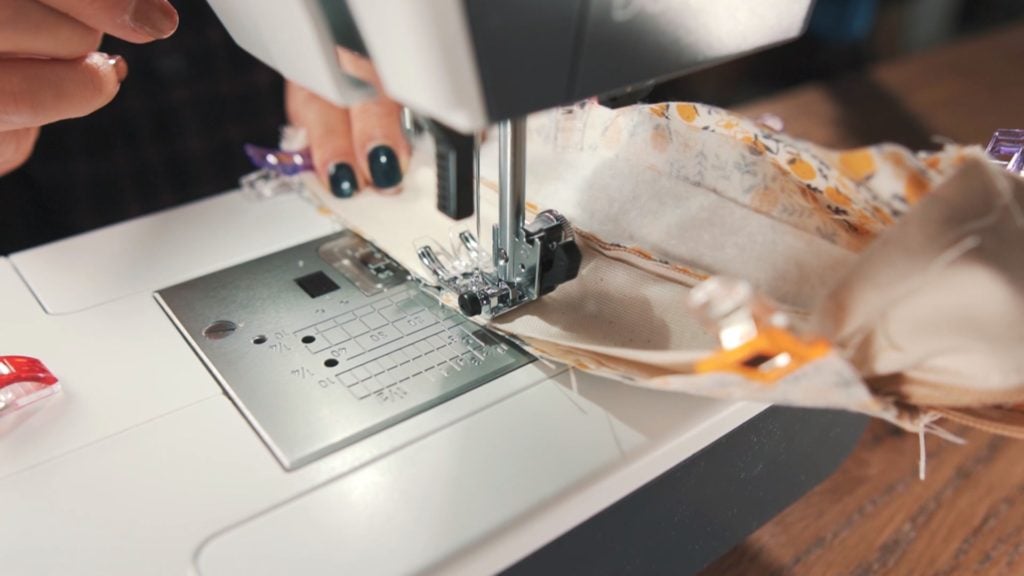
Repeat for the bottom
Make sure the Outer piece and Lining piece are separated
Clip at the marks on the T/B Panel
Be careful not to cut the stitching!
These clippings help make nice corners
Pin and sew the sides
Make sure to meet the Top and Bottom stitches
Round corners can be helpful
Fold in half and mark the top and bottom center of the Lining Piece
Bring the Lining edges to the front
Match the marks on the top and bottom
Repeat the steps
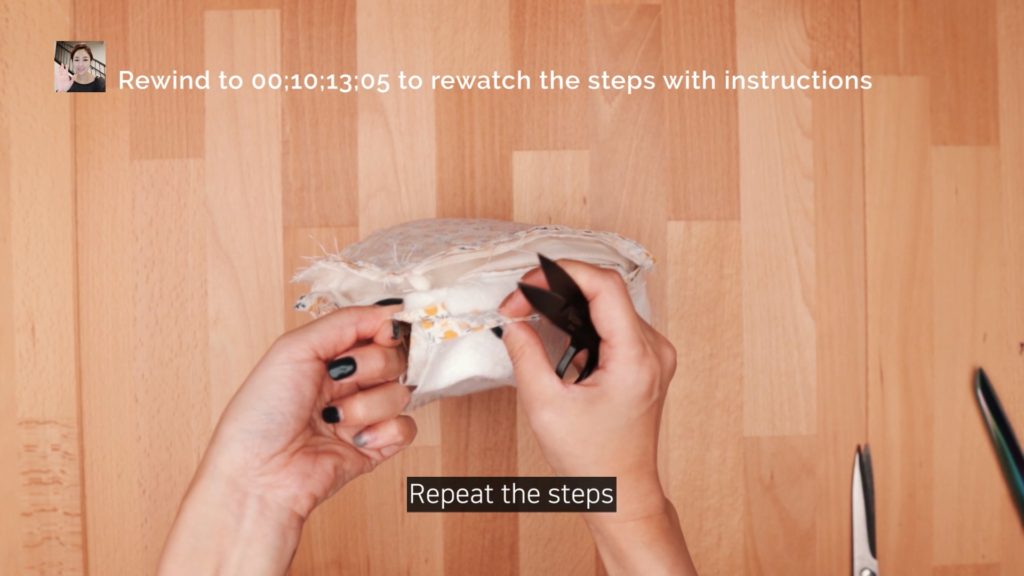
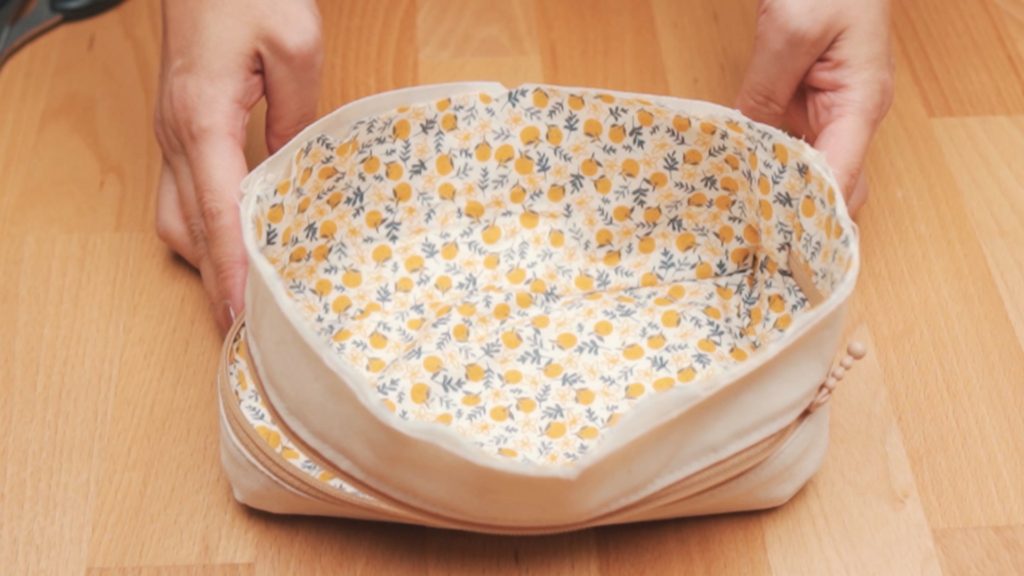
5. T/B & Back Panel
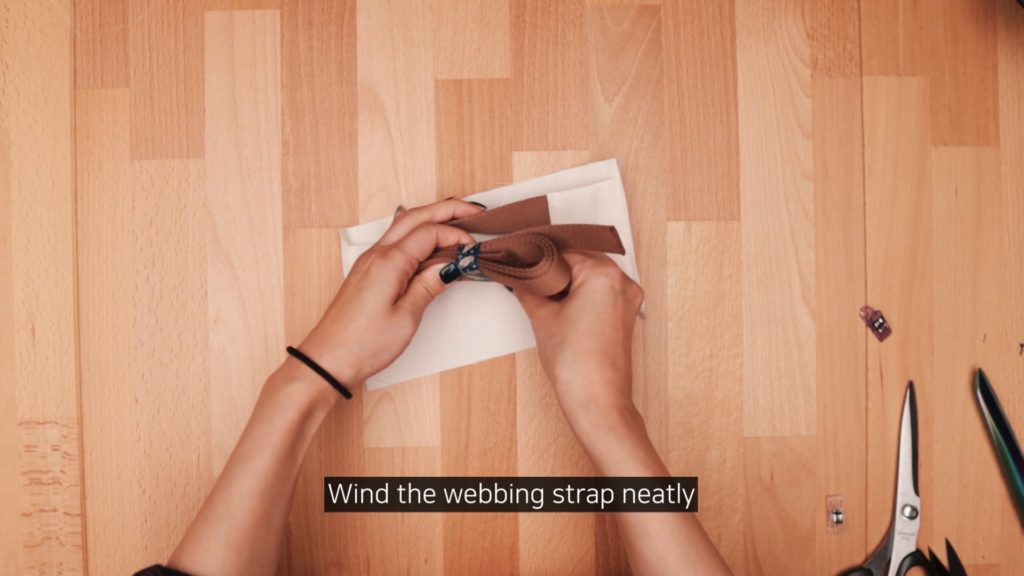
Wind the webbing strap neatly
Separate the Outer piece and Lining piece on the T/B Panel
Match the marks and pin the top and bottom RST
Repeat the steps
Only one Lining piece left!
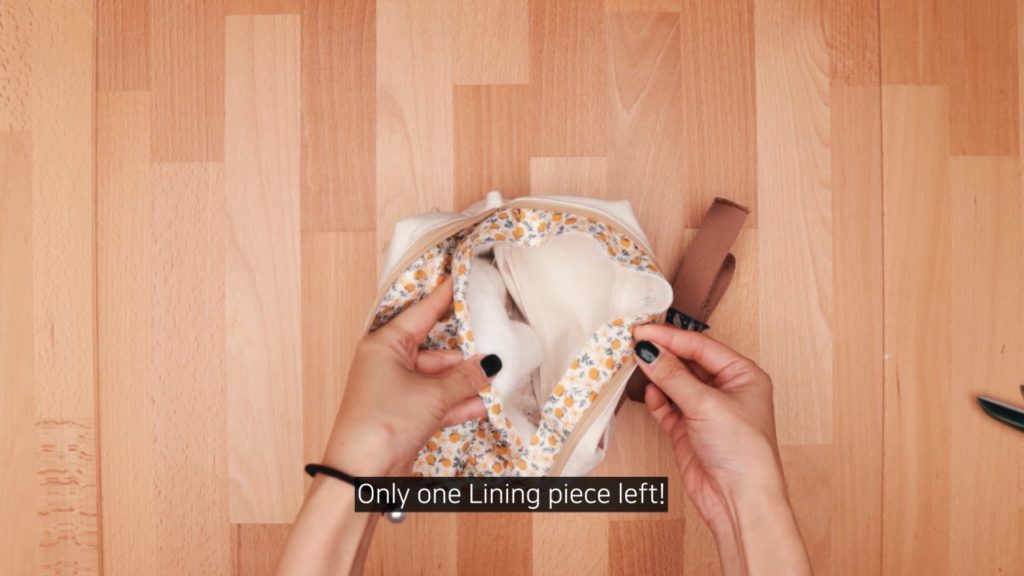
Turn inside out again and push everything inside
Mark the centers of the top and bottom on the last Lining piece
Match the marks and pin the top and bottom RST
Mark 3/8″ from each side and sew between the marks
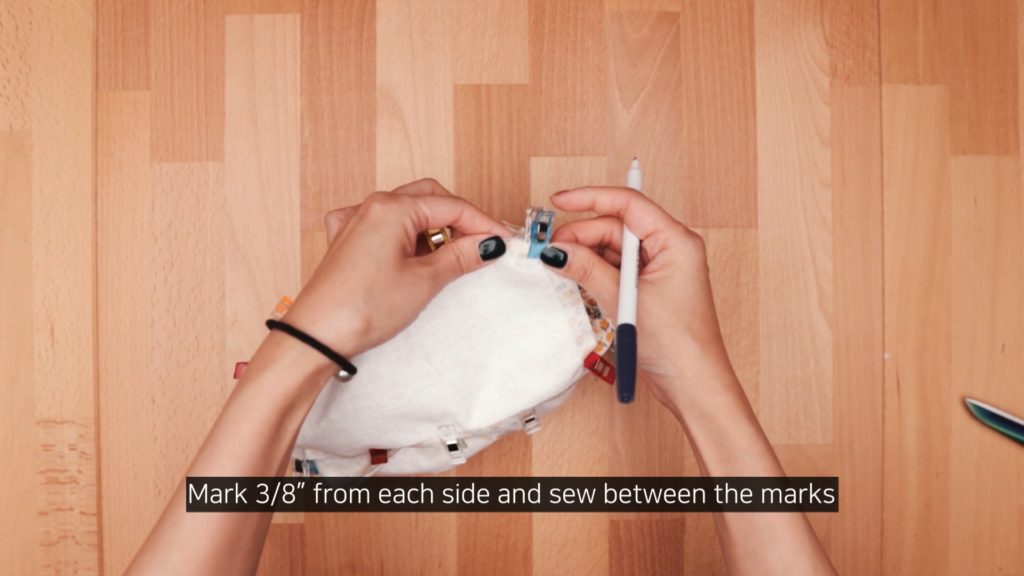
Mark for an opening
***I made my opening on the top edge as it’s the least visible place on the bag
Sew leaving the opening
Secure the opening by sewing back and forth a few times
Repeat the steps
Turn everything inside out using the opening
A nice press will make the bag look better
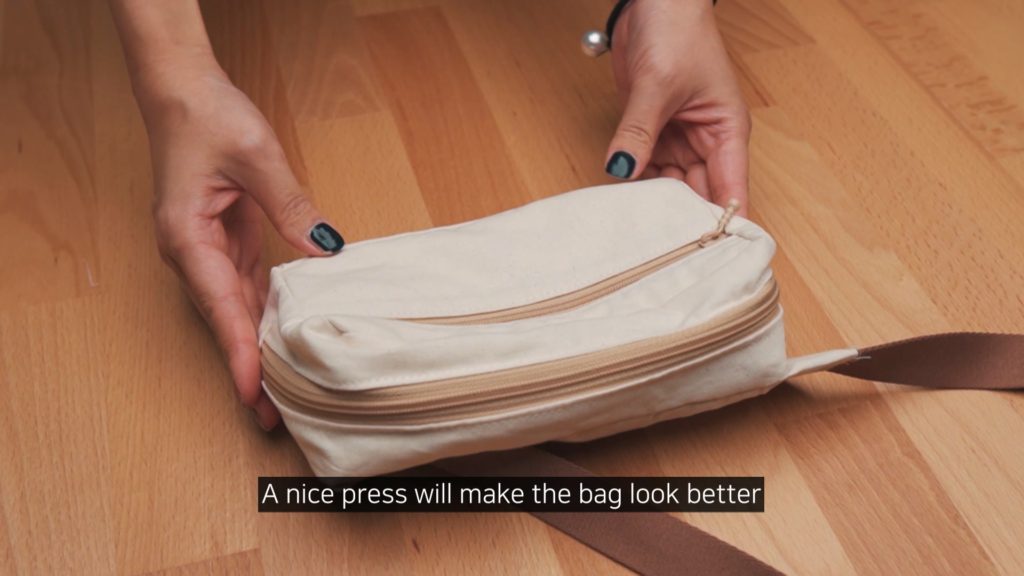
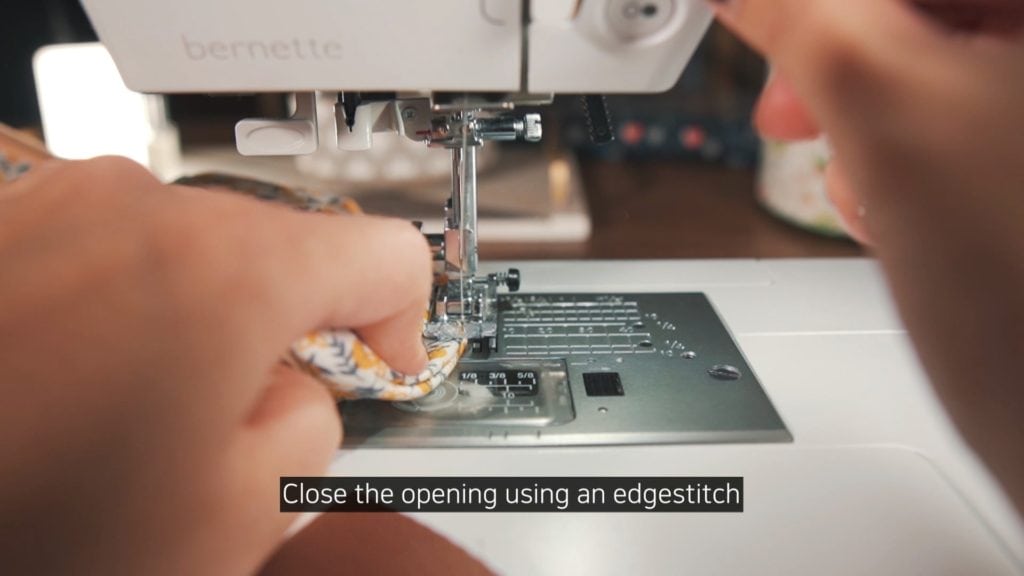
Close the opening using an edgestitch
6. Hardware Installment
You can skip this step if you’re using the bag as a shoulder bag only
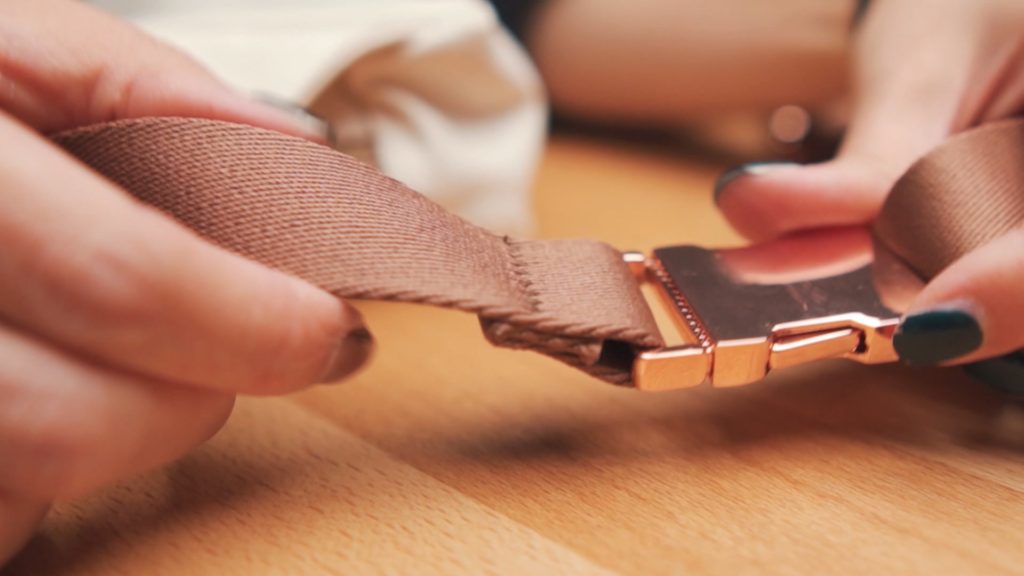
Install Slide Adjuster and Side Release Buckle
I’ll leave a link for the details
Details on how to install Side Release Buckles and Slide Adjusters from Sarah Kirsten Blog
https://sarkirsten.com/blog/2018/11/21/how-to-install-side-release-buckles-and-slide-adjusters
So this is it! Good job! You did it!
I’ll come back with the second method soon.
Thank you so much! See you in the next post!

*****Disclosure********
Some of the links above are affiliate links. .Clicking and purchasing through affiliate links gives me a small commission. BUT MORE IMPORTANTLY, I wanted to help you find the materials easier. So you can focus more on your project. Thank you.
**********************
Here’s my Patreon page link. Your support is greatly appreciated! https://www.patreon.com/user?u=32815284
Let’s get connected!
Sewing Therapy
Instagram – https://www.instagram.com/yoursara_k/
Blog – http://sewingtherapy.net/
Twitter – https://twitter.com/SewingTherapy
Dailylike Canada
Instagram – https://www.instagram.com/dailylikecanada
Facebook – http://www.facebook.com/dailylikecanada
Pinterest – https://www.pinterest.ca/dailylikecanada
Two O Nine Fabric Studio
Instagram –https://www.instagram.com/twooninefabric

Pingback: Fennel Fanny Pack from Sarah Kirsten – Bias Binding Method | Sew Along Tutorial by Sewing Therapy - Sewing Therapy