Hello, Sara here.
How’s everyone doing? Staying home and getting bored?
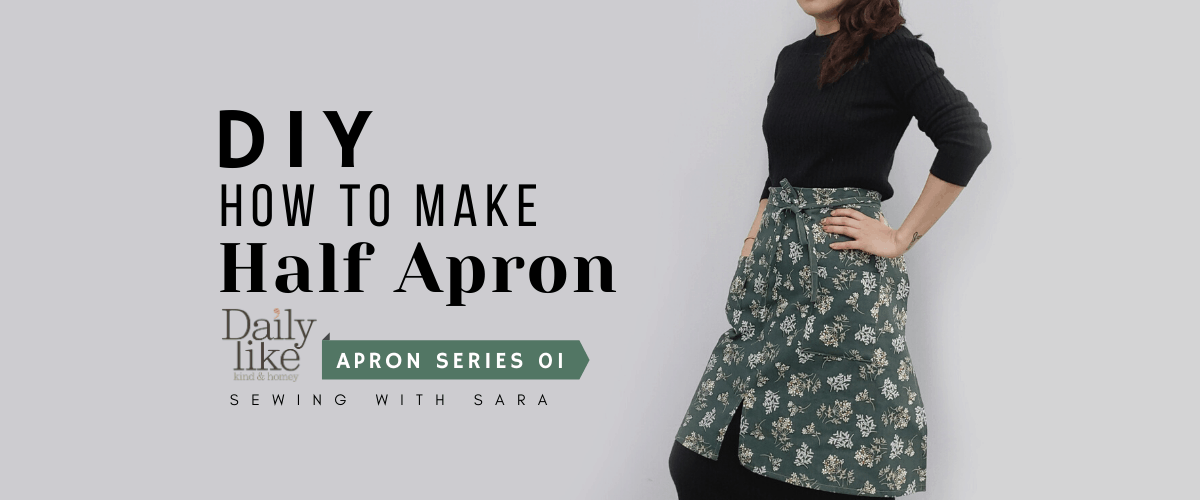
Whether we like it or not, we are spending a lot of time at home nowadays. I’ve been thinking that I should start a beginner sewing tutorial series. So more people who are interested in sewing can learn and level up their skills. One of the first series is making aprons. (Shhh…just let you know, Pajama series is coming soon!) I am starting the series by the DIY half apron. It’s not only easy and simple but you will be able to find the joy of making something beautiful using your favourite fabric!
Any questions, you can leave it in the comment section below. I strongly recommend watching the video. Especially for beginners, watching the tutorial is definitely easier than just reading the instruction!
Fabric: I used 1 yard of Lace Flower Linen from Dailylike Canada http://www.dailylike.ca
This is the sewing machine I used for this video.
Links will be updated, a lot of them are out of stock due to COVID-19.
SINGER 9960 Quantum Stylist
Unfortunately, links are not available for now
Brother 1034D
Unfortunately, links are not available for now.
Bias Tape Maker: You can make your own from the fabric in your stash and this tool helps it much easier (You can check how to use it on the video.) Canada https://amzn.to/2ysNrIW
USA https://amzn.to/2VO9Nwb
Sewing Clips https://amzn.to/36lRFhP (Canada)
Sewing Clips https://amzn.to/3bqfI16 (USA)
I bought my flat sewing pins from Korea. The most similar one from amazon would be
https://amzn.to/3bUOXRN (Canada)
https://amzn.to/2WTmyXP (USA)
Let’s get started!
Material: Measurement Sheet, 1 Yard of Linen/Cotton Oxford fabric
How to draw a pattern
(All the measurements are in the measurement sheet)
– Draw the center line
– Draw the bottom line at 90 degrees
– Draw the top line at 90 degrees (this line is just a guide)
– Connect the lines to draw the side line
– Extend the side line and draw a new top line to the center
Cut
2 Front (Mirrored), 2 Pockets, 1 Waist, 2 Waist Ties
- Make Pockets
Double fold the top edge by 0.5″ and press WST (Wrong Side Together)
Edgestitch to the folded edge
Serge the sides and the bottom
Fold the serged edges and press WST
Optional: make a corner neater, pin and set aside - Front Panel
Serge the center edges
Overlap the front panels RST (Right Side Together) matching the center
Measure 6.5″ from the bottom and mark
Backstitch a few times to secure the slit
Open seams and press
Sew the seam around the slit - Attach Pockets
Mark the pocket position based on the measurement sheet
Position the pockets, pin and edgestitch
Repeat for the other pocket - Finish Front Panel
Double fold the bottom edge, press and edgestitch to the folded edge (WST)
Double fold the side edges and press
Tip: folding triangular shape before double folding helps make the corner neat
Edgestitch both sides - Waist Ties (Bias Tape)
Fold both edges to the middle line and fold in half
or use a Bias Tape Maker
Make one end of each tie neat
Edgestitch and set aside
Mark 1/4″ below the center and pin the raw edges together
Sew the ties to the waistband with 1/8″ seam allowance
Fold one long edge and press
Fold in half (the original half) RST and sew the short edges
Turn inside out and press - Attach Waist and Front
Match and pin the top edge of the Front and the raw edge of the Waist RST
Sew with 1/2″ seam allowance
Fold and press the waistband in half WST
The folded edge overlaps the stitch and the seam
Pin
Stitch in the ditch or edgestitch
Make sure to sew the other edge on the bottom
You are done! Again, this DIY half apron is just the beginning of apron series! Different kinds are coming soon!
If you don’t have a serger. That’s perfectly fine. You can do it without a serger. http://sewingtherapy.net/serge-without-a-serger/ Just check my sewing tip post!
We are all going through a tough time. Sometimes the situation is very discouraging and we are worried and depressed. However, we should all know that WE WILL GET THROUGH THIS. Let’s stay positive and healthy. Thank you! I will see you in the next post!
ALWAYS STAY SAFE AND HEALTHY!
Mask Tutorial Links
Ver. 1 (3 Layer Mask with a Replaceable Filter) https://youtu.be/q2B7Twkh2SI
More detailed instruction can be found on our website: http://sewingtherapy.net/diy-mask-wi…
Ver. 2 (2 Layer Mask with a Replaceable Filter) https://youtu.be/BISlLmUd5DE
More detailed instruction can be found on our website: http://sewingtherapy.net/diy-2-layer…
These are my online fabric shops.
Dailylike Canada http://www.dailylike.ca
Two O Nine Fabric Studio https://www.etsy.com/shop/twooninefabricstudio
*****Disclosure******
Some of the links above are affiliate links. .Clicking and purchasing through affiliate links gives me a small commission. BUT MORE IMPORTANTLY, I wanted to help you find the materials easier. So you can focus more on your project. Thank you.
**********************
Here’s my Patreon page link. Your support is greatly appreciated! https://www.patreon.com/user?u=32815284
Let’s get connected!
Sewing Therapy
Instagram – https://www.instagram.com/yoursara_k/
Blog – http://sewingtherapy.net/
Twitter – https://twitter.com/SewingTherapy
Dailylike Canada
Instagram – https://www.instagram.com/dailylikecanada
Facebook – http://www.facebook.com/dailylikecanada
Pinterest – https://www.pinterest.ca/dailylikecanada
Two O Nine Fabric Studio
Instagram –https://www.instagram.com/twooninefabric

Pingback: How to Make Comfortable Pyjama Pants from Scratch! Ver.1 (Incl. How to Draw a Pattern) | Sewing Therapy - Sewing Therapy