Hello Friends!
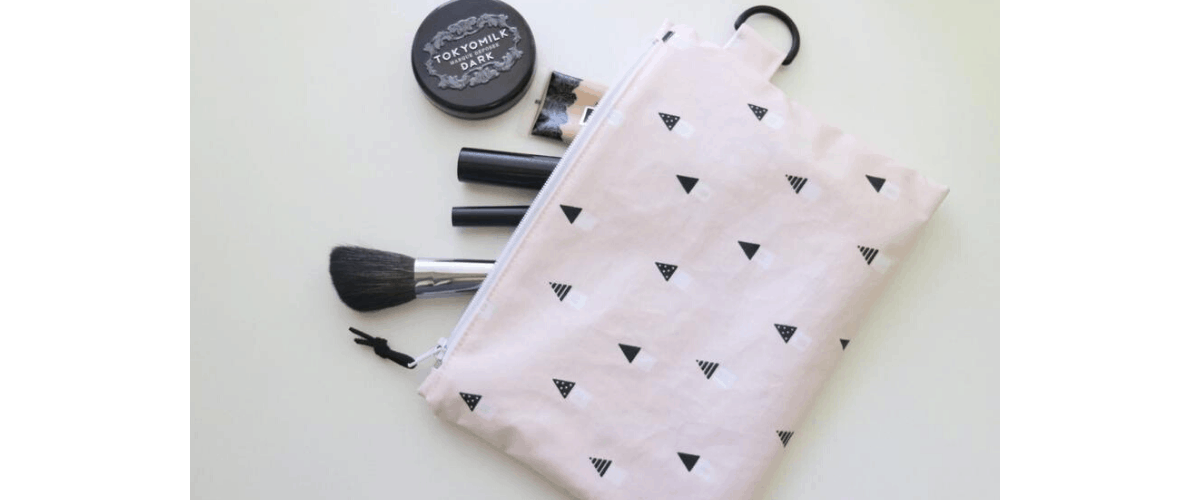
You probably won’t believe me when I say that there might be something I love just as much as fabric…makeup! The same way I can turn a square of fabric into a purse or tote bag, a little bit of makeup here and there can make this pale hermit look like she hasn’t been spending too much time indoors sewing! Something that everyone needs is a little makeup pouch. Even if all you use is chapstick and lotion I’m sure everyone has had an unfortunate makeup explosion in one form or the other!
So today I’m here to show you how to make a little makeup pouch with laminated cotton. Laminated cotton is high-quality cotton with a thin layer of polyurethane adhered to the right side of the fabric. https://sewingtherapy.net/laminated-fabric-special-fabric-type/ This makes it easy to wipe clean and repel liquid making it great for holding makeup and other potentially messy items. Let’s get to it!

Supplies:
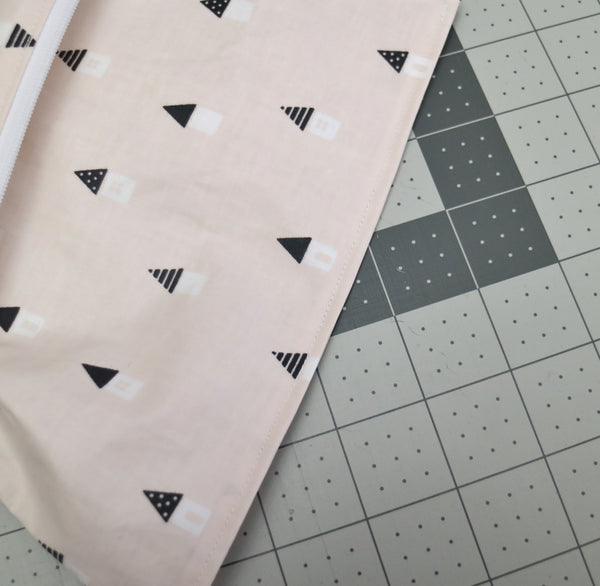
Half yard of Laminated Cotton (House) I used the same print for the exterior and interior.
Link for the laminated fabric selection https://www.dailylike.ca/collections/laminated-fabric
7 Inch zipper
D Ring (optional)
Seam allowance is 1/4″ throughout. Use 1/8″ for topstitching.
*A few notes on working with laminated cotton: I didn’t have an issue with the cotton ‘sticking’ to my regular sewing feet but I found increasing my stitch length to 2.5 helped it go through my machine more easily. Secondly, you can’t iron laminated cotton so I found finger pressing worked well and also a Hera marker helped make the seams crisper for topstitching.
Prep Your Fabric:
Cut 2 Exterior pieces 9 inches long by 6.5 inches tall
Cut 2 Lining pieces 9 inches long by 6.25 inches tall ( a shorter lining eliminates bunching in the completed pouch)
Cut 2 Zipper tab pieces 2 inches square
Cut 1 D ring tab 2.5 inches square (the square you cut will depend on the size of your D ring. If you’re not using one and simply want a loop then a 2.5″ square is fine. Mine is more rectangular looking because I was using a large D Ring)

Step One: Zipper and Side Tabs
Take your two zipper tabs and fold in half. Open, then fold in sides to the center fold line, fold sides in again. Cut off approximately 1/4 of an inch from each end of the zipper. Slip your folded zipper tabs onto each end and hold in place with a binding clip. The sides will extend past the zipper, that’s okay! Sew in place with a 1/8″ seam allowance along the edge next to the metal stops. Trim the sides flush with the zipper.


Now grab your D Ring and fabric square. Fold the square in the same way you did for the zipper tab. Topstitch along both edges with a 1/8″ s.a. Slide the D ring on and fold in half. Set aside for now.

Step 2: Zipper Installation
Place an exterior piece right side up on your table. Center the zipper right side down on the fabric. There should be a little over a 1/4″ space on each end of the fabric.

Place the lining fabric right side down on top of the zipper. The zipper should now be sandwiched between the exterior and lining fabric.

Binding clips work best to hold everything into place, however you can use pins, just ensure that you are pinning within the seam allowance where any holes will not be visible after sewing. Sew the zipper into place. Repeat with the other pieces. Topstitch both sides along the zipper.

Next let’s baste the side tab into place. With your fabric folded around the D ring place it onto the exterior fabric facing in, 1″ down from the zipper on the left side of the pouch. Baste into place making sure not to catch the lining.

Step 3: Finishing the Pouch:
Yay we’re almost done! Our next step it to clip the pouch together with the lining and exterior pieces right sides together. Match the seams at the zipper and clip to avoid any shifting. Leave a 3 inch opening in the lining bottom for turning.
Sew around the perimeter making sure to backstitch at the beginning and end. Clip the corners and turn right side out. Tuck the seam allowance into the opening and sew closed with a 1/8″ s.a.

Your pouch is done! Now fill it with your makeup or craft items, even use it as a reusable snack bag. Enjoy!
To see all Dailylike Laminated cotton fabrics >>>collections/laminated-fabric
Big Hugs,
Wendy
@sewknotcrochet
Let’s get connected!
Sewing Therapy
Instagram – https://www.instagram.com/yoursara_k/
Blog – https://sewingtherapy.net/
Twitter – https://twitter.com/SewingTherapy
Dailylike Canada
Instagram – https://www.instagram.com/dailylikecanada
Facebook – http://www.facebook.com/dailylikecanada
Pinterest – https://www.pinterest.ca/dailylikecan…
Two O Nine Fabric Studio
Instagram – https://www.instagram.com/twooninefabric
Pingback: Gorgeous Colour Block Pouch Tutorial (Free Pattern and tutorial link) - Sewing Therapy