Hello, Sara here!
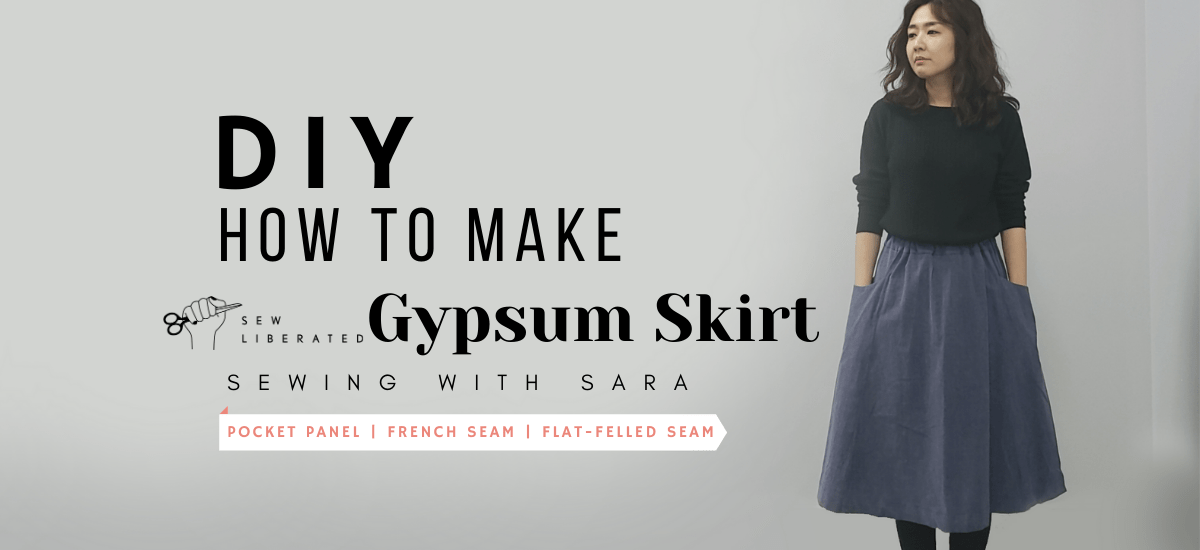
Today’s sewing tutorial is about Gypsum Skirt from Sew Liberated Pattern. I made view A which has side panel pockets which I believe it’s a must-have for pocket lovers. You will be able to learn French seams and flat-felled seams. This is a very useful tip in case you don’t have a serger or you want a more professional finish. Let’s get started
I always recommend watching the video especially if you believe you are a sewing beginner. It’s always easier to see how it works and learn it through practice. This Gypsum Skirt pattern is not very complicated or time-consuming. Also, since you can practice French Seams and Flat-Felled Seams, it’s even better for yourself to learn or improve sewing skills.
Material used:
Gypsum Skirt Pattern, 2.5 yard Pigment Washing Cotton (View A) and elastics
If you want to know more about Pigment Washing Cotton,
http://sewingtherapy.net/pigment-washing-fabrics/
Gypsum Skirt pattern from Sew Liberated
PDF : https://sewliberated.com/products/gyp…
Hard Copy : https://www.etsy.com/ca/shop/TwoONine…
I use Hemline H274 Plastic Point Turner Sewing Tool with Button Gauge https://amzn.to/2vpjRSL
Cut
1 Skirt Front on fold/ 1 Skirt Back on fold/ 2 Side Panels/ 2 Pockets/ 2 Pocket Facings/ 1 Waistband
- Make Pockets (French Seam)
Pin and sew the Pocket Facing to the Side Panel RST (Right Side Together)
Clip along the curve
Press and understitch the seam to the Pocket Facing
Press
Match the Pocket Facing to the Pocket WST (Wrong Side Together)
Pin and sew the curved edge
Clip the seam
Tip: A point turner can help push out seams accurately
Fold it over and press
———-French Seam———-
Enclose the raw edges by sewing with 3/8″ seam allowance
—————————————-
The original instruction says to sew the side edges of layers together, but I want the pocket to be flat. To do so, trim the sides of the pockets to match the skirt panel.
Pin along the side edges and baste - Attach All the Skirt Pieces
Pin and sew the Front Skirt and one of the Side Panel Pockets WST
Sew with 5/8″ seam allowance
———-Flat-Felled Seam———-
Trim half of the seam on the pocket side
Double-fold the seam towards the side panel and press
Pin and edgestitch
———————————————-
Now repeat this process to attach all the panels - Attach the Waistband
Fold in half and sew the short edges RST
Fold in half along the long edge and mark the sides and centers on the waistband and on the waist
Slide the waistband around the waist and match the marks RST
Pin and sew
Fold the waistband in half and pin
Tip: Folded edge overlaps the waistband seam
Mark the opening on the center of the back
Let’s stitch in the ditch from the right side
Tip: Keep checking whether you are sewing both layers
Leave the opening
Check to see if there are any missing spots
Insert elastic into the waistband
Tip: A safety pin makes the process easier
Sew the elastic ends together (straight stitch or zigzag stitch)
Distribute the gathers evenly
And close the opening
Sew a few locations to secure the elastic
Serge the bottom edge of the skirt first
Fold 1.5″, press and sew
So, that’s it! Gypsum Skirt is definitely one skirt that I would wear when I do the project that takes time! I hope you enjoy the tutorial! I will see you in the next post!
These are my online fabric shops.
Dailylike Canada http://www.dailylike.ca
Two O Nine Fabric Studio https://www.etsy.com/shop/twooninefab…
Instagram – https://www.instagram.com/yoursara_k/
Facebook – http://www.facebook.com/dailylikecanada
Twitter – https://twitter.com/SewingTherapy
Pinterest – https://www.pinterest.ca/dailylikecan…
*****Disclosure******
Some of the links above are affiliate links. .Clicking and purchasing through affiliate links gives me a small commission. BUT MORE IMPORTANTLY, I wanted to help you find the materials easier. So you can focus more on your project. Thank you.
**********************
