Hello and welcome back to Sewing Therapy. I’m Sara, I love to sew along with you and it’s been a while since I made a sew-along video! Today’s sew-along is for the Cameron Button Up. Lately, I have been preoccupied with creating short-form content as well as collaborating with CBC Life. I was incredibly honoured when CBC Life reached out and asked if I would like to create a series of Sewing School episodes for them and it has been a dream to work with them.

Meanwhile, I have also received numerous messages from you expressing how you are missing my sew-along videos. I am grateful for your support and happy to bring you a new video today!

It’s no secret that I love Helen’s Closet Patterns and today’s sewalong is for the Cameron Button Up. Helen makes the most straightforward patterns to follow so you may find this sew-along video unnecessary, but this tutorial is beneficial when sewing any shirt pattern. Many of the steps for sewing a shirt are quite similar across various patterns, but there may be some differences and I’ll make sure to highlight the differences in the video.
On a personal note, which has to do with who this shirt is for, let me share a bit about my relationship with my dad. When I decided to pursue sewing as a career, initially my dad was not pleased. He viewed sewing as a hobby and had concerns about me changing my career in my late 30s. While I understood his perspective, it has been difficult to shake off my disappointment. However, over time, he has become more supportive and even proud of my accomplishments, which is a huge change for him and our relationship! Today’s Cameron Button Up is for my dad and is the first garment I am making for him. He loves wearing button-up shirts with jeans so the Cameron is perfect for him and I hope he loves it!

Before entering the pattern, a quick highlight of the subscribe, like, and notification bell buttons. If you like this content, please give the buttons a quick click as that helps grow our Sewing Therapy community. Thank you! Let’s get started.

You can purchase my Sewing Therapy Labels here.
https://twooninefabric.ca/collections/sewing-label
The material I used for this video
Cameron Button Up (PDF)
https://helensclosetpatterns.com/product/cameron-button-up/
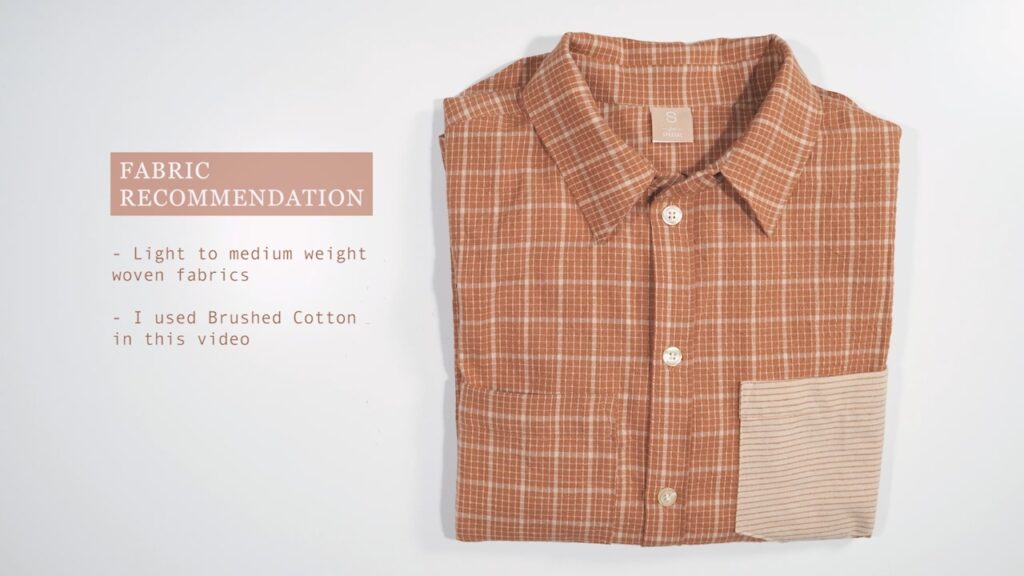
I used Brushed Cotton from my stash
FAQ Material List
My recommendations on Amazon Canada
https://www.amazon.ca/shop/yoursara_k
My recommendations on Amazon USA
https://www.amazon.com/shop/sewingtherapy
LDH Scissors and thread snip
http://bit.ly/3vbHj04
Tailor’s Chalk Pencil
http://bit.ly/chalkpencil
Poly Sewing Thread
https://bit.ly/209thread
Lightweight Fusible Interfacing
https://bit.ly/3GETKGw
These are my online fabric shops Dailylike Canada
http://dailylikecanada.etsy.com
Two O Nine Fabric
http://twooninefabric.ca
Two O Nine Fabric on Etsy
http://twooninefabricstudio.etsy.com
Here’s my Patreon page link. Your support is greatly appreciated!
https://www.patreon.com/user?u=32815284
*****Disclosure******
Some of the links above are affiliate links. Clicking and purchasing through affiliate links gives me a small commission. BUT MORE IMPORTANTLY, I wanted to help you find the materials easier. So you can focus more on your project. Thank you. **********************
Let’s get connected!
Sewing Therapy
Instagram – https://www.instagram.com/yoursara_k/
TikTok – https://www.tiktok.com/@yoursara_k
Blog – https://sewingtherapy.net/
Dailylike Canada
Instagram – https://www.instagram.com/dailylikecanada
Two O Nine Fabric Studio
Instagram –https://www.instagram.com/twooninefabric.ca


Now I’ll Just write the steps and you can watch the video!

1. Staystitch – 2:08 (Video Timeline)

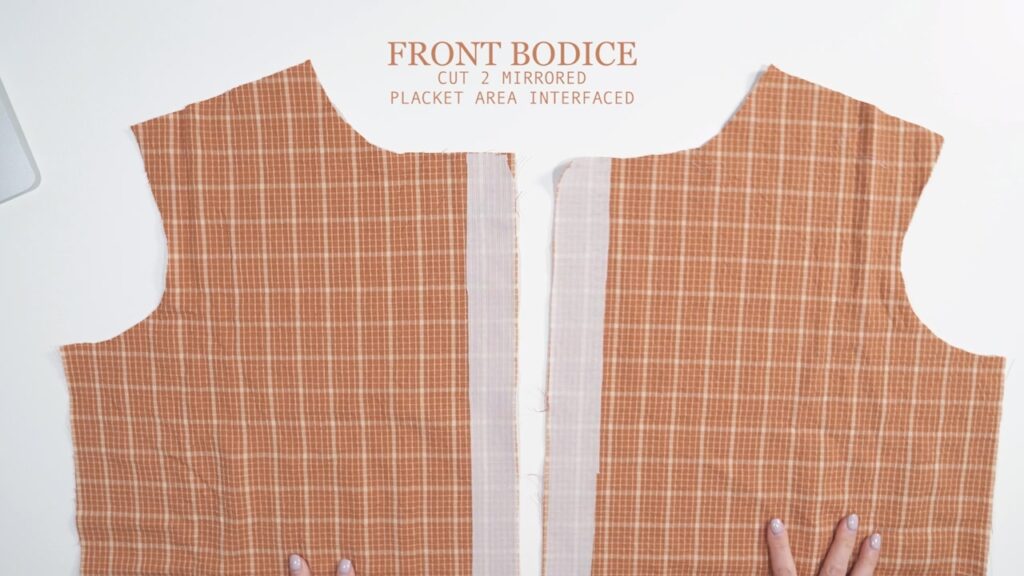
2. Placket – 2:39

3. Pocket 4:03

4. Back Bodice 5:38

5. Front + Back Bodice (Burrito Method) – 7:10

6. Sleeve – 9:54

7. Collar – 18:57

8. Hem – 24:13
And that brings us to the end of the Cameron Button-Up! It has all the classic features that make a button-up shirt great, and it’s a fun pattern to sew. I really enjoyed making this shirt for my dad and found myself thinking of him often while making it. It has been a mindful and somewhat healing project for me. I hope you enjoyed watching and if you did, please click the subscribe, like, and notification bell buttons so you can see more content from me. Thanks so much and I can’t wait to see all your Cameron Button Ups! 안녕